
Think of your renovation like rebuilding a well-loved room from the ground up. You’ll start by clarifying what you want and what you can live without, then map out a budget with a safety buffer. Break the project into phases, gather reliable teammates, and lock in a realistic timeline. You’ll plan for disruption, track every cost, and document changes as you go. The next step is choosing a path that matches your priorities—and getting started.
Clarify Your Vision and Priorities
Start by painting a clear picture of what you want to achieve with the renovation. You’ll define the main functions, flow, and feel of each space, then translate them into concrete criteria.
Clarify your priorities by listing must-haves, nice-to-haves, and non-negotiables, focusing on daily use and durability.
Assess how you live, entertain, work, and age in place, and map these needs to a single, coherent vision.
Capture your target style, lighting preferences, and acoustics, then test ideas against real-life routines.
In parallel, consider interior aesthetics and how material selection supports longevity and maintenance.
Document references, measurements, and constraints, keeping decisions linked to your priorities to avoid scope creep and rework later.
Review, refine, and align with the overall project timeline.
Set a Realistic Budget and Contingency
A solid budget sets the project’s pace and links your priorities to reality. You’ll establish a total ceiling, then allocate by area and priority, so you can monitor progress without surprises.
Start with hard costs: permits, materials, fixtures, and labor, then add a contingency—typically 10 to 20 percent—based on risk and scope clarity.
Track every change, and keep receipts organized for quick reforecasting. When you refine material selection, document price ranges and lead times to avoid late fees or substitutions that derail your timing.
In contractor negotiations, define payment milestones tied to defined milestones, not calendar dates.
Build a contingency for design iterations, unforeseen issues, and supply delays.
Regularly compare actuals to the plan, adjusting only when genuine value changes arise.
Assess the Scope and Define Phases
Evaluating the scope and defining phases sets the project’s blueprint after you’ve established a budget. You’ll map what’s essential, what’s optional, and which rooms or systems require sequencing.
Break the work into logical phases—design, permitting, demo, rough-in, finishes—so dependencies are clear and deadlines are predictable. Quantify each phase with tasks, durations, and milestones, and assign owners.
Assess risks early: structural concerns, code changes, or utility upgrades that could shift timing or cost. Align scope with your budget by limiting scope creep and documenting any trade-offs.
Plan material selection as a parallel task to prevent backtracking, and identify lead times for key items. Prepare for contractor negotiations by outlining expectations, payment terms, and acceptance criteria before bids.
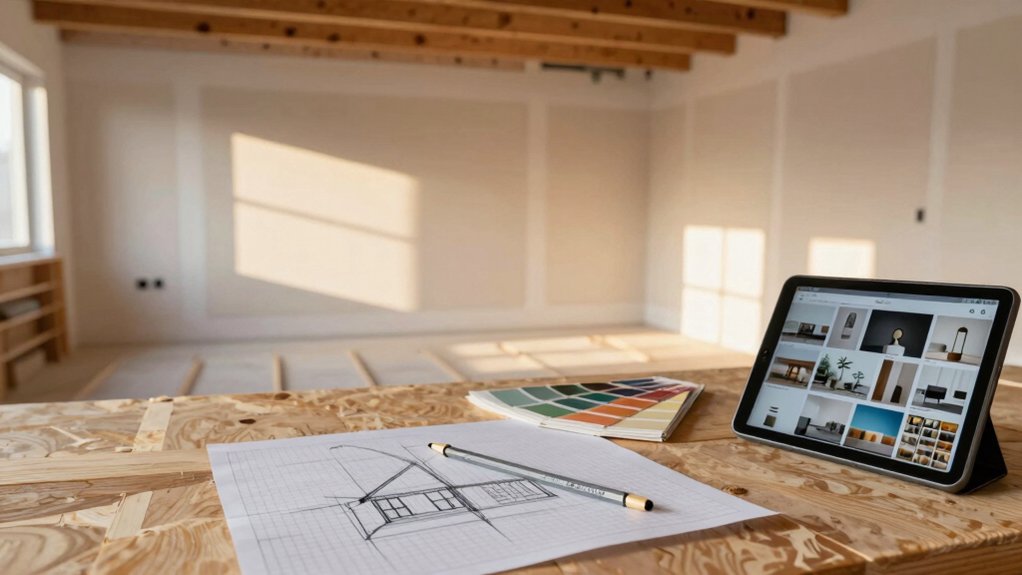
Gather Inspiration and Create a Design Brief
Start by gathering visual ideas from your daily surroundings, favorite magazines, and online mood boards to build a clear sense of style.
Next, translate those visuals into a concise design brief that specifies budget, scope, and functional priorities.
Keep both steps practical: organize inspiration by room, note must-haves versus nice-to-haves, and set measurable goals to guide decisions.
Gather Visual Ideas
Gathering visual ideas sets the foundation for your design brief: collect images, materials, and finishes that resonate with your goals, then sort them by style, color, and mood to spot common threads. You’ll build a clear reference library you can trust during decisions.
Focus on practical sources: showrooms, catalogs, online galleries, and real-life examples from homes with layouts similar to yours. Prioritize honesty over trendiness; note what works for traffic flow, storage, and lighting needs.
Create a simple labeling system for each image—style, color palette, and key feature. Assemble mood boards that combine textures, fixtures, and finishes to test harmony before committing.
Use visual inspiration as a compass, ensuring every choice aligns with your functional priorities and long-term satisfaction.
Define Design Brief
From your collected visuals, you’ll extract the core goals and constraints to shape a clear design brief. You translate inspiration into actionable directives, listing must-haves and trade-offs.
Start with space function: define tasks, flow, and adjacency needs, then set scope: rooms, zones, and tolerances for storage, lighting, and acoustics.
Establish a preferred style and finish level, tying it to a color palette that supports mood and clarity.
Specify performance criteria, like durability, maintenance, and accessibility.
Outline budget bands for every category to prevent scope creep.
Document material selection priorities, sourcing constraints, and sustainability goals.
Conclude with timelines, decision points, and responsibility owners.
The brief becomes your reference for design decisions, procurement, and contractor coordination throughout the renovation.
Hire the Right Professionals and Build Your Team

To hire the right professionals and build a solid team, start by defining your project scope, budget, and timeline. Then identify the roles you’ll need—general contractor, architect or designer, licensed trades, and inspectors.
Begin with a clear RACI-style map for responsibilities, so everyone knows who makes decisions and who validates work.
Research potential hires by checking licenses, past projects, and client references. Then shortlist candidates based on how well their specialties align with your renovation goals.
Conduct structured interviews emphasizing communication style, availability, and problem‑solving approach.
Prioritize contracts that specify milestones, payment schedules, change‑order processes, and warranty terms.
Establish expectations for regular meetings, progress reports, and site safety.
During contractor selection, compare bids for scope alignment, not just price, to ensure cohesive team coordination and long‑term value.
Understand Permits, Codes, and Approvals
Permits, codes, and approvals set the legal and safety boundaries for your project, so you’ll want a clear plan to navigate them early. You’ll identify which permits you need based on scope, like structural changes or electrical work, and verify whether a homeowner’s association or local council imposes extra requirements.
Start with your city or county building department to confirm applicable building permits and inspections, timelines, and fees. Review zoning regulations to ensure use, setbacks, height limits, and occupancy rules fit your renovation.
Prepare documentation: site plans, scope of work, and contractor qualifications. Schedule consultations with licensed professionals to interpret code implications, and factor review times into your schedule.
Maintain organized records for inspections and approvals, and avoid starting work without documented clearance.
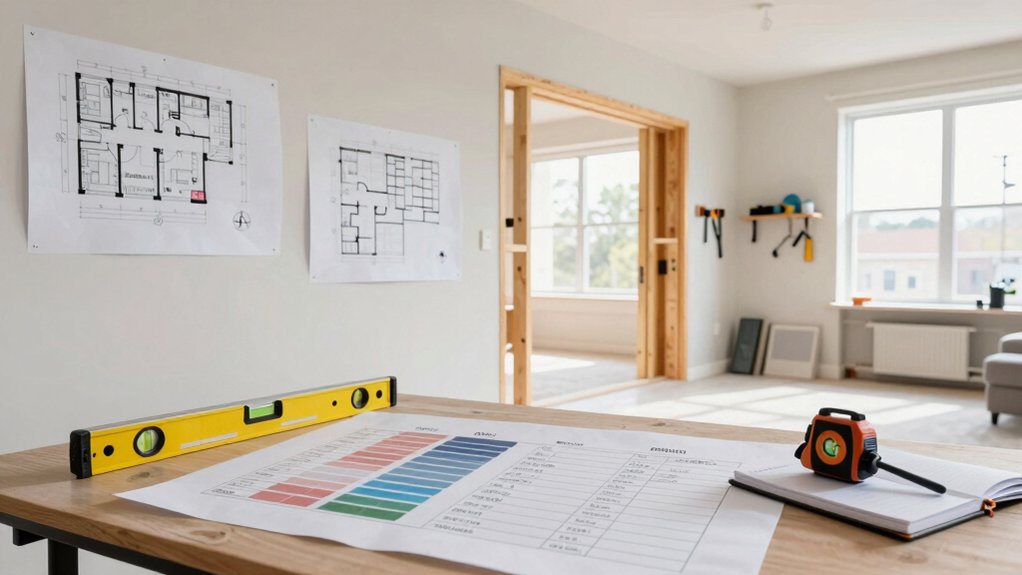
Develop a Detailed Timeline and Milestones
Start with a clear Timeline Milestones Overview to set expectations for every phase.
Then outline a Phase-by-Phase Schedule that maps tasks, durations, and owners, so you can track progress at a glance.
Finally, identify the Critical Path to spotlight the tasks that drive the project’s completion date and require strict coordination.
Timeline Milestones Overview
Wondering how long a full home renovation will take and what needs to happen when? Here’s a clear timeline milestones overview you can follow.
Start with a detailed project kickoff to confirm scope, budget, and approvals.
Immediately after, lock in material selection and finalize subcontractor lists.
Set a realistic design phase window, and prepare a detailed permit plan with your contractor negotiations in mind.
Move into procurement, where ordering lead times and delivery windows shape your schedule.
Then, schedule rough-in trades, insulation, and drywall in logical sequence, allowing buffers for delays.
Finish carpentry, paint, and finish hardware as you approach substantial completion.
Finally, plan a thorough walkthrough, punch list resolution, and a staged occupancy date.
Maintain weekly check-ins to track progress, costs, and any scope changes.
Phase-by-Phase Schedule
Below is a practical, phase-by-phase schedule you can follow to develop a detailed timeline and milestones for your full home renovation. Start with a kickoff phase that defines goals, budget, and constraints, then move to design, permitting, and sequencing.
In design considerations, specify preferred layouts, finishes, and systems must-haves, while noting any design conflicts early to avoid delays. Next, align material choices with budget and timeline, and lock in supplier lead times to protect your schedule.
Create milestones for each trade: demolition, framing, mechanicals, electrical, plumbing, insulation, drywall, finishes, and inspection windows. Build buffers for weather and approvals, assign responsible owners, and track progress weekly.
Establish a change-control process to minimize scope creep and preserve on-time delivery.
Critical Path Identification
Critical path identification is the backbone of your timeline, pinpointing the sequence of tasks that drive the project’s finish date. You’ll map out dependencies, align trade scopes, and define smooth handoffs between phases.
Begin by listing all activities, then identify which tasks must finish before others can start. These are your sequence dependencies. Highlight the minimal duration path from start to finish; those steps constitute the critical tasks.
Don’t confuse long duration with criticality—focus on tasks that, if delayed, push the overall completion. Build milestones at key junctions: permitting, framing, systems rough-ins, and inspections.
Quantify buffers only where you’ve empirically confirmed risk, and reserve no more than necessary. Regularly review the critical path as constraints shift, updating timelines and communicating changes to stakeholders.
Plan for Disruption and Manage Logistics
To minimize chaos during a full home renovation, start by mapping disruptions and logistics before work begins. Begin with a disruption management plan that identifies when and where noise, dust, and access shifts will occur, and set expectations with occupants and neighbors.
Create a logistics coordination checklist detailing material deliveries, staging areas, and unit-by-unit access routes, so trades can flow without blocking pathways.
Assign clear roles: a single point of contact for change requests, a schedule steward, and a safety lead.
Schedule deliveries to minimize site congestion and protect finished spaces.
Establish temporary utilities and waste removal plans, including containment and cleanup routines.
Review the plan weekly, adjusting timelines as needed to preserve momentum and safety.
Track Costs, Changes, and Documentation
How do you keep a tight lid on project costs and scope while renovations unfold? You implement disciplined cost tracking and strict documentation management from day one.
Begin with a centralized ledger for every line item: materials, labor, permits, subcontractors, and contingency. Record estimates, approvals, invoices, and change orders in real time, so nothing slips through cracks. Use clear categories and consistent units, then reconcile weekly against actuals to surface variances early.
Establish approval gates for scope changes—compare forecasted impact to budget and schedule before proceeding. Maintain versioned drawings and contracts, storing them in a shared, searchable repository.
Schedule regular reviews with your team to confirm current costs, updated timelines, and any risks. Communicate changes promptly to stakeholders to preserve transparency and control.
Execute, Inspect, and Finalize the Renovation
Now that you’ve started the work, you’ll review budget adjustments, confirm remaining costs, and guarantee all changes are documented.
Then you’ll finalize the punch list by verifying each task, setting clear completion criteria, and scheduling sign-offs.
Finally, you’ll complete compliance checks, record results, and clip all paperwork for your file.
Inspect Budget Adjustments
As you execute the plan, begin by reviewing actual costs against the budget line by line and identify any variances. This inspection fuels precise adjustments and keeps you aligned with goals.
Break variances into categories: overspend, savings, and timing shifts. For each item, verify receipts, change orders, and supplier invoices, noting impact on cash flow. Update cost estimation where forecasts diverged and document updated assumptions for future projects.
Implement budget tracking by updating the ledger daily, flagging anomalies, and confirming approvals for reallocations. Communicate findings to stakeholders succinctly, prioritizing items that affect critical path decisions.
Use a revised forecast to guide remaining purchases, labor commitments, and contingency allocations, ensuring the project stays on course while preserving quality and scope.
Finalize Punch List
Have you mapped every essential item to make certain nothing slips through the cracks? Finalizing your punch list means executing the plan, inspecting every finish, and securing sign-offs.
Start with a precise task roster: touch-ups, hardware alignment, paint consistency, and cabinet gaps. Verify decor selection aligns with the approved mood board and budget, and note any mismatches for quick correction.
During execution, track progress daily, confirm deliveries, and document workmanship standards. Inspect each room methodically, checking levels, seams, and moisture barriers, then test functionality—lights, outlets, appliances.
When issues appear, log corrective actions and assign deadlines, avoiding scope creep. Conclude with contractor negotiations for final concessions and warranties, ensuring all items are complete before project closeout.
Maintain a clean, organized punch file for future reference.
Document Compliance Checks
Document compliance checks guarantee every specification is met before you move forward. You execute the plan by compiling all project documents, then you inspect work at key milestones against the approved drawings and codes.
Create a clear checklist for each phase: install, rough-in, finish, and final finishes, noting any deviations.
Verify building permits are current and aligned with scope, and that inspections are scheduled with the local authority having jurisdiction.
Cross‑check safety standards against manufacturer specs, site safety plans, and worker training records.
Track nonconformities, assign corrective actions, and re‑inspect promptly.
Finalize by documenting approvals, warranties, and as‑built drawings.
Maintain a concise log for audits and handoffs, ensuring every item is resolved before you close the project.