Tiling your bathroom will feel like a marathon, maybe even longer than you expect. You’ll start with prep and waterproofing, then layout, cut, and install, and finally grout and seal. The clock doesn’t run the same for every space—size, tile type, and design complexity all push the timeline in different directions. There’s a clear pattern, but the real question is how these elements fit your project, and that’s where things get interesting. Keep going to map it out.
Planning the Timeline for Tile Projects
When planning the timeline for tile projects, start by outlining the full scope from demolition through grouting and sealing. You’ll map each phase, assign durations, and flag dependencies so nothing overruns.
Begin with demolition, removal, and disposal, then surface prep and layout, followed by tile setting, grouting, and sealing. Build in buffer days for unforeseen delays, especially around material delivery and access constraints.
Consider contractor selection early; compare schedules, warranties, and responsiveness to avoid bottlenecks. Account for drying times between coats and cement curing windows; these impact overall pace as much as labor hours do.
Also plan for cost considerations, including potential overtime fees or expedited shipping. Finalize a realistic milestone plan you can monitor weekly to keep everyone aligned.
Surface Prep and Waterproofing Steps
Before you set tiles, prepare the surface thoroughly: remove old caulk, repair cracks, and clean the area to dust-free. Surface prep underpins lasting tiling, so don’t skip it. Start with a dry, level substrate; fix gouges and voids, and sand glossy patches to improve adhesion.
If you’re tiling over existing tile, test for moisture and consider a primer to boost bond. Seal porous areas to prevent moisture wicking, then prime according to product specs.
Apply tile adhesive in thin, consistent coats and comb ridges for even coverage. Allow the adhesive to reach the manufacturer’s open time before setting tiles.
Once laid, check for flatness, then grout drying can begin after joints cure as directed. Proper prep saves rework and ensures durability.
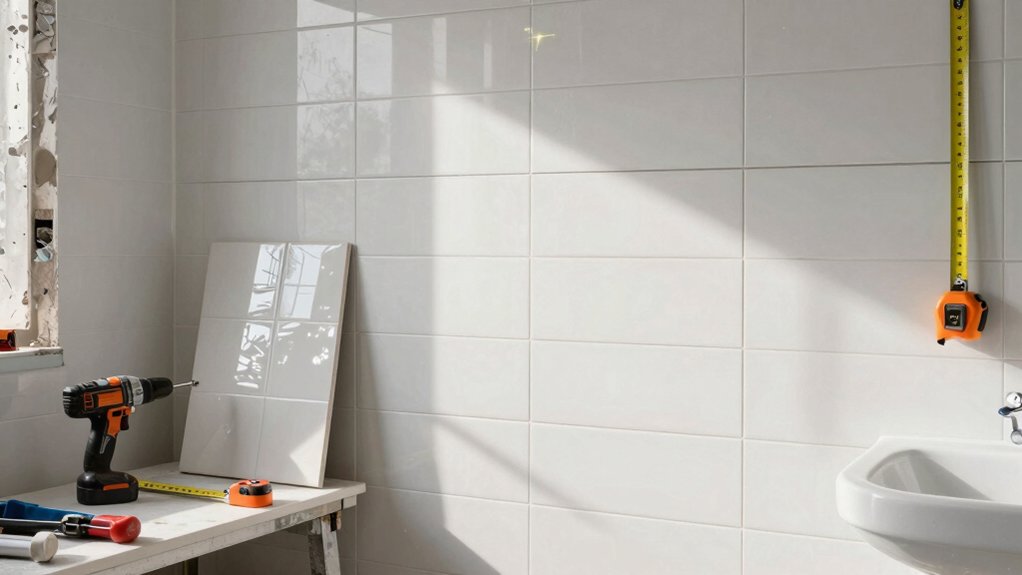
Layout, Cutting, and Installation Process
To start layout, snap a chalk line or use a laser to mark a true reference grid, then measure and mark the center of each wall to guide tile placement.
You’ll dry-fit tiles first, adjusting for patterns and cutouts, before committing with thin-set.
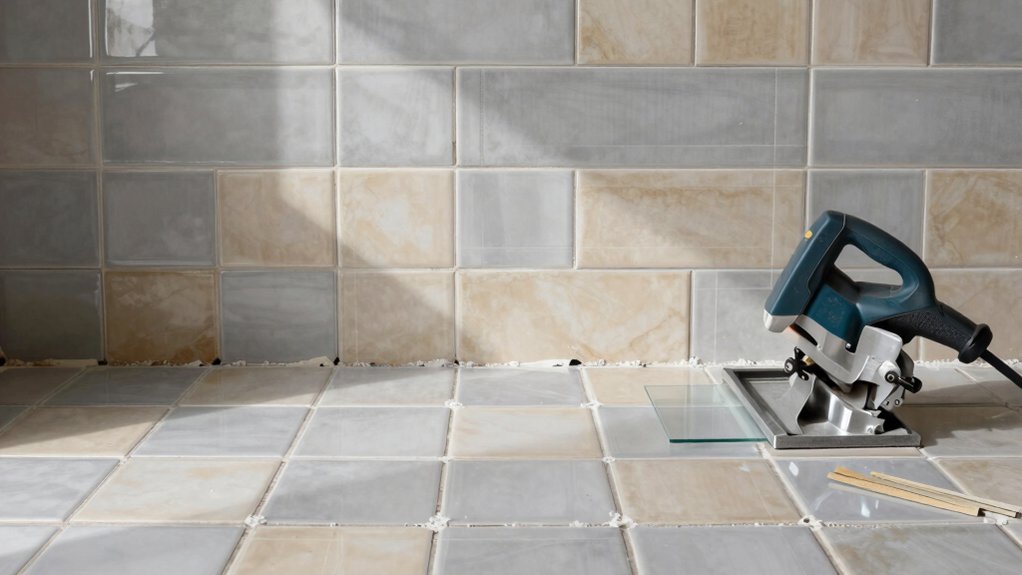
Cut tiles using a wet saw or angle grinder, scoring edges for clean breaks where needed, and keep grout lines uniform for a professional look.
Apply a waterproof membrane on wet areas per the product instructions, ensuring seams are fully covered and corners are sealed.
Once you’re satisfied with layout, spread thin-set evenly, press tiles firmly, and twist slightly to seat them.
Check alignment frequently, wipe excess mortar, and set spacers where required to maintain consistent tile grout spacing.
Finish by allowing proper curing before grouting.
Grouting, Sealing, and Finishing Details
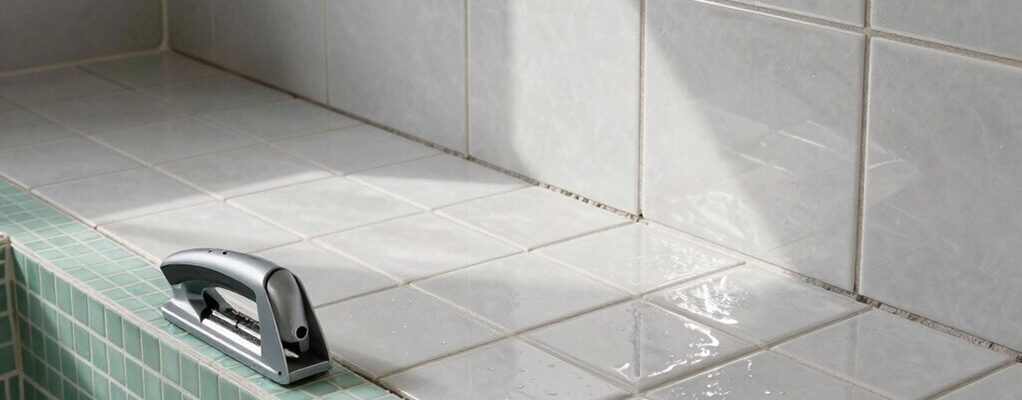
Grouting ties the tile work together and protects the joints, so mix grout to the manufacturer’s spec and apply it with a rubber float held at a shallow angle. You’ll wipe excess grout with a damp sponge after initial set, then buff the surface to a clean finish.
Sealant timing matters: wait until grout is fully cured, then apply a penetrating sealer evenly across all joints, avoiding overapplication on tile faces. For mosaic patterns, grout lines are often fine, so use a pencil or fine-tip applicator to fill narrow gaps precisely.
After sealing, inspect for high spots and haze, removing them promptly. Consider tile removal if you find inconsistent grout or damaged substrates, and re-check seams for uniformity.
Finishing details—caulk edges and corners for a factory-like seal.
Timelines per Bathroom Size and Tile Type
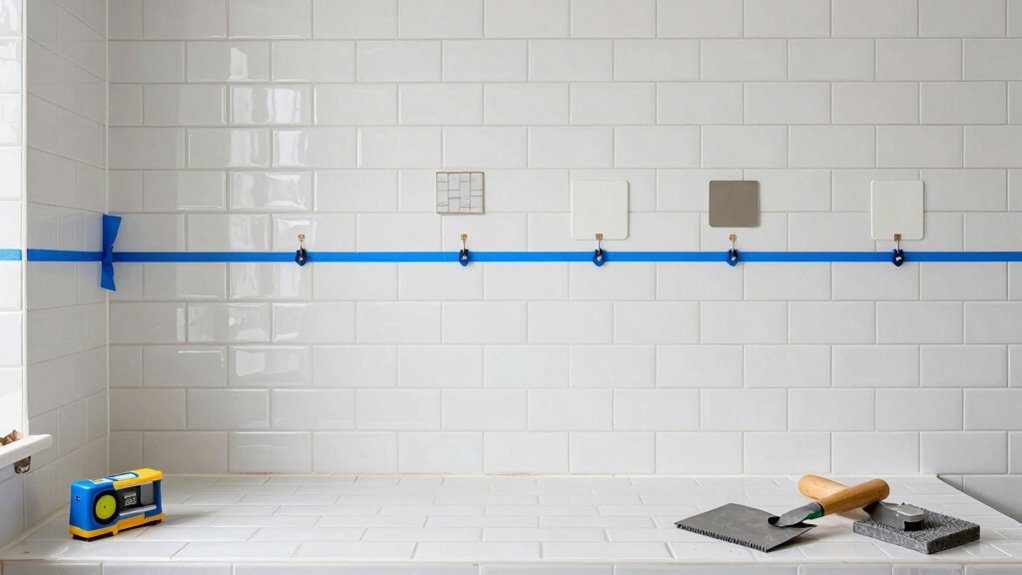
The timeline for bathroom tiling varies with room size and tile type, so plan around those basics: larger rooms with full-sized ceramic or porcelain tiles typically take 2–4 days from layout to grouting, while small baths or showers with mosaic or decorative tiles can run longer due to more cuts and intricate patterns.
In practice, your tile pattern choice drives cutting frequency and layout complexity, influencing total time. Consider tile material too: porcelain is denser and faster to set in straight lines, whereas natural stone may need extra sealing and acclimation before thinset.
Drying windows between steps remain constant, yet bigger rooms demand more cleanup and verification. Align size, tile pattern, and tile material early to avoid surprises and keep the project on track.