Thinning latex paint smooths viscosity for even flow, better leveling, and uniform color across coats. Start with a conservative ratio, like 1:10 thinner to paint, and test on a small area. Use water-based thinner compatible with your paint and match it to your application method (brush, roller, or spray). Mix thoroughly, note the ratio, and avoid over-thinning to protect film integrity. For walls, aim a brushable consistency; for furniture, adjust to opacity. More specifics ahead, if you continue, you’ll sharpen every step.
What Thinning Latex Paint Does for Your Finish
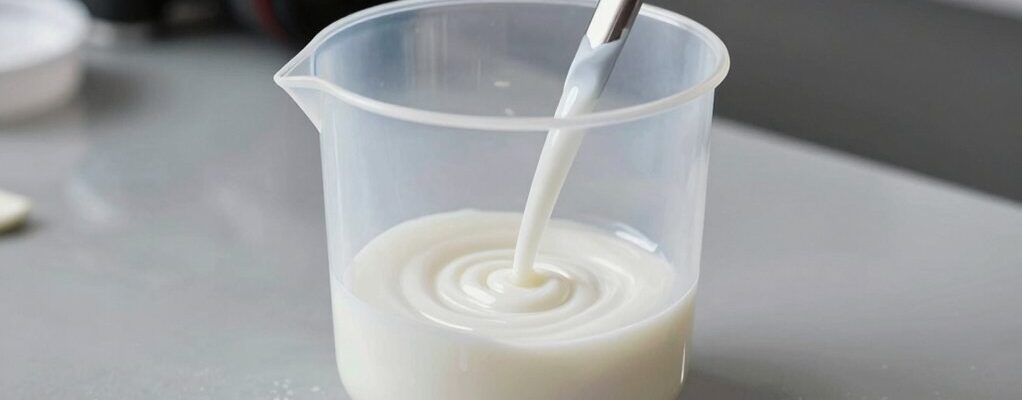
Thinning latex paint adjusts its viscosity so it flows evenly onto surfaces. When you thin, you reduce thickness, which helps you achieve uniform coats without lap lines or brush marks. You’ll notice improved leveling, reduced roller drag, and fewer texture inconsistencies, especially on flat or intricate surfaces.
The right dilution preserves color integrity while enhancing film formation, giving you a smoother finish that’s easier to inspect for uniformity. Color matching remains essential; thinning shouldn’t alter shade beyond acceptable tolerances, so test a small sample first.
Store mixed material properly, and label concentrations for repeatability. Paint storage considerations matter to prevent separation, skinning, or phase changes that could complicate reapplication.
You’ll value consistent finish quality when you control viscosity and follow accurate measurement practices.
When to Thin Latex Paint: Common Scenarios
There are clear moments when you should thin latex paint to guarantee even coverage and proper film formation. You’ll thin when weather or surface conditions demand it, or when you’re brushing fine details or heavy textures to prevent brush drag and lap marks.
In typical rooms, you’ll thin for color matching across batches, ensuring a uniform appearance from can to coat. If you’re spraying, thin more aggressively according to equipment specs, and test a small area first.
For paint storage, thin only what you’ll use promptly; unused thinned paint can compromise performance if stored. Always follow manufacturer guidance for maximum thinning percentages.
Avoid over-thinning, which reduces film integrity and scrapes back from edges, and halt if flow becomes milky or inconsistent.
Choosing the Right Thinner for Latex Paint
Choosing the right thinner for latex paint starts with matching it to your paint type and application method. You’ll optimize performance by confirming compatibility before you mix. Use the correct solvent selection to avoid separation, streaks, or poor shear.
Follow these concise guidelines:
- Confirm paint compatibility with your thinner to prevent adverse reactions
- Choose water-based thinners for latex; never use incompatible solvents
- Consider application method (brush, roller, spray) to judge thinning needs
- Test a small batch first, adjusting gradually for consistent viscosity
When in doubt, consult the manufacturer’s data sheet for recommended products and limits. You’ll protect film formation and cure by adhering to these standards, delivering predictable flow and leveling without sacrificing adhesion or durability.
How Much Thinner to Add: Establishing a Target Ratio
To establish a practical thinning target, start by identifying the recommended viscosity range for your latex paint and the application method you’ll use.
You’ll then convert that range into a target thinning ratio, expressed as parts thinner per parts paint or as a percentage.
Begin with a conservative baseline, such as 1:10 (thinner:paint) for rolling or brushing, and adjust only if your test swatch shows too thick or too thin.
Maintain paint consistency across batches by using the same thinner and mixing thoroughly.
Record the final target ratio for future jobs to ensure repeatable results.
Use controlled batches to validate your target before large-scale applications.
Thinning techniques should align with the product’s datasheet, avoiding over-thinning that degrades film formation or color holdout.
Step-By-Step Thinning for Walls and Furniture
Here’s a concise, step-by-step look at thinning for walls and furniture, focusing on Dilution Ratios Quick Guide, Thinning For Walls, and Thinning For Furniture. Start by outlining the target ratios for each surface, then apply the appropriate blend to your intended finish, keeping track of total volume.
This section sets the framework for precise, practical measurements you’ll use as you move through the walls and furniture thinning process.
Dilution Ratios Quick Guide
When thinning latex paint for walls and furniture, start with the correct ratio and alter based on your project needs. Use a measured approach to ensure predictable color mixing and finish, then document for future color storage.
- Start with 1:1 for heavy coverage, then reduce to 1:2 for smoother coats.
- For thin, even layers, target 1:3 when air movement is limited.
- For large projects, batch mix to maintain color consistency and ease paint storage.
- Always mix thoroughly before application and test on a small area.
Choose ratios based on sheen and temperature; adjust gradually. Record changes for color matching, and label containers to simplify color storage. This disciplined method minimizes runs and preserves pigment strength.
Thinning For Walls
Before you start painting walls, apply a practical thinning plan that mirrors your previous guidance on ratios. You’ll thin latex paint only to the level shown in your plan, avoiding guesswork. Start with the recommended base-to-thinner ratio, then test on a small surface. Mix thoroughly to achieve uniform viscosity, using color mixing principles to ensure shade consistency.
For walls, aim for a smooth, brushable consistency, not a runny finish. Use the appropriate brush types for edge work and broad coverage, alternating between smooth, even passes. Maintain steady, parallel strokes and avoid over-thinning, which dulls film strength.
Recheck viscosity after brief rest, retint if needed, and record results for future projects. Stop once the film leaves a light trail that sheens uniformly without roller speckling.
Thinning For Furniture
To thin furniture finishes effectively, follow a step-by-step process that mirrors your wall thinning plan while accommodating the different film build of furniture coatings. You’ll adjust ratios precisely and test on a scrap piece to ensure compatibility with color matching and desired opacity.
Start with clean tools, then measure the latex paint and solvent in small increments to avoid over-thinning. Maintain a smooth, stir-only technique to prevent air entrainment.
Monitor viscosity with a simple flow test, and record results for future color matching and storage needs. Use conservative additions, retest, and document.
Remember paint storage practices to preserve consistency between sessions.
- Prep and test on scrap
- Measure by weight, not guess
- Document viscosity results
- Store correctly for consistency
Tools, Containers, and Cleanup Basics
You’ll start with the right tools for thinning, selecting measuring devices that guarantee accuracy and consistency.
Use proper containers for mixing and storage, labeled clearly to track paint and thinner ratios.
After work, follow cleanup steps and disposal guidelines to prevent waste and contamination.
Tools For Thinning
When thinning latex paint, start with the right tools: a dedicated paint mixer or stirring stick, a clean, labeled container for the diluted mix, a measuring cup for precise ratios, and a filter or cheesecloth to remove lumps if needed.
Use a smooth mixer to avoid air entrainment and ensure consistent thinning.
Keep a labeled, sealable container to prevent contamination and aid brush maintenance.
Measure liquids accurately with a dedicated cup to control viscosity.
Filter the mixture before use to protect surfaces and future paint storage.
Choose durable containers, clean promptly after use, and document ratios for repeatability.
Maintain brushes by rinsing, storing upright in a compatible jar, and labeling storage dates.
This supports brush maintenance and paint storage efficiency, reducing waste and ensuring reliable results.
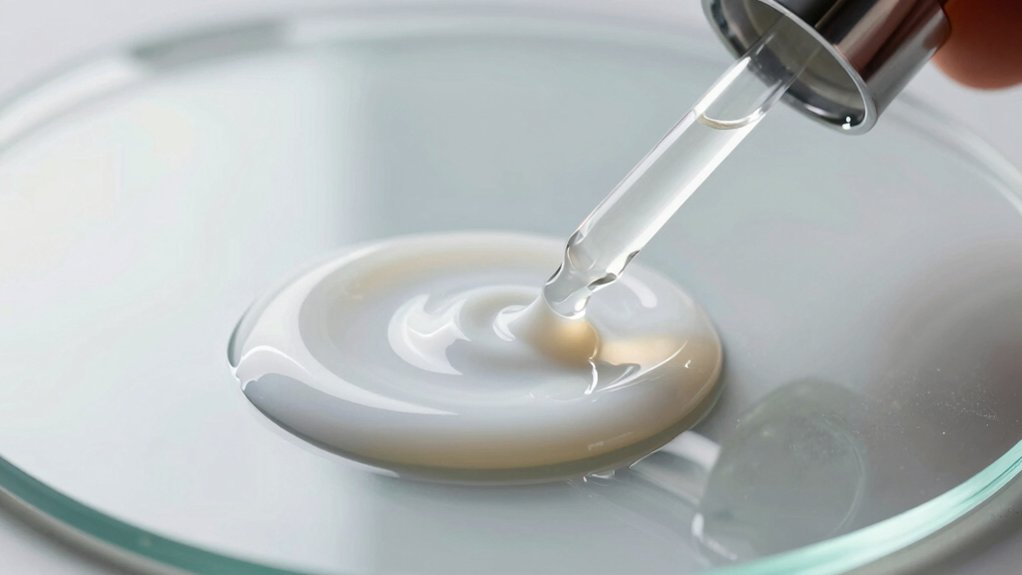
Containers And Measurement
Containers and Measurement: Start with durable, clearly labeled containers and precise measuring tools that suit latex paint. You choose airtight storage containers to prevent evaporation and contamination, and you label them with color, batch, and date. Use a graduated line on a measuring cup or a digital scale for exact additive amounts, avoiding guesswork. When you mix, pour slowly to minimize splashing and maintain accuracy. Keep tools dedicated to latex paint separate from other finishes to prevent cross-contamination.
Store unopened cans upright, in a cool, dry place away from heat. For color mixing, transfer small portions into a transparent mixing cup so you can observe hue and consistency before full-scale thinning. Always document proportions and batch color changes for reliable storage containers and repeatable results.
Cleanup And Disposal
Cleanup and disposal require clear protocols and disciplined practice. You manage tools, containers, and cleanup basics with purpose and care, to protect people and the environment.
- Rinse brushes immediately after use, using the smallest amount of water needed for color separation and brush maintenance.
- Contain and label waste appropriately; never pour leftover latex into drains unless permitted by local rules.
- Reuse or recycle containers when possible, and store paints and thinners per manufacturer guidance.
- Dispose of contaminated rags and brushes through approved programs; avoid landfill trash when hazardous materials rules apply.
Brush maintenance includes thorough rinsing, shape restoration, and drying before storage.
Paint color mixing should be completed with clean tools and covered, labeled containers to prevent cross-contamination and spills.
Common Thinning Pitfalls and How to Avoid Them
Common thinning pitfalls often stem from over- or under-diluting, which can ruin spray consistency and finish quality. You’ll avoid these by planning dilution in small steps, testing with a sample spray, and documenting the actual ratio. Never guess: measure precisely, then recheck viscosity with a reduction test.
Be cautious of tipping the can, which introduces air and inconsistent flow. Too much thinner dulls color strength and prolongs drying; too little causes atomization problems and sags. Maintain heat and pressure within tool specs to preserve paint color and spray pattern.
Choose water-based reducers that match the latex formulation, and perform a final skim on the surface to remove foam. When selecting tools, pair appropriate brush selection with coverage goals and keep a clean, labeled mix container.
Finishing Considerations and Drying After Thinning
After thinning, finishing quality hinges on controlled drying and proper surface handling. You’ll guarantee a consistent film by maintaining stable ambient conditions and minimizing rapid temperature shifts that can cause color inconsistency and pinholes.
Focus on surface adhesion through clean, dry substrates and light, even passes to prevent lap marks. Use compatible primers if needed and avoid overworking the coating, which can raise texture.
- Control humidity, temperature, and airflow to prevent bias in color consistency and dry times
- Prepare surfaces with dust-free, dry cleanliness and light scuffing for better surface adhesion
- Apply even coats with consistent thickness, allowing proper tack time between passes
- Inspect and cure fully, correcting defects before handling to preserve color and finish integrity
Frequently Asked Questions
Can Thinning Latex Paint Affect Color Accuracy?
Thinning can affect color accuracy; you may notice shifts in color fidelity if you alter paint consistency. To maintain true hues, test color after thinning, mix thoroughly, and document your ratios, coating evenly for reliable, consistent results.
Should I Pre-Mix Paint Before Thinning?
Yes, you should pre-mix before thinning. If you skip it, you’ll fight unmixed pigment. Achieve paint consistency with steady mixing techniques, then thin as needed to avoid streaks and guarantee accurate color, using precise, authoritative techniques.
Do Different Brands Require Different Thinning Approaches?
Yes, different brands require different thinning approaches; you must adjust ratios based on paint consistency and brand variations. Start with manufacturer guidance, test on a small area, and calibrate until you achieve ideal viscosity for smooth, uniform coverage.
Can I Reuse Leftover Thinned Paint?
Yes, you can reuse some leftover thinned paint if it’s still in good condition. Seal tightly, store upright, and label. For safety, follow paint storage guidelines and proper leftover disposal if clogging or curdling occurs.
How Does Temperature Impact Thinning Results?
Temperature affects thinning results: you’ll notice slower flow and altered paint consistency if the environment isn’t controlled. Keep temperature control steady, mix thoroughly, and test viscosity, ensuring you maintain the desired paint consistency for reliable coverage.
Conclusion
Thinning latex paint improves flow, leveling, and adhesion, but do it thoughtfully to avoid loss of hide and sheen. Use only the recommended thinner and test a small batch before committing. Maintain the target ratio and adjust with minimal additions. For example, a painter thinned wall paint 5% for smooth cabinetry, achieving a glassy, uniform finish without runs. Always clean tools promptly and note the exact ratios for future projects. Done right, thinning enhances performance rather than complicates it.