If your basement stays damp even after a dehumidifier runs, an anti-condensation heater might keep surface temps above dew point. You’ll evaluate how well it prevents mold, scales with humidity, and fits your energy budget. It’s practical to weigh installation ease, ongoing costs, and space effectiveness before you commit, because the answers matter for both comfort and protection—but there are trade-offs you’ll want to understand before choosing.
How Anti-Condensation Heaters Work
Anti-condensation heaters work by warming the air and surfaces to keep the temperature above the dew point, preventing moisture from condensing. You install them where humidity and cold walls meet, prioritizing zones with frequent condensation.
The unit senses surface temperature or humidity and responds with steady heat output, avoiding rapid fluctuations that cause overshoot. You’ll typically find electric trace heaters, circulating-air models, or surface mats, each designed to transfer heat efficiently to critical areas.
Controls range from simple thermostats to smart sensors that adapt to room occupancy and weather changes. Power usage hinges on space, insulation, and target temperatures, so you optimize by sealing drafts and reducing heat loss.
In operation, expect consistent warmth, reduced condensation events, and a clearer, drier environment.
Key Benefits for Home and Workspaces
For homes and workspaces, these devices reduce mold risk, prevent cold-induced dampness, and maintain comfortable surfaces without cranking up the heat. You’ll notice steadier humidity and fewer temperature-driven swings, which helps stabilise walls, windows, and furniture.
The immediate benefit is localized dryness, reducing condensation on glass and fittings where dampness often builds. With reliable operation, you gain predictable environmental control during fluctuating seasons, supporting healthier indoor air and fewer irritants related to moisture.
You’ll also find simpler maintenance: fewer cleaning cycles for damp spots and less seasonal redecorating caused by moisture damage. These systems integrate into existing layouts without aggressive ventilation changes, delivering consistent comfort without dramatic energy demands or noise disruption.
Energy Efficiency and Operating Costs
Energy efficiency and operating costs play a pivotal role in choosing anti-condensation heaters, especially after noting their moisture-control benefits in homes and workspaces. You’ll compare fuel types, standby power, and runtime requirements to gauge annual expense.
Electric models often deliver reliable, consistent heat with simpler installation, but you’ll pay for continuous operation if used long hours. Gas or oil options may lower running costs in larger spaces, yet require venting and regular maintenance.
Look for thermostatic control, low standby consumption, and properly sized units to avoid short cycling. Insulation quality, air leakage, and humidity targets influence energy use as much as heater output.
Calculate total cost of ownership, including installation, maintenance, and energy rates, to determine overall efficiency. Prioritize predictable performance over initial price.
Common Uses and Ideal Install Locations
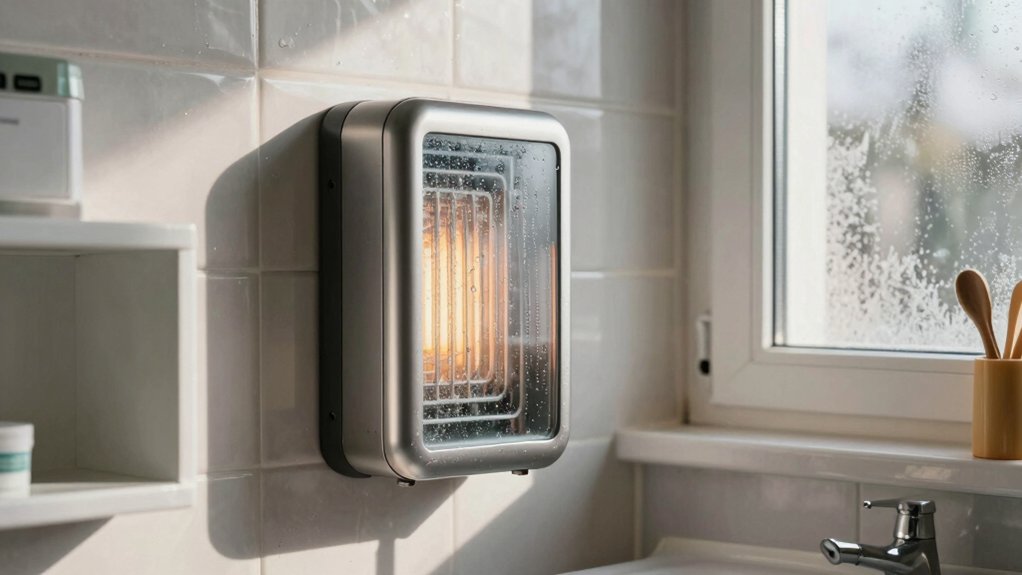
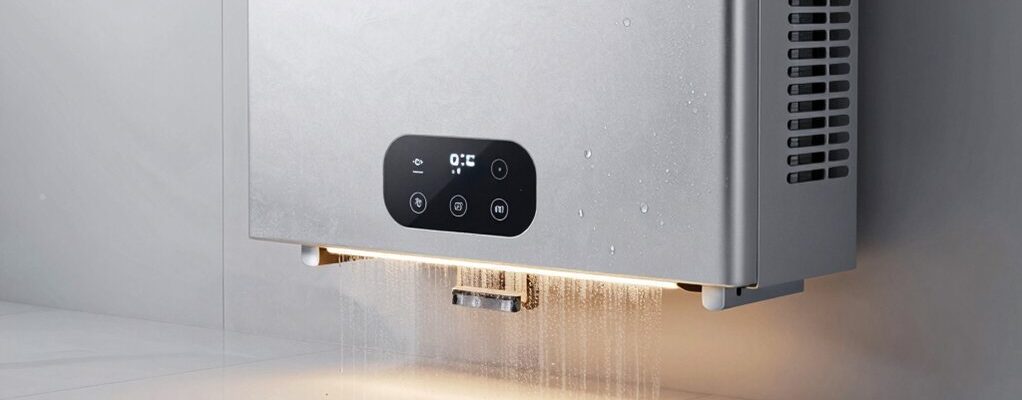
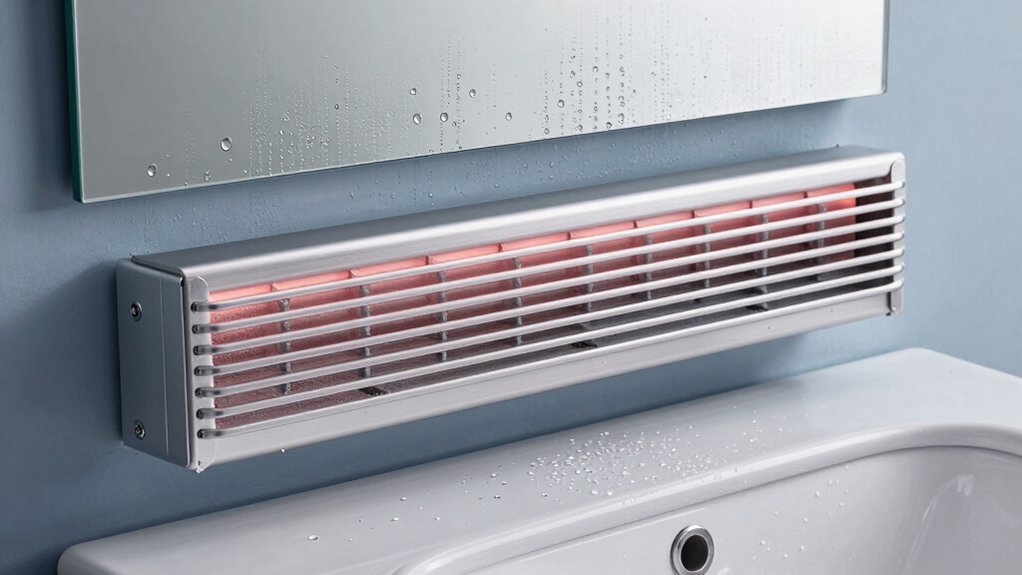
You’ll want to place your anti-condensation heater where humidity is highest and airflow is steady, such as bathrooms, kitchens, and laundry areas.
Aim for locations near windows or walls prone to condensation, but guarantee you have safe clearance and unobstructed power access.
Consider the surrounding environment to match the unit’s ideal operating conditions and minimize heat loss.
Placement Essentials
Placement essentials: choose spots that maximize heat distribution and minimize moisture buildup. Start by locating heaters where warm air can circulate freely, avoiding corners behind furniture or tight enclosures that trap damp air. Mount or place units at mid-height on exterior walls to encourage convection without blocking airflow.
In rooms with high humidity, position near suspected condensation zones, such as windows or door gaps, but not directly against glass, which can overheat the surface. Maintain clear spacing—leave several inches from walls, curtains, and appliances—to prevent heat sink effects.
Consider electrical access and cord management, opting for outlets away from damp surfaces. For easy maintenance, choose washable surfaces and plan accessible locations for routine cleaning and inspection.
Optimal Environments
Ideal environments for anti-condensation heaters hinge on pairing room characteristics with specific install locations. You’ll focus on humidity, temperature stability, and ventilation patterns, then match these factors to equipment placement.
In high-moisture spaces like bathrooms, kitchens, laundry rooms, or basements, install near sources of humidity but away from direct water spray or heat-sensitive finishes.
For cold rooms, basements, or garages, place heaters where air can circulate freely without obstruction, ensuring outlets aren’t blocked by furniture or stored goods.
Consider wall versus ceiling mounts based on airflow paths and aesthetics. Favor devices with adjustable thermostats and quick-response elements to minimize dew formation during peak humidity.
Regularly inspect seals and insulation around installed units to sustain performance and prevent condensate transfer to adjacent surfaces.
Potential Drawbacks and Trade-Offs

One key drawback to anti-condensation heaters is that they add ongoing energy use, which can raise operating costs even when humidity isn’t excessively high. You pay for electricity or fuel that must run continuously or intermittently to prevent condensation, so efficiency varies with climate, occupancy, and insulation.
Trade-offs include potential over-drying, which can dry air excessively and affect comfort or material integrity, and uneven heating if placement isn’t optimized.
Installation may require wiring, control integration, or zoning, raising upfront costs and complexity.
Temperature setpoints matter: too aggressive a setting wastes energy, too lax a setting undermines effectiveness.
Reliability concerns exist, since fans, heating elements, or sensors can fail, reducing protection and prompting replacements.
Finally, there’s ongoing maintenance to keep sensors calibrated and components clean.
Sizing and Selection Considerations
Sizing and selection of an anti-condensation heater hinges on matching device output to your space’s moisture load and air volume. You’ll estimate moisture generation from occupants, equipment, and routines, then pair that with the room’s air changes per hour and surface layout.
Use a straightforward rule of thumb: pick a heater with a continuous heat output that exceeds peak latent needs without overheating. Consider insulation quality, glazing, and prevailing humidity, since these affect the net moisture load.
Power availability matters, as does electrical safety and control options (humidistat, thermostat, timer). Prioritize units with stable, uniform heat distribution to avoid cold spots.
Finally, confirm compatibility with existing electrical circuits and ensure maintenance access for filters or vents to sustain performance.
Installation Tips and Safety Precautions
To install an anti-condensation heater safely, start with a site survey that identifies clearance from combustibles, proper venting if required, and access for maintenance.
Next, plan correct electrical supply, including voltage, amperage, and circuit protection, matching the heater’s nameplate.
Mount fittings should be level and secure, with vibration isolation if needed to reduce noise and wear.
Route wiring and conduits to minimize moisture exposure, using sealed enclosures when possible.
Keep condensate drainage clear and unobstructed, testing any alarms or indicators during commissioning.
Verify operating temperature ranges align with room use and avoid placing units near heat sources or airflow obstructions.
Schedule routine inspections, checking seals, insulation, and electrical connections.
Document maintenance intervals and replace worn components promptly to preserve safety and performance.
Real-World Scenarios: When They Shine or Fall Short
Real-world use reveals where anti-condensation heaters excel and where they stumble. In small, moisture-prone spaces, they’re quick to raise surface temperatures, cut condensation, and reduce mold risk, especially when ventilation is limited. You’ll notice best results with continuous operation and thermostat control that matches humidity peaks, not just ambient air.
They fall short in poorly insulated enclosures or when drafts continually renew cool air; then heat output feels inconsistent and energy-use climbs. Initialization matters: a poorly sized unit underperforms, while a correctly sized model delivers steady surface warmth and faster dry times.
Maintenance-free appearances can mislead; occasional cleaning of vents improves efficiency. Overall, they shine in controlled, medium-humidity environments with moderate heat loss and stable occupancy patterns. They falter under extreme cold drafts and oversized gaps.
Maintenance, Longevity, and Budgeting
Maintaining your anti-condensation heater on a steady cadence helps prevent performance drops and extends life. We’ll compare routine upkeep, expected longevity, and how budgeting upfront affects total costs over time.
With precise targets for service intervals and failure thresholds, you’ll make informed choices about maintenance, lifespan, and total ownership costs.
Maintenance Cadence
Regular upkeep is essential for anti-condensation heater systems because a clear maintenance cadence directly affects longevity, reliability, and total cost of ownership. You should schedule routine inspections quarterly, with monthly visual checks for wiring, seals, and debris.
Document readings like current draw, surface temperature, and humidity targets, and compare them to baseline milestones. Prioritize filter and heater element cleanliness, verifying control setpoints remain within spec after adjustments.
Establish a standardized checklist to minimize scope creep and ensure consistency across sites. Proactively replace wear items before failure, and track replacement intervals to refine cadence over time.
Use a preventative approach over reactive fixes, and align maintenance windows with peak usage to reduce disruption and energy waste. Your cadence should balance risk, cost, and operational needs.
Longevity Budgeting
Longevity budgeting ties maintenance cadence to long-term cost control, linking how we care for anti-condensation heaters today with the total cost of ownership over years. You assess regular servicing, filter checks, and coil cleanliness as investments that extend life, reduce failure risk, and stabilize resale value.
By forecasting replacement cycles and energy efficiency gains, you reveal hidden costs and savings beyond sticker price. Prioritize proactive parts replacement, such as thermostats or seals, before breakdowns occur, to avoid disruptive outages.
Track performance metrics—runtime hours, humidity control, and defect frequency—to refine budgeting accuracy. Align maintenance windows with seasonal demand to minimize downtime and optimize cash flow.
A disciplined approach converts uncertain maintenance into predictable, defensible financial planning.
Frequently Asked Questions
Do Anti-Condensation Heaters Require Professional Installation?
No, not always, but professional installation is recommended for safety and compliance. You should have electrical work inspected, mounting done properly, and thermostat wiring set correctly; otherwise, risks include poor performance, fire hazards, and warranty voidance.
Can They Replace Dehumidifiers in Damp Spaces?
Yes, they can help, but they don’t replace a dehumidifier in damp spaces. Use an anti-condensation heater to reduce surface moisture, then run a dehumidifier for ongoing humidity control; together, they tackle persistent damp much more effectively.
Are There Noise or Odor Concerns With These Units?
Yes, some units can produce noise and odor; choose low-noise models and guarantee proper venting and ventilation. Regular cleaning reduces odors, and set thermostats to prevent overheating. Look for energy-efficient, sealed designs to minimize interference.
How Do Weather Conditions Affect Performance Year-Round?
You’ll notice warmer performance in mild, dry weather and reduced efficiency in extreme cold or high humidity. Year-round, you adapt use to season, insulation, and airflow, ensuring steady output while avoiding oversizing or short cycling.
What Brands Offer the Best Warranty Coverage?
Brands offering the best warranty coverage include Bosch, Honeywell, and Emerson, plus support from Stiebel Eltron and EHC. Check length, exclusions, and transferability; prioritize five-to-ten-year limits, on-site service, and quick claim processing for real reliability.