
Master trim painting starts with thorough prep and precise edge work. You’ll remove old coatings, light-sand for a uniform key, and wipe away residue so primer sticks. Choose tools that match your trim profile, keep strokes short and controlled, and lift at corners to avoid buildup. Use sharp masking for clean lines, seal gaps, and apply two thin coats of primer on heavy stains. Maintain steady humidity and ventilation between coats, and you’ll master durability and color consistency as you progress.
Prep the Trim for a Flawless Finish
Before you apply paint, prep the trim thoroughly to guarantee a flawless finish. You assess surface preparation first, removing old varnish, dust, and oils with a clean cloth and mild stripper if needed. Lightly sand to create a uniform key—don’t gouge, just smooth. Wipe again, ensuring no residue remains that could cause fish-eyes or adhesion failures.
If you’ll repaint, choose a compatible paint selection that suits the substrate and environmental conditions; confirm sheen, gloss, and durability align with the room’s use. Fill any cracks with a matching filler, then sand smooth once dry. Mask adjacent surfaces precisely, using painter’s tape and clean edges.
Finally, prime where required, allowing proper drying before you apply topcoats for durable, even coverage.
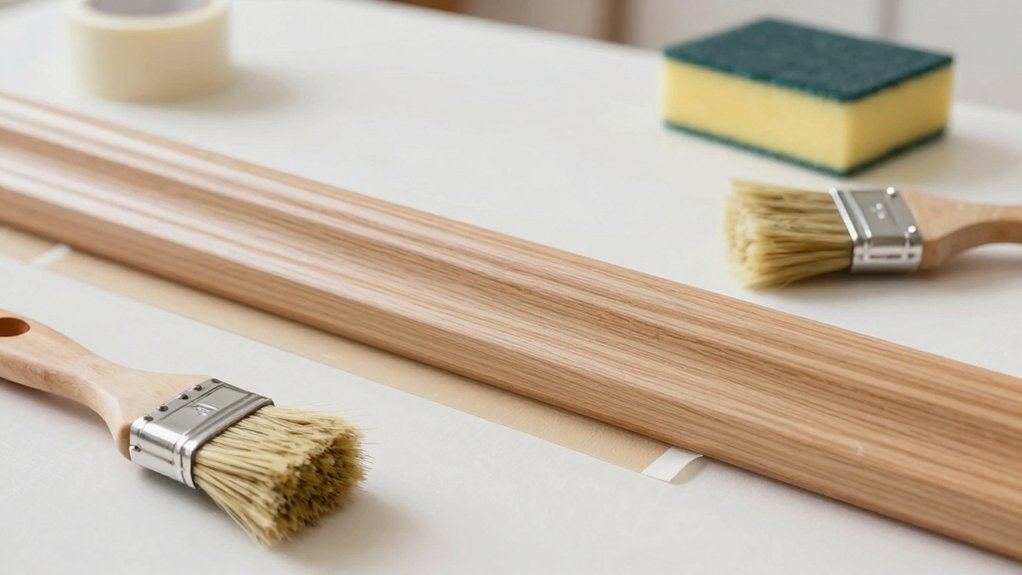
Choose Your Tools for Crisp Edges
Start by aligning your edge-guide precisely to the trim line to guarantee straight, crisp edges.
Choose tools with tight tolerances and consider how Edge-Guide Alignment and Tool-Selection Precision work together for consistent results.
Use Tape-Barrier Techniques to keep stray paint away from adjacent surfaces and reinforce clean separations.
Edge-Guide Alignment
Edge-guide alignment starts with choosing the right tool for the job. You’ll lock in crisp lines by matching the guide’s width to your trim profile, then calibrate the gap so blades ride cleanly along the edge.
Use a steady hand and deliberate pressure, avoiding sideways nudges that smear paint. Position the guide firmly against the wall, checking for full contact across its length.
When you set the reference edge, you create precision alignment that translates to consistent results along every corner and cut-in. Maintain uniform speed; pauses invite drips and waviness.
Keep your hand low, elbows tucked, and shield the adjacent surface. With disciplined setup, edge consistency follows naturally, delivering a professional finish that resists touch-ups.
Tool-Selection Precision
Choosing the right tools is the bedrock of crisp edges, so start by pairing your trim profile with the tool width that matches it exactly. You’ll gain control when you select a brush whose ferrule height aligns with the trim’s height, ensuring consistent line weight.
Consider brush ergonomics for repeatable comfort; a comfortable grip reduces hand fatigue and improves steadiness during long sessions. Assess paint viscosity before you dip; thicker blends require stiffer bristles or a narrower edge to avoid pooling, while thinner finishes demand a softer brush to prevent feathering.
Match tool stiffness to your motion; a responsive brush translates precise wrists into clean, square profiles. Finally, test on scrap trim first, adjusting technique until the line reads perfectly, then apply with deliberate, confident strokes.
Tape-Barrier Techniques
Tape-barrier techniques hinge on selecting the right masking tools to deliver sharp, clean edges. You choose adhesive tapes that resist bleed, align straight, and stay flat through paint. Begin with a high-quality painter’s tape for delicate trim and a crepe or washi option for complex corners.
Press edges firmly to seal; use a hard edge tool, like a card, to burnish along the tape, ensuring no gaps. For curved profiles, apply tape in small segments, smoothing as you go to avoid lifting. Use a lacquer or acrylic-compatible tape for waterborne finishes to reduce adhesive residue.
When you’re done painting, remove tape while the surface is tacky to prevent peel. Plan for tape removal during the paint’s brief tack, then inspect edges and touch up if needed.
Evaluate Surfaces and Primer Choices
Before you start painting, evaluate the surfaces you’ll work with and select a primer that matches both the material and the finish you want. Your success hinges on a proper surface assessment and smart primer selection.
Don’t overlook porosity, gloss level, or previous coatings; these factors dictate adhesion and finish quality. Choose a primer that blocks stains, seals porous wood, or bonds to metal as needed—then pair with the intended sheen.
- Assess material, prep needs, and compatibility
- Select primer by substrate and stain potential
- Verify compatibility with your topcoat and finish
A precise primer choice reduces skinning, bubbling, and edge peeling while ensuring even color and durability across trims.
Prime and Paint: When to Prime and What to Use
Start with a clean assessment: if the surface is new, porous, or stained, prime first to guarantee adhesion and uniform color. You’ll choose primer based on substrate and stain type, then verify compatibility with your selected topcoat.
For bare wood, use a high-quality shellac or waterborne alkyd primer to block bleed and ensure stability. For metal, a rust-inhibiting option is essential.
If you’re dealing with heavy stain or tannin, apply two thin coats of primer to prevent bleed-through, followed by a compatible finish.
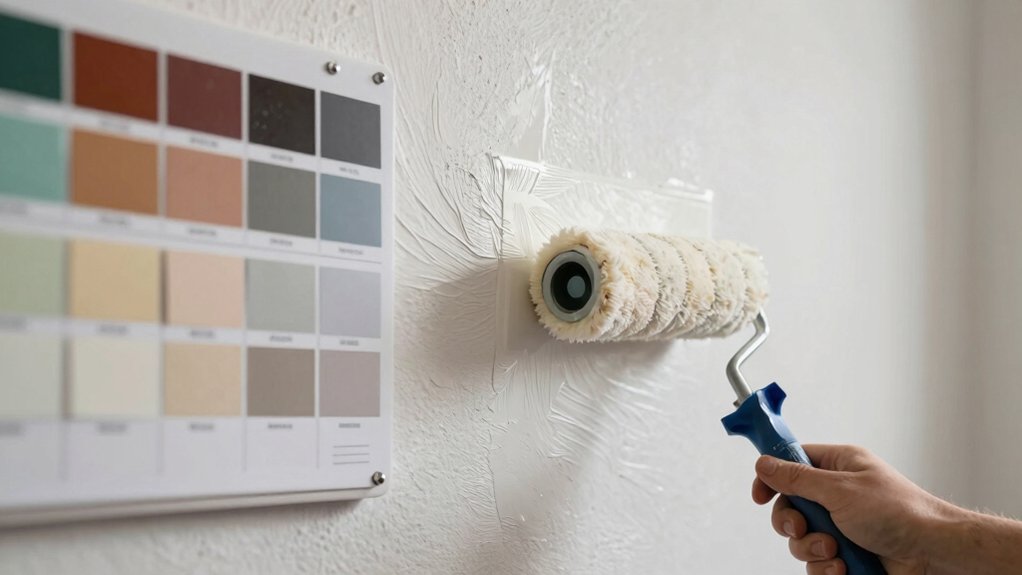
When selecting paint, match the finish to room function and light exposure. Glossy finishes reveal flaws but are easier to clean, while eggshell or satin provide balance.
Always confirm primer compatibility with your paint finish to guarantee durability and color uniformity.
Master Cut-Ins: Techniques for Clean Lines
Mastering cut-ins starts with a clean edge you can rely on. Use solid edge techniques, precise tape and masking, and steady brush control to set the line before you paint.
This discussion covers clean edge methods, smart masking tips, and the brush techniques that deliver crisp, professional trim lines.
Clean Edge Techniques
Clean edges are the mark of professional work, and getting them right starts with precise preparation and a steady hand. To master clean edges, you’ll refine the moment your brush meets the boundary, smoothing motion and control over every stroke. Focus on consistency in pressure and angle, then couple that with deliberate color matching to prevent bleed-through or halo effects.
- Establish a crisp baseline by priming surfaces and using steady, short strokes along the line.
- Use controlled brush techniques, loading light, even, and avoid overworking the edge.
- Check color matching under similar lighting, correcting any mismatch before the final pass.
With practice, your cuts stay sharp, edges stay straight, and results read as professional.
Tape And Masking Tips
Tape and masking are your best defense against bleed and halo when you cut in. To start clean lines, choose masking tape or painter’s tape appropriate for trim paint and temperature. Apply a tight, wrinkle-free strip along the edge, reinforcing corners with gentle burnishing to seal the edge.
If you’re working over fresh stain or oil, test compatibility first and press firmly to prevent seepage. Use narrow tape widths for crisp corners, then seal the outside edge with a light pass of painter’s tape to minimize lift.
Remove tape soon after the topcoat’s tack sets, pulling parallel to the edge to avoid tearing. Keep a spare roll handy for touch-ups, and replace any torn sections promptly to maintain precision.
Brush Control Methods
When you approach trim work, precise brush control starts with grip, stance, and stroke cadence. Mastery comes from a calm hand, a measured sweep, and consistent paint behavior across the edge.
- Brush techniques: keep the ferrule aligned, rotate your wrist for gentle arcs, and maintain a light, even pressure near the tip to prevent splatter.
- Paint consistency: aim for a creamy, not porridgy, texture; thicken with a touch of conditioner or thin with minimal solvent as needed, testing on scrap.
- Stroke discipline: short, controlled strokes meet clean cut-ins; lift slightly at corners to avoid buildup, then reset grip for the next pass.
Drying, Dusting, and Cleanup for Longevity
Drying, dusting, and cleanup aren’t afterthoughts; they’re part of the painting system that protects your work and extends its life. You finish a trim job, but the real longevity hinges on controlled drying, meticulous dust removal, and deliberate cleanup.
Immediately after brushing, keep doors and vents closed to prevent dust infiltration, then ventilate at a safe pace to avoid film defects. Dust particles must be removed with a clean, microfiber cloth or a soft brush before they settle into a still-wet surface.
Between coats, maintain a stable environment and monitor humidity to prevent surfacing issues. When you final-clean, use minimal solvent and lint-free wipes to preserve texture effects, and verify color matching remains precise through steady lighting and evaluation.
Troubleshooting Common Trim-Paint Pitfalls
Even seasoned painters encounter common trim-paint pitfalls, but you can head them off with a steady process and clear checks. You’ll prevent issues by planning around finish quality, adhesion, and edges, while staying mindful of paint sheen and color coordination.
- Inspect surface prep and priming first, ensuring clean, dry substrate and appropriate undercoat to avoid peeling or fuzzy edges.
- Manage edges by masking precisely, using sharp cuts, and avoiding over-brushing, which causes lap lines or brush marks in the finish.
- Verify compatibility of sheen levels and color coordination across trim and adjacent surfaces to maintain a cohesive, durable look.
Frequently Asked Questions
How Do You Prevent Brush Marks on Glossy Trim?
To prevent brush marks on glossy trim, you use smooth, even strokes with a refined brush technique and maintain paint consistency. You’ll feather edges, avoid overloading, and keep a wet edge so the finish stays uniform and glassy.
What Lighting Helps Detect Missed Spots?
LED lighting highlights missed spots, while natural daylight confirms true color. You’ll detect sheen inconsistencies faster, leveraging contrast like night and day; you point, you adjust, you finish with flawless trim.
Can You Paint Over Stain Without Sanding?
Yes, you can paint over stain without sanding if you properly prime first. Do primer application, then choose paint sheen selection suitable for trim; topcoat with a quality finish, maintaining light touch and even coverage.
What Order Removes Painter’s Tape Cleanly?
Yes, you remove painter’s tape by pulling away slowly at a 45-degree angle. Use removing tape techniques like smooth, steady pulls, and stay perpendicular to the edge. Consider painter’s tape alternatives for sharper edges and mess-free results.
How Long Should Trim Dry Between Coats Indoors?
At first, think of timing like a paused heartbeat: you’ll wait a bit. Drying time between coats indoors should be at least 2–4 hours, depending on paint thickness and room conditions. Move fast, but don’t rush.
Conclusion
You now know how to get trim that looks sharp, durable, and seamless. Follow the prep, choose the right tools, and match primer to surface for flawless adhesion. Apply steady cut-ins and smooth passes, then let each coat dry fully before the next. Tidy dusting and careful cleanup protect your hard work, not waste it. With patience and attention to detail, your trim will age like fine woodwork—an enduring edge that speaks of craft.