Condensation in bedrooms happens when warm, moist air meets cooler surfaces, so you’ll want to control temperature, humidity, and airflow in tandem. Start by tracking humidity levels and dew point, then reduce moisture sources and improve ventilation without creating drafts. Small, steady adjustments—consistent heating, strategic window airing after activities, and targeted insulation—can make a noticeable difference. If you’re not seeing results, there’s a practical path forward that keeps surfaces dry and comfort stable, but you’ll want to explore what comes next.
Assessing When Condensation Occurs in Bedrooms
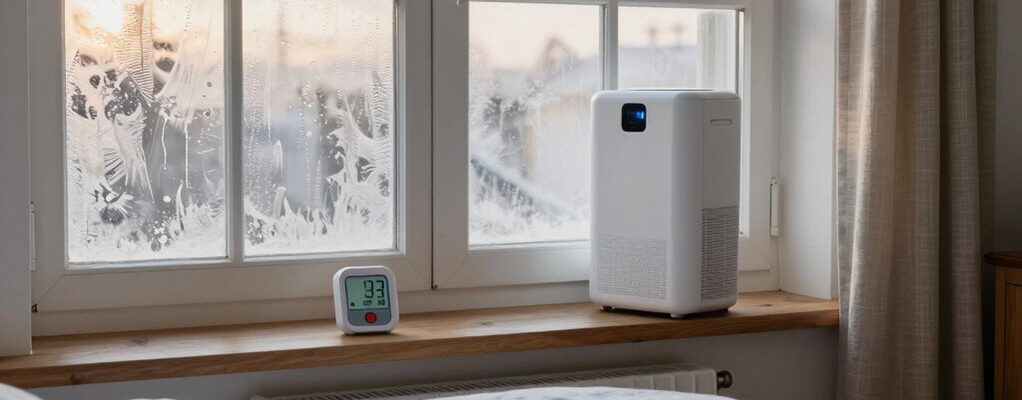
Condensation in bedrooms typically appears when warm, moist air meets cooler surfaces like walls or windows. You’ll assess this by noting temperature contrasts, humidity peaks, and surface dampness.
Start with a simple check: run a quick moisture scan after activities that release water, like showers or laundry. If windows fog, walls feel damp, or you detect a musty odor, you’re seeing a signal you can’t ignore.
Record times, conditions, and room use to build a pattern. Compare morning vs. evening readings to identify persistent issues versus transient spikes. Consider seasonal shifts and sleeping arrangements that influence air exchange.
Use this data to decide whether improving ventilation, adjusting heat, or reducing moisture sources will most effectively curb condensation. Maintain ongoing logs to track progress after adjustments.
Understanding the Role of Humidity in Indoor Air
Understanding how humidity behaves indoors helps you predict when condensation might form.
You’ll look at humidity basics and how indoor air moves to see where moisture accumulates.
This sets a practical foundation for controlling moisture in bedrooms.
Humidity Basics
Humidity is the amount of water vapor in the air, and it directly shapes how comfortable and healthy a room feels. You’ll measure humidity to gauge comfort, health risks, and condensation potential.
Relative humidity (RH) shows how saturated the air is at a given temperature, while absolute humidity tracks actual water content regardless of temperature.
High RH can feel damp and promote mold, while low RH causes dry skin and irritation.
Temperature interacts with humidity: warmer air can hold more moisture, so a small RH change may feel large.
Aim for a practical range, typically around 40–60% in living spaces, to balance comfort with mold risk.
Monitor with a hygrometer, adjust ventilation, and manage moisture sources to stabilize indoor air.
Indoor Air Dynamics
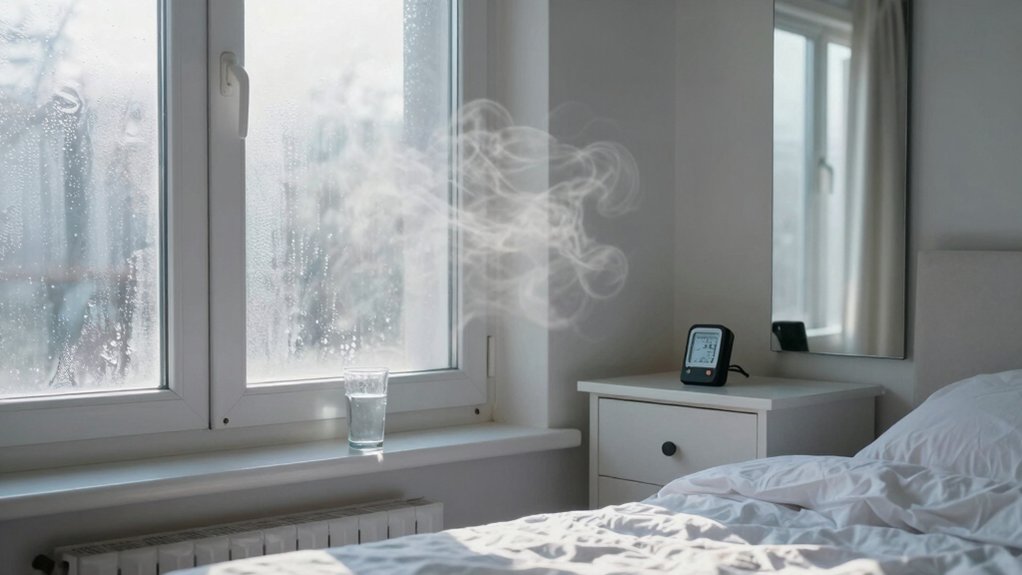
Air moves through a space in response to temperature differences, moisture sources, and ventilation, so humidity isn’t a static value but a dynamic factor that shapes comfort and health. In indoor air dynamics, you’re balancing moisture generation with removal.
Humidity affects perceived temperature, mold risk, and respiratory comfort, so tracking RH trends matters. You’ll notice that warm, moist air carries more water vapor and can condense on cooler surfaces, especially near windows or poorly insulated walls.
Practical control comes from ventilation rate, exhaust fan use, and source reduction—kitchens, showers, and plants matter. Use a hygrometer to monitor relative humidity, aiming roughly 40–60% during heating seasons.
Thoughtful air exchange reduces buildup, lowers condensation potential, and stabilizes indoor climate, supporting healthier, more predictable comfort without overventilating.
Improving Ventilation Without Drafts
You can improve ventilation without drafts by aiming for balanced airflow and minimizing sudden air movements that chill the room. Consider doorway draft alternatives like door closers, egress gaps with seals, or passive vents to keep air moving smoothly.
These tweaks help steady humidity levels while staying comfortable and minimizing noise or chilly drafts.
Balanced Airflow Tips
If you want to improve ventilation without creating drafts, start by balancing airflow between rooms and the outdoors. You’ll identify pressure differences that push air unevenly and adjust intake and exhaust points accordingly. Use continuous, low-velocity currents rather than abrupt changes; this reduces cold spots and noise while maintaining exchange rates.
In practice, place vents to optimize crossflows: near beds, away from windows, and aligned with the main living area. Monitor humidity and temperature with a simple hygrometer and thermometer to verify improvements. Control mechanisms should be simple: use programmable fans or timer-assisted exhausts to avoid stale air pockets.
Seal unintended gaps, but don’t obstruct purposeful vents. Regularly service filters and vents to sustain steady, balanced airflow without drafts.
Doorway Draft Alternatives
To keep air moving without creating chilling drafts, you can treat doorways as controlled air paths rather than barriers. Doorways don’t need to block flow; they should guide it. Use a combination of passive and active strategies to equalize pressure and direct flow without discomfort.
Install door sweeps or soft-close hinges to minimize turbulence, then pair them with vented door inserts or transom vents above openings to encourage vertical exchange. In rooms with moisture hotspots, place a small, quiet fan near the doorway to draw stale air toward a central exhaust.
Avoid oversized gaps that create drafts; instead, balance openings with subtle air cues. Regularly inspect seals, track airflow, and adjust hardware to sustain steady, draft-free ventilation.
Balancing Moisture Sources From Everyday Activities
Balancing moisture sources from everyday activities starts with recognizing how common habits contribute to indoor humidity. You’ll think in steps: identify high-evaporation routines, estimate their impact, and seek practical adjustments.
Showering, cooking, drying clothes indoors, and even houseplants push moisture into the air; note timing and duration to minimize peaks. Use ventilation strategically—brief, targeted bursts during and after these activities can curb buildup without wasting energy.
When you boil or simmer, keep lids on and choose smaller pots; if you can, use exhaust fans or range hoods. Dry clothes outside when possible, or stagger indoor drying to avoid simultaneous humidity surges.
Track progress with simple checks: feel for dampness, watch condensation patterns, and adjust routines accordingly. Consistency beats intensity over time.
Choosing Insulation and Glazing to Reduce Cold Surfaces
You’ll assess insulation effectiveness to prevent cold surfaces that invite condensation. Consider how glazing heat loss contributes to interior temperature drops and moisture issues. Then compare options like multi‑pane or low‑emissivity units.
This practical check helps you prioritize upgrades that keep surfaces warmer and fewer condensation hotspots.
Insulation Effectiveness
Choosing insulation and glazing that minimize cold surfaces isn’t about picking the thickest material—it’s about matching performance to your climate, building type, and budget. In this section, you evaluate insulation effectiveness by focusing on thermal resistance, surface temperatures, and continuous coverage.
You’ll compare materials by R-value per inch, moisture tolerance, and installation compatibility with your walls and gaps. Prioritize systems that minimize thermal bridges, such as taped joints and well-sealed corners, since gaps become condensation hotspots. Consider exterior sheathing and interior lining options that reduce cold spots without adding excessive bulk.
Assess long-term performance under seasonal swings, not just nominal specs. Finally, balance upfront costs with ongoing energy savings, comfort gains, and humidity control, ensuring choices align with your actual living patterns.
Glazing Heat Loss
Glazing heat loss directly affects surface temperatures and condensation risk, so you should aim to minimize cold spots by selecting glazing that matches your climate and building design. You’ll weigh U-values, solar gain, and frame performance to prevent internal surfaces from dipping below dew point.
Prefer double or triple glazing with low-emissivity coatings for better insulation, and ensure airtight seals around frames to avoid drafts. Consider spacer materials and gas fills to reduce thermal bridges, especially at corners.
Align glazing choices with room orientation and shading needs to balance heat loss versus usable solar warmth. Complement glazing with proper insulation around window reveals and sill detailing to limit cold bridging.
Test configurations, compare manufacturers’ performance data, and prioritise long-term durability and cost effectiveness.
Heating Strategies to Minimize Condensation
To minimize condensation, use targeted heating that maintains a steady indoor temperature without creating cold spots. You’ll want a practical setup: zone heating that prioritizes the bedroom and avoids overruns into unoccupied spaces. Keep a constant baseline temperature to reduce surface dew point swings, then selectively boost comfort where humidity tends to linger, like near windows or outside walls.
Choose controllable sources with accurate thermostats, and shim in overnight setbacks only if you’re sure humidity remains controlled. Regularly inspect seals and radiators for proper heat transfer, as blocked flow undermines efficiency. Don’t overshoot; excess heat raises humidity through moisture rebound once you cool down.
Finally, pair these tactics with immediate, trim adjustments when you notice foggy panes or damp patches.
Temperature and Moisture Control Through Simple Habits
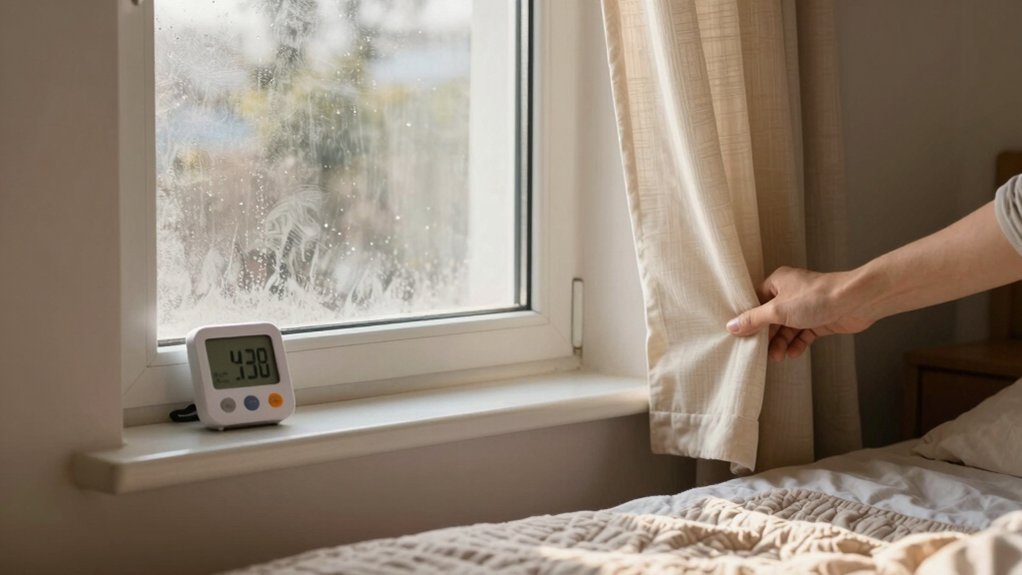
If you want to curb bedroom condensation, simple daily habits can make a big difference by stabilizing both temperature and moisture. You’ll notice the most impact by timing ventilation and reducing standby heat loss.
Open windows briefly after showers or cooking, not for long, to exchange humid air without cooling the room excessively.
Use a consistent morning routine: turn down radiators slightly when you’re not home, then restore heat before sleeping.
Pair this with moisture control: run a dehumidifier in damp seasons or areas, and keep a window opener handy to balance humidity spikes.
Track trends with a hygrometer, aiming for relative humidity around 40–60%.
Combine these habits with steady bedding choices and, when possible, cooler overnight temperatures to prevent condensation buildup.
Practical Quick Fixes for Damp Spots and Walls
Watery spots or damp patches on walls demand prompt, practical action to stop damage and improve comfort. Start by identifying the moisture source: a leak, condensation, or poor ventilation.
If it’s a leak, seal with a waterproof patch and dry the area; call a pro for lasting fixes.
For condensation, increase air movement with a fan or window cross-ventilation, especially after showers and cooking. Wipe surfaces daily to remove surface moisture and prevent mildew.
Use a dehumidifier in high-humidity rooms, setting it to a moderation level and emptying the tank regularly.
Check exterior walls for cold spots; add insulation or door sweeps to reduce thermal bridging.
Repaint damp areas with breathable, mould-resistant coatings to slow recurrence.
Long-Term Improvements for Steady Comfort
Long-term improvements for steady comfort require a structured, issue-led approach that reduces both moisture buildup and energy waste. You’ll prioritize airtightness and controlled ventilation, starting with a thorough gaps-and-thermal-bridge audit. Seal obvious leaks around windows, doors, and outlets, then target insulation gaps in walls, floors, and ceilings to stabilize surface temperatures.
Install a balanced ventilation strategy with heat recovery where possible, ensuring continuous air exchange without blowing warm air outside. Use occupants’ habits as input: vent ranges, showers, and drying routines should align with airflow design to prevent short-circuiting of moisture removal.
Select energy-efficient glazing and window treatments that minimize condensation opportunities while preserving light. Schedule periodic reviews of insulation performance, movement patterns, and equipment efficiency to maintain steady comfort over time.
Monitoring Progress and Adjusting Plans Over Time
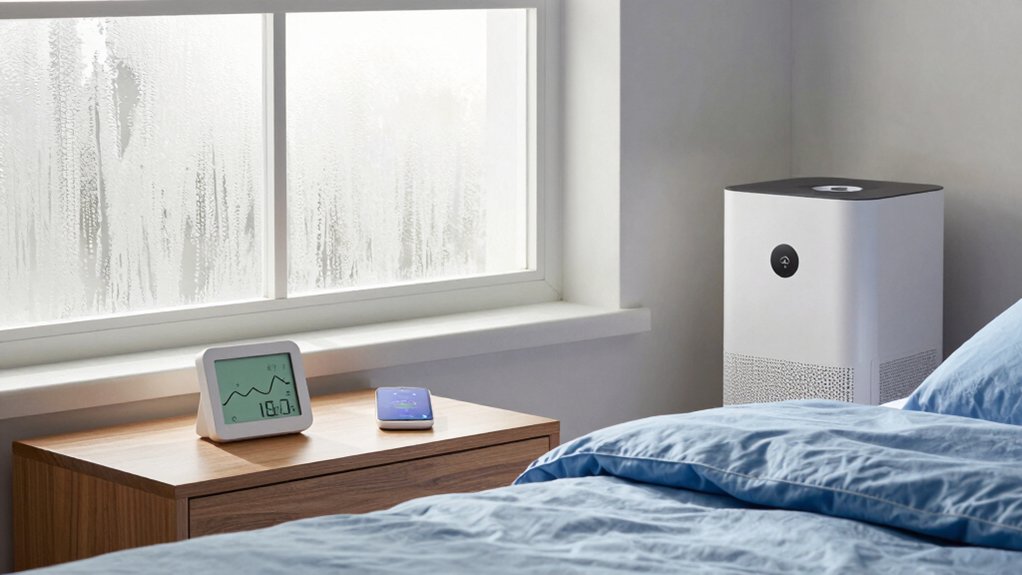
To keep condensation management effective, you measure progress, compare results to your targets, and adjust the plan as needed. You track humidity, surface dew point, and airflow changes with a simple meter and a note of times when windows fog or condensation forms.
Analyze trends: is RH dipping after overnight ventilation, or do readings spike after cooking or showering? Prioritize what you can influence quickly—ventilation routines, thermostat setbacks, or moisture sources—and reflect on whether targets remain realistic.
If improvements slow, re-evaluate room airtightness, insulation, or heating duration. Document changes and outcomes, not excuses. Use small, iterative tweaks, then recheck.
This disciplined review keeps decisions grounded, prevents complacency, and ensures your strategy stays aligned with actual bedroom conditions over time.
Frequently Asked Questions
Can Houseplants Affect Bedroom Condensation Levels?
Plants can nudge condensation a bit by transpiring moisture, but you’ll likely notice only minor shifts. You’ll balance this by proper venting, spacing, and dehumidification; monitor humidity, adjust watering, and choose arid-friendly varieties when needed.
Do Lighting Choices Influence Moisture in Bedrooms?
Yes, lighting can influence moisture: heat from bulbs raises room temperature, increasing evaporation, while LED options emit less heat. Use cool, energy-efficient lighting, ventilate after showers, and monitor humidity to keep condensation in check.
Is Condensation Worse With Gas or Electric Heating?
Gas and electric heating don’t change condensation outright; it depends on how you heat and ventilate. You’ll get more condensation if you heat unevenly or poorly ventilate, so balance consistent warmth with ventilation and humidity control.
How Do Window Films Reduce Condensation Risk?
Window films reduce condensation risk by improving surface temperature and drying airflow, so you’ll see fewer droplets. They act like a tiny climate shield, dramatically cutting moisture buildup while you maintain visibility and light in the room.
Can Indoor Air Purifiers Help Prevent Condensation?
Yes, indoor air purifiers help indirectly by improving overall air quality and reducing humidity-driven pollen and pollutants, but they don’t remove moisture. Use them alongside dehumidifiers, proper ventilation, and temperature control for best condensation prevention.