Painting wood paneling transforms dated walls into a durable, factory-finish surface by carefully cleaning, priming, and selecting a finish that respects the veneer and texture. Start by evaluating veneer quality, texture, and prep needs, then prep thoroughly: clean, repair, and sand. Choose a durable or lower-VOC finish, and color that suits the room’s mood. Apply two thin coats with proper drying times, using the right tools for grooves and edges. If you keep going, you’ll master a lasting, even coverage.
Why You Should Paint Wood Paneling
Painting wood paneling can refresh a room, hide imperfections, and improve durability. You should paint because it preserves historical preservation without altering structural integrity, letting you maintain authenticity while updating appearance.
Aesthetic enhancement comes from selecting finishes that complement era-specific details, rather than masking them. You gain uniform color, reduced maintenance, and easier cleaning, which extends panel longevity.
In practical terms, painting reduces porosity and stabilizes the surface, lowering dust attraction and moisture absorption. It enables you to control sheen and tone for better light diffusion, improving perceived space size.
This approach supports preservation goals and allows deliberate stylistic choices that respect the original design intent. Overall, painting offers a durable, reversible, and cost-effective method to modernize while honoring historical context.
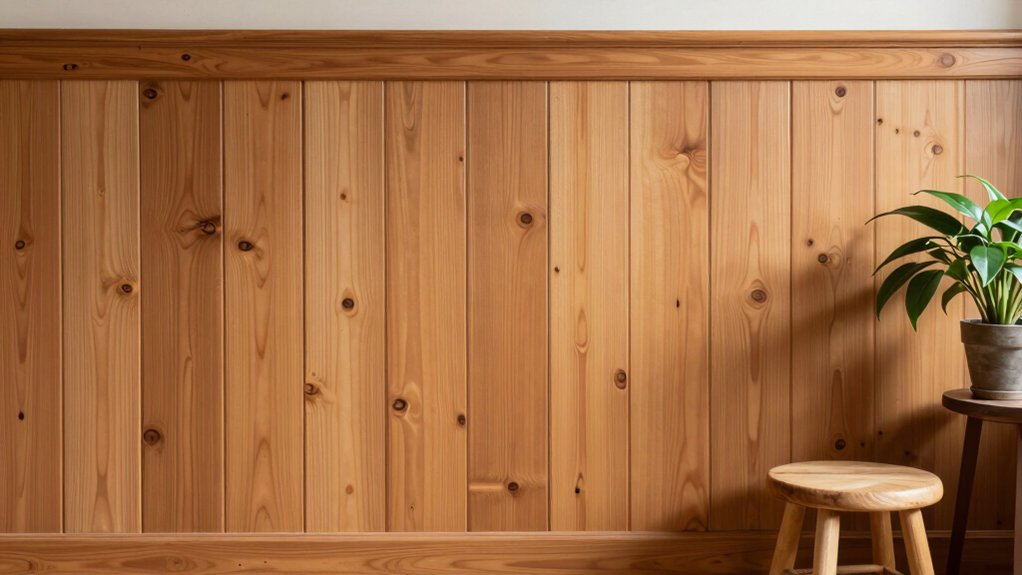
Assess Your Paneling: Veneer, Texture, and Prep Needs
Before you pick a finish, assess what you’re dealing with: veneer quality, surface texture, and the prep work each requires.
You’ll evaluate veneer identification to determine whether your paneling is solid wood, plywood, or a thin veneer over a substrate. This distinction guides adhesive compatibility, sanding strategies, and edge handling.
Next, examine texture: flat, grained, or embossed surfaces affect how you apply primer and topcoat, and influence adhesion expectations.
Gauge the overall paneling durability by inspecting gaps, warps, or inconsistencies that signal movement and need for stabilization.
Document existing finishes to anticipate compatibility issues with dye, stain, or paint.
Finally, align your plan with restoration versus refresh goals, ensuring your prep plan targets the underlying substrate, not merely the surface appearance.
Prep Like a Pro: Clean, Sand, Prime for Durability
To guarantee durability, start with a clean, stable surface: remove dust, grease, and old coatings, then repair any gaps or warped areas before sanding.
You’ll achieve uniform adhesion by washing with a mild degreaser, rinsing, and allowing full dry time.
Sanding follows with a fine-grit paper to smooth surfaces without shredding veneer. Use a sanding block to maintain flat, even contact and prevent gouges.
Prime after dust removal to seal porosity and improve topcoat bond; apply a thin, even coat and let it cure before sanding lightly to re-create a tooth for paint tools and subsequent coats.
When applying, use deliberate brush techniques to minimize lap marks and edge buildup.
Maintain a clean work zone, replace worn brushes promptly, and keep containers closed to prevent contamination.
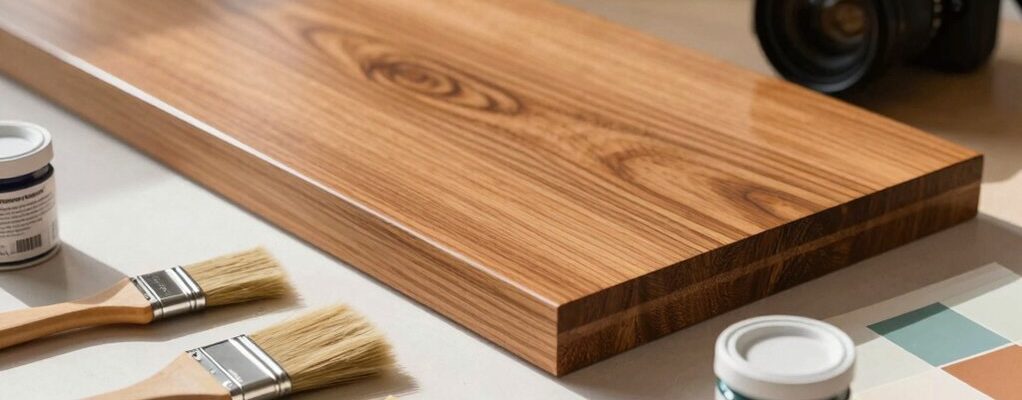
Choose the Right Finish and Color for Wood Paneling
Choosing the right finish and color sets the project’s durability, appearance, and maintenance needs. You’ll select a finish based on exposure, wood species, and desired sheen, balancing protection with aesthetic goals.
For high-traffic panels, opt for durable options like polyurethane or alkyd enamel. For lower-traffic areas, water-based poly or varnish can reduce odor and cleanup time.
Color choices influence mood and perceived space through color psychology, so pick tones that harmonize with lighting and existing decor. When staining, test a sample on similar wood under the same lighting to gauge hue shifts and saturation.
For paints, prioritize low VOC, acrylic systems that resist peeling and rebound. Seal edges, mitigate bleed-through, and ensure even film buildup.
Finish durability, coupled with appropriate color strategy, yields lasting, cohesive paneling.
Step-by-Step Painting Process for Even Coverage
Begin by preparing the surface: remove dust, grease, and old finishes, then repair any defects and sand smooth for a crisp base.
You then establish clean edges and use painter’s tape to protect adjacent areas.
Apply a high-quality primer compatible with your topcoat, guaranteeing even penetration across flat and raised surfaces.
Brush techniques matter: use long, even strokes, maintain a light load, and avoid over-brushing to prevent lap marks.
For larger panels, switch to a roller with a medium nap to achieve uniform texture without stippling.
Pick paint tools that match panel detail—angled sash brushes for grooves, trimming brushes for tight corners, and a microfiber roller for smooth, consistent coverage.
Apply two thin coats, allowing proper dry times, and finish with a light tack between coats to ensure adhesion and durability.
Frequently Asked Questions
Can I Paint Over Stained or Varnished Paneling Without Stripping?
Yes, you can, but you must prepare: roughen surfaces, clean, and use stain-blocking primer. Expect improved stain coverage and guarantee varnish adhesion before applying your topcoat, or finish may peel and fail.
How Many Coats Are Ideal for Durable, Lasting Finish?
Two to three coats yield durable, lasting finish. You’ll maximize paint durability with proper prep and consistent application, then seal using recommended finishing techniques, allowing each coat to dry fully before the next.
What Tools Produce the Smoothest, Even Results?
Use high-quality brush types for cut-in edges and a smooth roller technique with a 3/8-inch nap; combine these tools, maintain even pressure, and keep a wet edge to achieve the smoothest, most uniform finish.
Can You Paint Paneling in High-Humidity Kitchens or Bathrooms?
Yes, you can, but you’ll need moisture resistant paint and proper ventilation tips. While high humidity isn’t ideal, you must regulate moisture, prep surfaces thoroughly, and ensure exhaust ventilation, adequate airflow, and temperature stability for durable results.
How Long Should the Paint Cure Before Reinstallation or Use?
You should wait for the paint to cure fully before reinstallation or use; typically, allow a drying time of 24 hours between coats and observe a longer cure period per product guidelines, noting a recommended recoat interval.
Conclusion
You’ve learned the essentials for painting wood paneling with durability and a professional finish. By evaluating veneer and texture, prepping properly, and choosing the right finish and color, you set up consistent, long-lasting results. For example, a mid-century living room upgraded with a satin acrylic on pine paneling stayed smooth and wash-ready after a two-step primer. Follow these steps, maintain clean edges, and you’ll reproduce reliable, factory-like quality in every room.