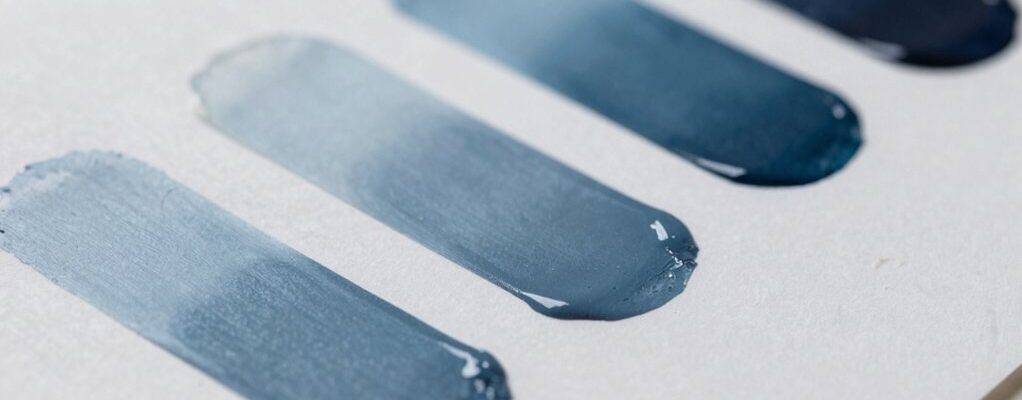
Paints often dry darker than the wet swatch. As solvent evaporates, pigment concentration and binder set, while the substrate tint and surface texture reveal more of the depth you don’t see wet. Sheen and lighting shift perception—gloss tops look brighter, matte hides details, and warm or cool lights tilt the hue. Testing under real-space lighting helps predict outcomes. Choose formulations with stable pigment dispersion and use standardized panels to track changes; you’ll uncover more as you continue.
Why Paint Colors Dry Darker or Lighter
When paint dries, colors often look darker or lighter than they did on the wet film because pigment particles scatter and absorb light differently as the solvent evaporates. You’ll notice the shift happens due to pigment saturation, glaze thinning, and substrate tint.
In practice, expect slight desaturation as binder sets and surface texture reveals micro-roughness. To anticipate outcomes, run a small test panel and compare dry swatches to your lamp-light view. Use paint chip comparisons during evaluation to confirm the match under intended lighting.
Apply color wheel theory to predict interactions, especially with adjacent hues and warm-cool balances. Remember that a medium or high-gloss film can heighten perceived contrast.
Document results to refine formulations and improve future color stability under real-world conditions.
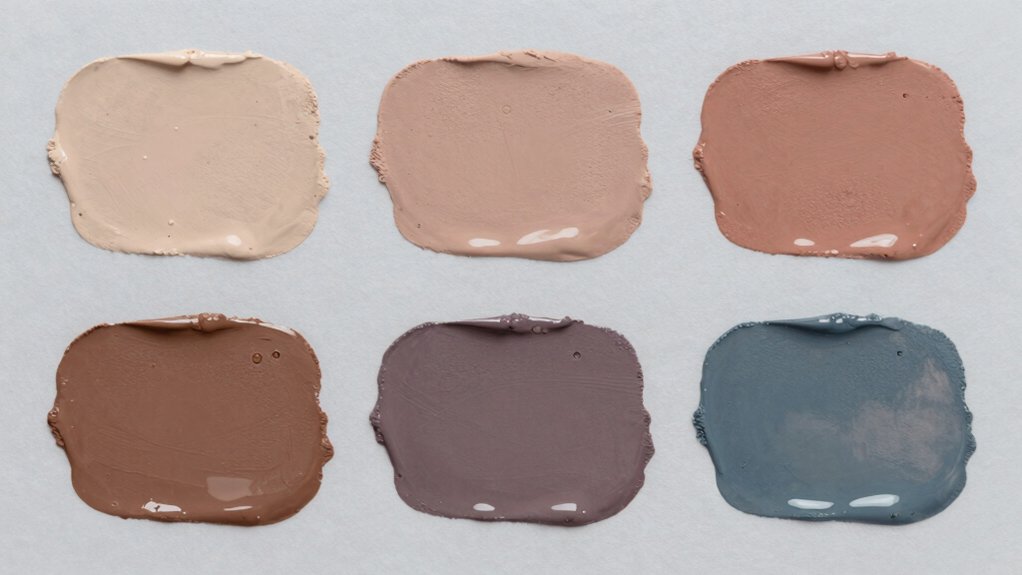
How Base Color and Undertones Shape the Final Hue
Base color sets the anchor hue, while undertones tint it beneath the surface. You’ll see how the base shade defines overall warmth or coolness, and undertones subtly shift that direction.
In practice, consider what you want the final hue to convey before mixing: a neutral base can neutralize strong undertones, while a saturated base heightens them. Your goal is predictable pigment depth, so document your base color’s component ratios and note how each addition alters the result.
Pay attention to how base undertones influence the perceived brightness, even when you aren’t adjusting lightness. When layering, expect cumulative effects: a slight undertone boost can push the hue toward olive, peach, or blue without changing the base itself.
Precision in pigment depth ensures consistent, repeatable outcomes.
How Temperature and Lighting Change What You See
Lighting shifts your perception of hue, so you’ll notice color changes as temperature and fixture type vary.
Compare daylight to artificial light to see how warmth or coolness alters the look of your dried coats.
Track these shifts to choose finishes that read correctly in the spaces you’re painting.
Lighting Effects On Hue
Color temperature and light quality can visibly alter paint hue, so always test color swatches under the lighting conditions you’ll use for the project. You’ll notice warmer light shifts yellows and reds, while cooler light enhances blues and greens. This isn’t just mood; it changes perceived saturation, value, and contrast, affecting final results.
When selecting shades, evaluate under both ambient and task lighting to anticipate any hue drift at install. Consider matte versus gloss finishes, as reflectivity interacts with room brightness to modify apparent color depth.
Use color psychology to align hue choices with space function and mood, and rely on paint technology guidelines to predict performance under different light spectra. Document observations, then apply calibrated adjustments to your palette for consistent results across varying light.
Temperature And Perception Shifts
As you move from considering lighting effects on hue to how temperature and lighting shift perception, recognize that color is an active perceptual process, not a fixed property.
You’ll notice warm temps pull hues toward amber, cooler temps lean toward blue, and even gloss level can intensify or soften appearance.
In practice, test samples at the same stage of cure under the target environment to predict final look; don’t rely on ambient perceptions alone.
Consider color psychology: mood and space use can be altered by subtle shifts, so choose hues with intended impact in mind.
Temperature differences can reveal or mute undertones, affecting perceived paint durability; document results, then communicate expectations to clients.
Use controlled lighting, consistent conditions, and standardized swatches to improve reliability and satisfaction.
Daylight Versus Artificial Light
Natural daylight and artificial light reveal color differently, so expect shifts in hue, saturation, and warmth as you switch environments. Daylight shows true values, while incandescent and LED bulbs can warm or cool the appearance, affecting how your paint reads on a surface.
When evaluating color, compare under both light sources to avoid surprises in finishing rooms or exterior applications. Track color chemistry by noting pigment interactions, drying films, and binder effects that alter perceived tone under varied lighting.
Avoid relying on a single light condition for final decisions; use standardized samples labeled with test lighting. Consider color psychology implications: warmer LEDs can feel cozy, cooler daylight feels clinical.
Use cross-light testing to narrow options with practical, repeatable outcomes.
How Sheen Affects Perceived Color on Walls
Sheen shifts perceived hue as light interacts with the surface, so you’ll notice color reads differently from room to room.
Light reflects differently off satin, eggshell, or matte finishes, altering brightness and saturation along the wall.
The finish itself adds depth, making some tones feel warmer or cooler depending on the sheen you choose.
Sheen Shifts Perceived Hue
Gloss finishes alter how we perceive color, so the sheen on a wall can shift the hue you see under different lighting. You’ll notice subtle shifts as light hits gloss effects and satin sheens.
In practice, choose samples on your actual wall in the room’s lighting to verify hue, not on a swatch alone. A high-sheen finish reflects more light, nudging the perceived color cooler or brighter; a low-sheen dulls glare, making tones appear warmer or deeper.
When comparing options, look at color under morning, noon, and evening light. Record observations, noting any hue drift. Use consistent lighting and test nearby walls to ensure uniform perception.
Light Reflects Differently
Light interacts with wall surfaces differently as you move through space and lighting. You’ll notice sheen changes perceived color, especially on large walls or rooms with mixed daylight. A flatter finish absorbs more light, while higher sheens reflect more, shifting hue subtly as you walk or as lamps switch on.
Color psychology matters here: the same paint color can feel warmer or cooler depending on gloss level and surrounding light. When choosing, consider how you’ll use the space and how natural and artificial light interact with the substrate.
Paint application should be consistent and thorough to avoid uneven reflections. Test swatches under typical lighting, and evaluate at multiple times of day to ensure the final color aligns with your intent.
Finish Alters Depth
Even subtle changes in finish can alter perceived depth on walls. You’ll see this when you compare flat, eggshell, and satin sheens side by side in a room with controlled lighting. The finish alters depth by changing how light clips and shadows form across surfaces, which can make a color feel lighter or deeper.
A glossier coat reflects more, accentuating texture and subtle color shifts, while a flatter surface reads as more uniform and slightly muted. Consider paint texture influence: rougher textures catch more highlights, altering apparent hue at different angles.
For practical results, test swatches in the actual space, viewing at eye level under typical lighting. Choose finishes that balance desired depth with durability and washability for your wall conditions.
Practical Tests to Predict Dry Color Accurately
Practical tests that predict dry color quickly should be repeatable and tied to real-world conditions you’ll see in production. You’ll run small-scale trials that mirror your process—same substrates, film thickness, curing time, and ambient exposure. Use standardized panels to compare wet color to dry outcomes, documenting deviations promptly.
Focus on color saturation as a primary indicator: note shifts after solvent loss, oxidation, or cross-linking that affect perceived depth. Record pigment opacity effects separately, since opaque or translucent pigments can mask underlying tones differently when dry.
Employ quick, non-destructive tests like reflectance readings and visual checks under controlled lighting. Correlate results with batch-to-batch variations, adjusting timing or staggering tests to reflect production speed and environmental swings.
Precision in method minimizes surprises during full-scale production.
Choosing Paint Formulas for Color Consistency
To uphold consistent hue, start by selecting formulations with proven chromatic stability across the expected production range—substrates, film thickness, curing conditions, and environmental exposure.
You should prioritize color matching during formulation development, testing each batch under real-world variables to confirm repeatability.
Choose paint formulation components with low pigment dispersion sensitivity and stable binder pigments, minimizing settling and gloss drift.
Establish a baseline recipe and document tolerances for each pigment shade, then implement strict QC checks at batching and after cure.
Use standardized color metrics, like ΔE targets, to guide adjustments before production runs.
Favor formulas with documented color retention data across aging and weathering tests.
Maintain clear version control, audit trails, and supplier data to ensure long-term color consistency.
Troubleshooting Common Color Shifts on Walls
Color shifts on walls often stem from mismatched pigments, carrier systems, or finish interactions with substrates and lighting. When troubleshooting, start by confirming color matching across batches and suppliers before you apply. Inspect base color, tint strength, and any additives that could alter hue after drying.
During paint application, maintain consistent technique: uniform coat thickness, proper tool choice, and steady airflow to prevent film variability. Note surface preparation—dirty, glossy, or porous substrates can skew appearance as the film cures. Document calibration steps and test panels under the actual lighting conditions, then compare to the desired reference.
If shifts occur, adjust next coats with calibrated tints or a tested formula. Keep records, communicate changes, and verify final color before project completion.
Frequently Asked Questions
Do Different Brands’ Whites Dry Differently in the Same Room?
Yes, different brands’ whites can dry differently in the same room. You’ll notice variation in finish and color slightness due to paint consistency and drying time, so test a small area first to gauge how it dries.
How Soon Can I Repaint After Color Shifts Occur?
Like a chameleon settling, you can repaint after shifts stabilize, typically 24–72 hours, depending on temp and humidity. You should track the drying process and make certain of color stability before applying a second coat.
Can Color Samples Predict Final Shade on Large Walls?
Color sample accuracy matters, but it isn’t perfect; shade prediction reliability improves with multiple samples and lighting checks. You’ll reduce surprises on large walls by testing under real site conditions and matching finishes before committing.
Do Painters’ Technique and Roller Type Affect Final Color?
You’ll find final color shifts—up to 20%—from technique, so yes: brush texture and roller density matter. You’ll apply smoothly, avoiding streaks; pick consistent textures, and you’ll achieve predictable, even coverage with minimal color drift.
Will Outdoor Lighting Change Indoor Color Perception Over Time?
Natural light will shift color perception outdoors versus indoors, but it won’t permanently change indoor paint once you’re inside. Over time, you’ll notice subtle changes as natural light angles vary, requiring periodic color perception checks.
Conclusion
You’ll notice your chosen paint often dries darker or lighter depending on base, undertones, and lighting. Use swatches, test patches, and note sheen, temperature, and room color to predict the result. Think of color as a chameleon: it shifts with context. By matching formula and finish, you minimize surprises and keep consistency from sample to wall. A single, well-tested test area acts as your compass, guiding decisions through practical, repeatable steps.