Damp problems show up in subtle and clear ways—odors, staining, mold, peeling paint, or damp patches—so you start with a thorough inspection and moisture readings. You’ll identify sources, from groundwater to plumbing leaks, and assess how the moisture rises through walls or floors. Then you choose targeted treatments—surface coatings, breathable replaster, or foundation sealing—yet the best results come from a precise plan tailored to your home’s layout and climate, preventing future dampness and preserving indoor air quality. Consider what to tackle first.
Common Signs of Damp in Homes
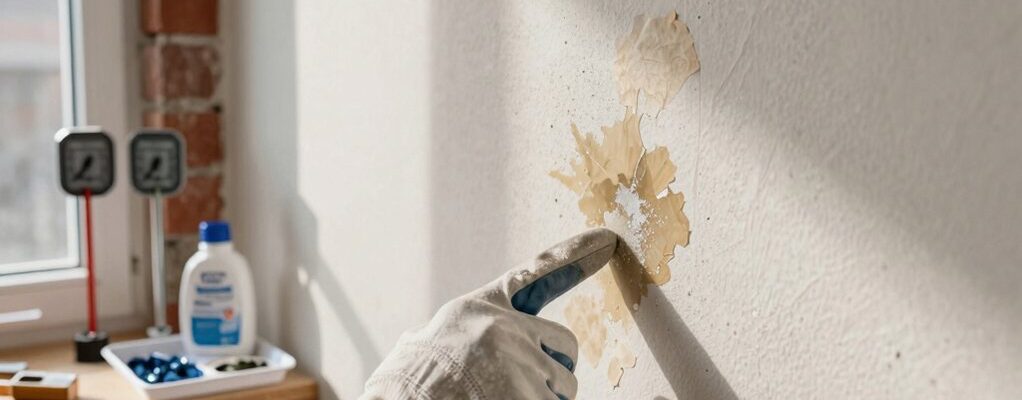
Damp can manifest in several telltale signs around your home, and recognizing them early helps prevent further damage. You may notice persistent damp odors that linger despite ventilation, suggesting hidden moisture pockets.
Look for staining on walls or ceilings, often brown or yellow, as moisture migrates and mineral deposits form. Peeling, bubbling, or crackling paint or wallpaper indicates sustained damp exposure near the surface.
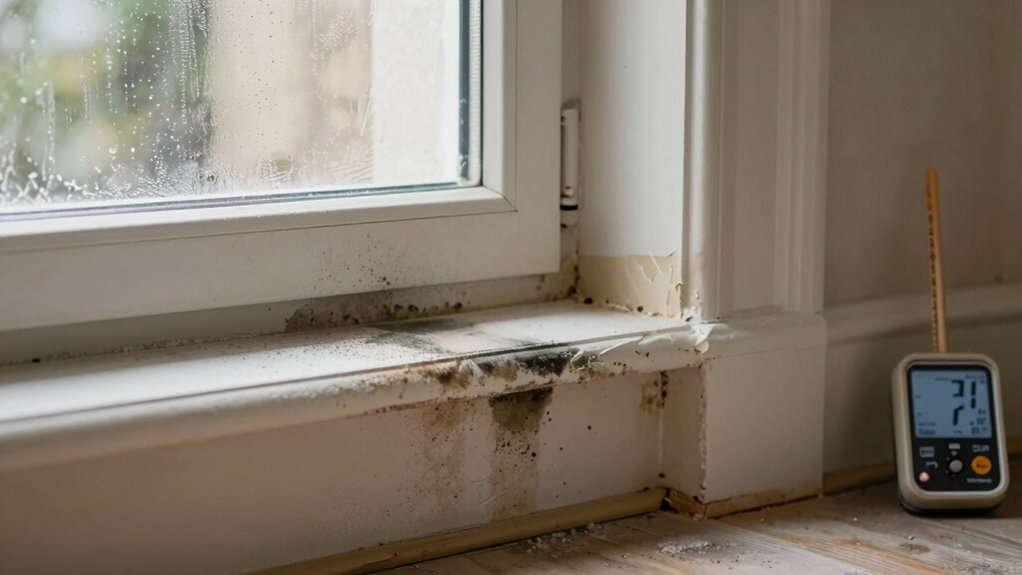
You might see efflorescence, a powdery whitish residue, where moisture travels through masonry. Condensation on windows, mirrors, or cold surfaces points to high humidity levels within rooms, especially in kitchens and bathrooms.
Mold growth, typically dark green, black, or gray, signals ongoing moisture and can impact indoor air quality. Also, dampness can cause warped timber, contributing to misaligned doors or floors.
Early detection enables targeted assessment and timely remediation.
Understanding Moisture Sources and How It Rises
Moisture in a building originates from several sources, and recognizing how it intrudes helps prevent damage before it starts. You should distinguish interior humidity from external moisture and note how each contributes to conditions favorable for damp.
Surface damp often stems from temperature differentials that cause condensation on colder walls. Rising damp travels from the ground through porous substrates via capillary action.
Exterior ingress results from compromised barriers: cracks, gaps, or failed flashing that admit rain and wind-driven moisture. Building materials vary in permeability, so moisture movement may differ between masonry, concrete, and timber.
Ventilation patterns influence accumulation; inadequate airflow elevates humidity and concentrates salts. Regular inspections of foundations, walls, and joints identify contributors, enabling targeted, durable interventions.
Assessing Damp Severity: When to Seek Help
If you notice persistent damp signs such as staining, peeling paint, or musty odors, you should assess how severe the issue is and decide whether professional help is needed.
Start with basic observations of the signs of damp severity, and use clear criteria to determine if you should call a pro, especially for persistent or spreading damage.
You’ll follow testing and evaluation steps to confirm the extent before planning remediation.
Signs of Damp Severity
Evaluating damp severity requires identifying clear indicators that warrant professional evaluation. You should note persistent staining, efflorescence, or peeling paint across multiple surfaces, suggesting ongoing moisture intrusion rather than isolated incidents.
Cracking plaster, mould growth in concealed areas, or a musty odor indicate conditions beyond superficial remedy. Pay attention to damp patches that recur after ventilation improvements or cleaning, as repeated episodes imply structural or drainage shortcomings.
Moisture meters showing elevated readings or high indoor humidity levels corroborate visible evidence, even when sources aren’t obvious. Consider the rate of deterioration: rapid changes signal more urgent intervention than slow, seasonal fluctuations.
If you observe programs of damp recurrence after remedial measures, treat it as a potential failure of prior treatment, prompting professional assessment to determine cause, extent, and appropriate remediation.
When to Call Pro
When damp signs persist despite basic ventilation and routine cleaning, it’s a clear signal to call in a professional.
You assess severity by noting persistence, spread, and impact on structure. If efflorescence, persistent staining, or musty odors remain after remedies you’ve tried, seek evaluation.
Visible mold growth, recurring damp patches, or peeling plaster indicate deeper issues that require expertise. A pro can differentiate between surface dampness and structural moisture intrusion, determine moisture sources, and identify ventilation or condensation drivers you may overlook.
Expect a systematic inspection, including moisture readings and a review of building envelope integrity.
Engaging timely expertise reduces repair complexity and cost, preventing secondary damage like timber decay.
Delaying professional input risks overlook, escalation, and compromised indoor air quality.
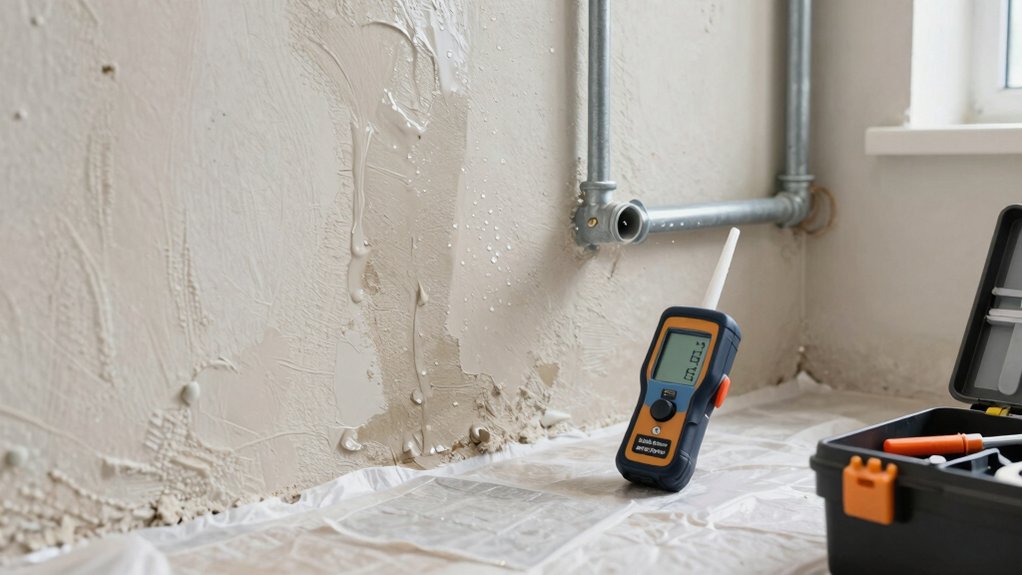
Testing and Evaluation Steps
To gauge damp severity accurately, you begin with a structured testing and evaluation sequence that distinguishes surface moisture from structural intrusion.
Begin with a visual inspection, noting staining patterns, evaporative damp, efflorescence, and any recurring leaks.
Use a moisture meter to measure wall and masonry moisture content at multiple depths, recording readings against material standards.
Check ventilation, humidity, and condensation sources, then replicate conditions to observe persistence over 48 to 72 hours.
If readings exceed material thresholds or signs persist after addressing superficial causes, escalate to invasive assessment, such as infrared thermography or moisture mapping.
Document findings with photos, dates, and locations, forming a baseline for treatment decisions.
Seek professional interpretation when measurement data conflict with observations or when risk to structural integrity is suspected.
Ventilation and Airflow Tweaks for Immediate Relief
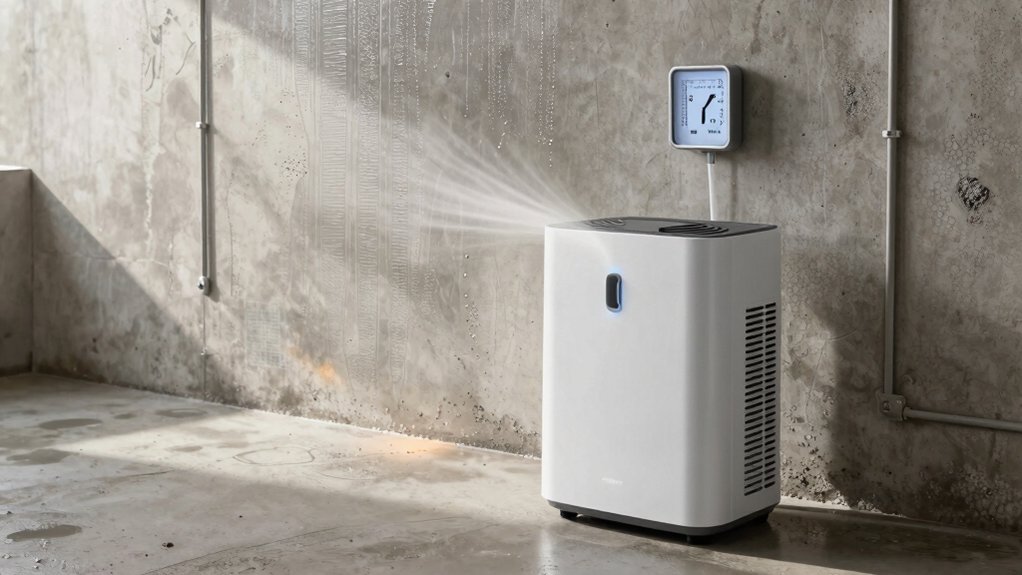
Ventilation and airflow are immediate levers you can adjust to reduce damp-related issues tonight. You should guarantee continuous, unobstructed movement of air between indoors and outdoors, prioritizing low-humidity pathways. Open windows strategically during drier periods and use exhaust fans in kitchens and bathrooms to remove moist air at its source.
If external conditions permit, cross-ventilate by creating a slight differential, placing vents or vents gaps on opposing sides. Run the ventilation system at a minimum efficiency to avoid energy waste while maintaining adequate airflow.
Avoid blocked air paths: remove furniture that restricts voids, and keep door gaps clear with weather stripping. Monitor humidity with a reliable gauge, aiming for relative humidity around 40–60 percent to suppress condensation. Reassess nightly for immediate, measurable relief.
Targeted Damp-Proofing Treatments: An Overview
You’ll explore targeted barrier options and localized repair approaches as essential components of damp-proofing strategy. These methods address specific wall and junction conditions, enabling precise intervention without overhauling entire structures.
Targeted Barrier Options
Targeted barrier options focus on installing damp-proofing barriers precisely where moisture ingress occurs, rather than applying broad, uniform treatments. You evaluate vulnerability points—cracks, joints, parapets, and exterior walls—and select barriers that address those pathways directly.
Options include phased liquid-applied membranes, hydrophobic coatings, and sheet membranes installed at the most at-risk interfaces, ensuring continuity with existing structures. You consider substrate compatibility, installation conditions, and expected hydrostatic pressures to determine durability and performance.
Barrier placement should align with drainage patterns and known moisture tracks to prevent cross-flow beneath finishes. You assess long-term maintenance requirements, potential thermal movement, and compatibility with interior vapor controls.
Finally, you document test results, warranty terms, and monitoring strategies to verify effectiveness over time.
Localized Repair Approaches
Localized repair approaches focus on applying targeted damp-proofing treatments directly where damage or vulnerability is most evident, rather than broad sympathetic measures. You’ll assess the affected area, identify moisture sources, and select a compatible intervention calibrated to the specific condition.
Common options include injecting occlusive resins to halt rising damp, applying hydrophobic creams to capillary pores, or installing surface sealants for condensation-prone surfaces. Prioritise moisture control combined with structural assessment to ensure footing integrity and avoid unintended consequences like trap‑roofing or substrate cracking.
Choose materials compatible with existing substrates and breathable where appropriate to maintain interior humidity balance. Document environmental conditions, application temperatures, and cure times to ensure effectiveness and long-term durability.
Schedule follow-up inspections to verify performance and address residual dampness promptly.
Wall Solutions: From Surface Treatments to Replastering
Surface treatments and replastering form a continuous approach to wall damp proofing, beginning with assessment and targeted surface interventions before progressing to structural remedies.
You begin with careful moisture assessment, documenting salt efflorescence, damp patches, and material breakdown. Surface interventions include breathable coatings, eliminations of capillary rising damp, and compatible plaster finishes that manage moisture movement without trapping it.
When substrates have degraded, you select primer systems and patch materials that preserve historical integrity while improving vapor permeability. Replastering focuses on restoring a cohesive render with appropriate plaster mixes, mesh reinforcement where needed, and movement joints to accommodate seasonal shifts.
You confirm airtightness improvements without hindering moisture escape, ensuring decorative finishes align with permeability goals. Finally, you establish monitoring to verify sustained effectiveness and avoid relapse.
Foundation and Basement Strategies for Moisture Control
Foundation and basement moisture control requires a proactive, integrated approach that begins with thorough assessment and ends with durable, measurable results. You methodically map moisture sources, including exterior runoff, soil hydrology, and interior diffusion, to prioritize intervention.
Begin with a professional diagnostic, documenting humidity levels, thermal patterns, and drainage performance before selecting remedies. Foundation walls warrant targeted sealants and, where needed, structural stabilization to prevent crack-driven ingress.
Exterior strategies emphasize graded drainage, properly functioning gutters, and sump systems with reliable backup, installed to maintain negative soil moisture gradients without trapping water.
Inside, you manage vapor barriers and dehumidification to sustain consistent indoor conditions. Finally, implement a monitoring plan with clear benchmarks, ensuring solutions perform under varying weather, occupancy, and load conditions.
Preventative Maintenance to Keep Damp at Bay
Preventative maintenance is essential to keep damp at bay and preserve the integrity of your structure; by scheduling regular inspections and timely interventions, you can detect and address moisture risks before they escalate.
Establish a maintenance calendar that prioritizes exterior drainage, visible foundation seams, and penetrations around doors and windows. Clean and inspect gutters, downspouts, and grading to ensure unobstructed water flow away from the building envelope.
Monitor interior spaces for early signs of damp, such as condensation on surfaces or musty odors, and address these indicators promptly. Use breathable, appropriate sealants where minor cracks appear, and verify ventilation rates in habitable areas to prevent humidity buildup.
Document findings, plan corrective measures, and renew assessments on a defined cycle to sustain long-term effectiveness.
Red Flags That Indicate Professional Intervention Is Needed
If damp persists despite routine maintenance, it’s a clear signal that professional evaluation is needed. You should be alert to persistent odors, musty smells that intensify with humidity, or visible mold growth that spans multiple surfaces.
Cracking plaster, peeling paint, or efflorescence on masonry often indicate hidden moisture pathways or structural issues requiring expert assessment. Recurrent damp spots after remediation attempts suggest ineffective barriers, wrong materials, or drainage faults.
Significant condensation on windows, elevated humidity readings, or musty basements that fail to improve with airflow upgrades point to ventilation or enclosure problems needing specialized treatment.
Any damp-related health symptoms, such as persistent coughing or headaches, warrant medical consultation alongside professional damp proofing.
Finally, circumstantial indicators like prior flooding, leaks, or bowed walls should trigger a professional survey.