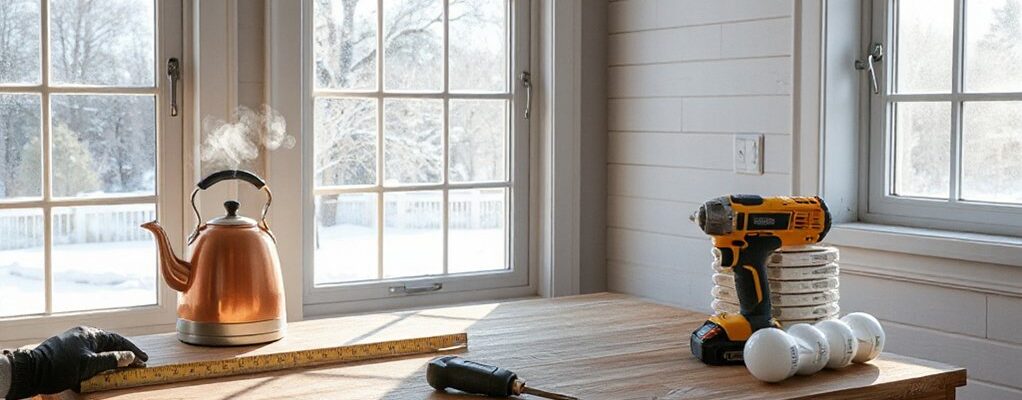
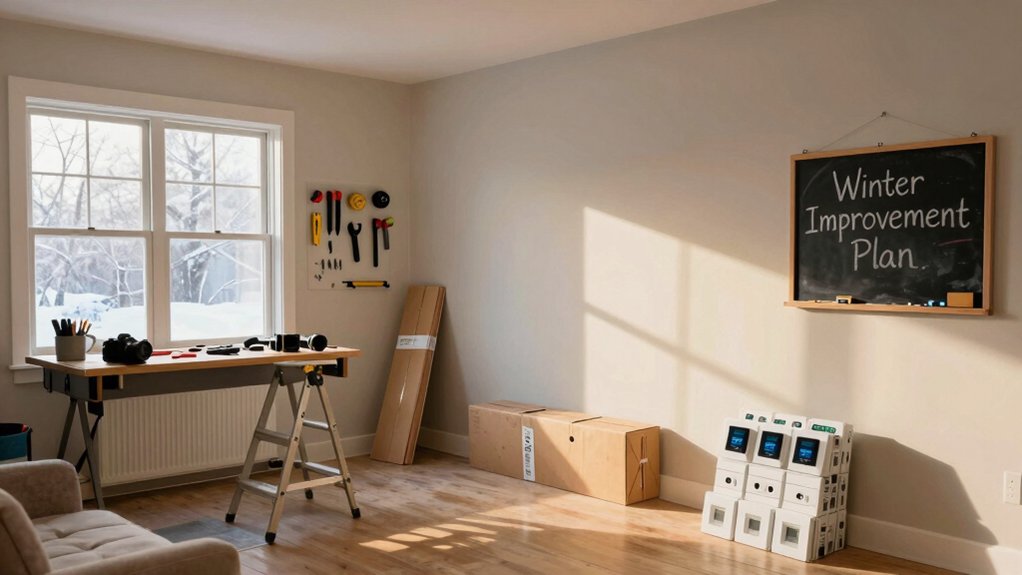
Start with a clear Winter Improvement Plan: map priorities, set realistic timelines, and assign owners. Focus on quick wins that cut bills and boost warmth—seal gaps around doors and windows, add weatherstripping, and top up attic insulation. Weatherproofing is essential; identify drafts with candles, seal leaks, and use foam or caulk where needed. Consider safety first: test detectors, inspect heating units, and drain exterior taps. If you keep going, you’ll discover even more practical steps and savings.
Key Takeaways
- Plan a Winter Improvement Plan with prioritized, measurable goals like energy savings and comfort.
- Focus on insulation and sealing: top up attic insulation and seal gaps around doors and windows.
- Implement quick energy wins: weatherstripping, door sweeps, and insulating window treatments.
- Schedule high-impact tasks early and batch related work to minimize weather disruptions.
- Include safety and maintenance: test detectors, inspect heating, drain exposed pipes, and clear vents.
Establish Your Winter Improvement Plan
To start, map out your priorities and set a realistic timeline for winter projects. You’ll gain leverage by listing must-daves and nice-to-haves, then sequencing them for maximum impact. Establish clear, measurable goals: energy savings, durability, comfort, and curb presence.
Draft a master calendar, blocking time for seasonal gardening tasks, tool upgrades, and holiday decorating prep. Allocate buffers for weather delays and supply shortages, and assign ownership so nothing slips. Prioritize projects with the strongest return on investment and the greatest disruption reduction.
Create a risk matrix to confront cold snaps, moisture, and power demands head-on. Track progress with weekly check-ins and adjust plans as conditions shift. This approach keeps you in control, disciplined, and ready to execute decisive, high-impact improvements.
Quick Wins: Shrink Bills and Boost Warmth
One quick way to lower your winter energy bill is to seal gaps and tighten up drafts, because small leaks add up fast. You’ll gain measurable warmth by smartly rearranging heat flow and hiding unsightly elements with purposeful touches.
- Inspect windows and doors, caulk where needed, and add weather stripping for a tighter shell.
- Install radiator covers to direct heat into rooms and reduce visible heat loss.
- Upgrade or position fireplace mantels to reflect warmth from heat sources without blocking vents.
- Add door sweeps and seal attic hatch access to keep heated air in and cold air out.
These moves deliver practical gains with minimal effort, keeping your space efficient and powerful.
Weatherproofing Essentials for the Season
You’ll start by sealing air gaps where you feel drafts, then optimize insulation to keep heat in and cold out. Check doors and windows for drafts, add weatherstripping or door sweeps, and consider simple insulation tweaks to improve overall performance.
With these steps in mind, you’ll address sealing gaps, insulation tweaks, and draft-prone spots to set a solid foundation for the season.
Sealing Air Gaps
Sealing air gaps is one of the quickest ways to boost comfort and cut energy bills this season. You’ll pinpoint drafts, block cold air, and tighten your home’s envelope with purpose-driven actions. Mastery comes from precision, not guesswork, so stick to proven sealing techniques and test for leaks as you go.
- Identify drafty spots with a candle test, then mark them clearly.
- Choose appropriate products—caulk for gaps, foam for larger openings, weatherstripping for doors.
- Apply with steady, even pressure; smooth edges for a clean seal.
- Recheck by simulating wind or fan pressure, then adjust as needed.
This approach prevents drafts, reduces heat loss, and delivers consistent results.
Insulation Optimization Tips
To maximize comfort and cut energy costs this season, start with a practical insulation check and upgrade plan. You’ll identify gaps, assess existing insulation depth, and set target R-values for each area.
Focus on thermal barriers to slow heat transfer where you live and work. In the attic, attic insulation should blanket the roof cavity without compressing; add or top up to the recommended thickness, ensuring even coverage and avoiding wind gaps around joists.
Seal penetrations and air leaks first, then layer insulation for continuous performance. Prioritize the attic and crawl spaces, but don’t neglect exterior walls and basement rims.
Use a meters-to-inches mindset: measure, compare, and adjust until you’ve achieved a tight, consistent envelope.
Door and Window Drafts
Weatherproofing door and window drafts is a quick win for comfort and savings, especially when the seasonal chill sets in. You’ll stop heat loss in its tracks by targeting openings with purpose and precision. Here’s a streamlined approach:
- Inspect doors and windows for drafts, focusing on gaps around frames and sashes.
- Install draft stoppers on doors and add weatherstripping to seal flanks where air leaks.
- Consider storm windows for persistent cold zones to boost insulation without full replacements.
- Seal cracks with caulk, then test with a simple candle check to confirm airflow reduction.
Insulate Doors and Windows Without Replacing Them

If you’re not ready to replace doors and windows yet, you can still cut drafts and boost comfort by applying simple, effective insulation tweaks.
First, tackle door insulation: install door sweeps to seal the gap at the bottom, add weatherstrips along jambs, and consider a rigid foam gap filler for larger drafts.
For windows, pursue window sealing with interlocking weatherstrips, clear silicone around sashes, and foam tape to seal cracks.
Use insulating film kits on movable panes for a temporary but tight seal, and apply core-filled window quilts or thermal curtains for constant barriers.
Prioritize high-traffic entry points, re-check thresholds, and test with a candle or incense to spot leaks.
These steps dramatically reduce heat loss and improve comfort without replacing components.
Energy-Smart Lighting for a Cozier Home
With energy-smart lighting, you can cozy up spaces while cutting bills. You’ll transform winter rooms by choosing efficient options and smart controls that adapt to your schedule and mood.
- Swap to LED bulbs for longevity and lower energy use.
- Install dimmers or smart lighting to tailor brightness without wasted power.
- Group lights by task, so you only run what you need in each area.
- Integrate sensors or schedules to auto-shutoff when rooms empty.
LED bulbs, smart lighting, and compatible hubs let you command ambiance from anywhere. Keep color temperature warm for a welcoming glow, and balance task lighting with ambient layers.
Regularly review exposure and heat loss with lighting placement, ensuring comfort remains high and bills stay low.
Refresh Walls and Surfaces for a Cozy Feel
So, to create a cozy feel, start with fresh walls and surfaces by choosing warm, durable finishes that you can clean easily and enjoy daily. You lean into wall textures that add depth without glare, selecting subtle patterns or smooth, satin sheens for practicality.
Next, choose paint finishes that balance washability with character—matte for forgiving walls, satin for high-traffic rooms, or eggshell where you want a soft gleam.
Prepare surfaces thoroughly, patch cracks, and sand until smooth. Prime for uniform tone and better adherence, then apply even coats with deliberate, overlapping strokes. Allow proper drying, inspect for touch-ups, and re-coat where needed.
Finish with low-odor, wipe-clean options to sustain a fresh, inviting environment throughout winter.
DIY Thermal Accessories That Make a Difference

A quick check: seal drafts around doors and windows first to keep heat in. Then pair insulated window treatments with heavy drapes to block cold drafts.
Start with draft-sealing essentials like weatherstripping and door sweeps, so your DIY efforts don’t get wasted. These steps set up a solid foundation for cozy, energy-efficient rooms.
Draft-Sealing Essentials
Draft sealing is often the easiest way to cut energy waste, so you should start by identifying obvious leaks around doors, windows, and electrical outlets. You’ll seal smartly with practical steps that deliver real gains.
- Inspect gaps around frames and outlets, then insert foam or gasket tape to block drafts.
- Install door sweeps on exterior doors to seal ground-level air channels.
- Apply weatherstripping to hinges and joints for a snug, persistent seal.
- Use draft blockers on open spaces, plus thermal curtains for night-time defense.
For best results, pair draft blockers with tight-facing curtains and seals. This approach minimizes heat escape, boosts comfort, and supports a power-focused home strategy.
Insulated Window Treatments
Insulated window treatments can dramatically cut heat loss with a simple DIY setup. You’ll improve comfort fast by choosing practical options and installing them correctly.
Start with thermal curtains: pick heavyweight fabric, hang rods close to the wall, and ensure full-length panels cover the frame edges. Add a dense lining or budget-friendly backing to boost R-value without bulk.
Next, tackle window insulation with plastic film kits: apply tape, seal edges, and shrink with a hair dryer for a tight seal that reduces drafts.
For added efficiency, pair curtains with secure weatherstripping around sashes and a tight bottom gap seal. Measure openings, cut precisely, and test by feeling for cold drafts after installation.
These steps deliver measurable warmth with straightforward, repeatable results.
Budget-Friendly Projects With Big Impact
Looking for big results on a tight budget? You’ll pull off impactful upgrades by choosing bold, simple moves. You’ll focus on visibility, efficiency, and grit, shaping spaces that shout power without breaking the bank. Use this four-step plan:
- Refresh holiday decorations with high-contrast accents and strategic lighting to create instant drama.
- Upgrade outdoor landscaping with hardy, drought-tolerant plants and smart irrigation to reduce upkeep and boost curb appeal.
- Swap outdated hardware and faucet finishes for polished, cohesive detail that reads premium.
- Seal drafts and insulate with door sweeps and weatherstripping, cutting costs while increasing comfort.
These steps deliver measurable results, quickly transforming your home’s winter presence.
Winter Safety and Maintenance Checks
Winter safety and maintenance checks are essential for comfort and peace of mind, so schedule a quick, thorough survey of your home now. You know what to do: inspect key systems, prioritize reliability, and act decisively.
Check smoke and CO detectors, replace batteries, and confirm alarms ping correctly.
Test your heating unit for odd noises, proper venting, and safe clearance around ducts.
Inspect insulation gaps, doors, and windows to curb drafts; seal frost-prone areas to preserve heat and efficiency.
Review pipes for freeze risks; drain exterior taps and insulate exposed lines to prevent bursts.
Clear snow from vents and gutters to ensure safe ventilation.
Keep a fire extinguisher accessible, and rehearse a fast, practiced exit plan.
Frost prevention, fire safety—power rests on proactive, precise checks.
Create a Simple Winter Project Schedule
Even with shorter days, you can make steady progress by building a simple winter project schedule that fits your routine. A focused plan maximizes energy conservation and keeps home aesthetics in sight, so you control the pace and outcomes.
Start by identifying 3 core tasks that deliver the biggest impact, then assign clear deadlines and owners. Your schedule should translate intent into action with crisp milestones and reality checks.
Use a simple rhythm: plan, execute, review, adjust. Maintain momentum by batching related tasks and reserving windows for quick wins.
- List tasks by impact and effort, then rank by priority.
- Allocate fixed weekly blocks, blocking out potential disruptions.
- Audit progress midweek and revise timelines.
- Measure results against energy savings and visual improvements.
When to Hire Help for Winter Tasks

If you’re facing winter tasks that exceed your comfort level or time, it’s smart to hire help sooner rather than later.
Start by timing tasks around severe weather windows and your own schedule, so pros can plan efficiently.
You’ll save hassle and guarantee safety by knowing when to call in a pro for winter tasks.
When To Hire Help
Deciding when to hire help for winter tasks comes down to sequence and risk—start with projects that require specialized tools, tricky safety measures, or tight timelines. You’ll gain momentum by tackling high-stakes work first, then handle simpler tasks yourself.
- Assess needs now: if a project involves electrical, height, or structural risk, employ a pro.
- Schedule constraints: align with peak demand to secure skilled labor and avoid delays.
- Budget impact: anticipate costs for labor, permits, and equipment; price it in early.
- Seasonal decorating and holiday lighting: delegate this to experts to ensure safety and flawless execution.
Winter Tasks Timing
Winter tasks timing hinges on when you’re best served by expert help. You should assess urgency, risk, and budget, then lock in a schedule that minimizes disruption.
For major tasks, plan ahead: roof and insulation, heating efficiency, and electrical updates—book pros early before peak demand spikes prices. If you’re comfortable with DIY, handle routine chores like sealing drafts, weatherstripping, and snow-load checks, but know when to pull in pros for complex installations.
Coordinate timelines with vendors to ensure materials arrive on time. Include holiday decorations in your calendar to avoid last‑minute clutter that delays critical projects.
Don’t neglect outdoor gardening: winter prep, pruning, and soil protection set you up for a stronger spring. Prioritize safety, efficiency, and clear milestones.
Conclusion
There you have it: a practical, doable plan that fits any winter routine. Start small with quick wins, then layer in insulation and smart lighting to cut costs and boost comfort. Create a simple schedule, track progress, and don’t hesitate to call in help for the tougher tasks. Remember the adage: a stitch in time saves nine. Stay proactive, stay safe, and you’ll weather the season warmly and efficiently.