If you’re selling, you’ll dramatically boost curb appeal and return on investment with DIY upgrades you can do this weekend. Start with decluttering, a deep clean, and a fresh front door color to grab buyers the moment they pull up. Inside, switch to neutral paint, bright LEDs, and tight hardware. Tackle minor fixes now so showings feel effortless, then stage with simple furniture that highlights flow. Curious what steps yield the biggest wins for your budget?
Decluttering and Staging Essentials
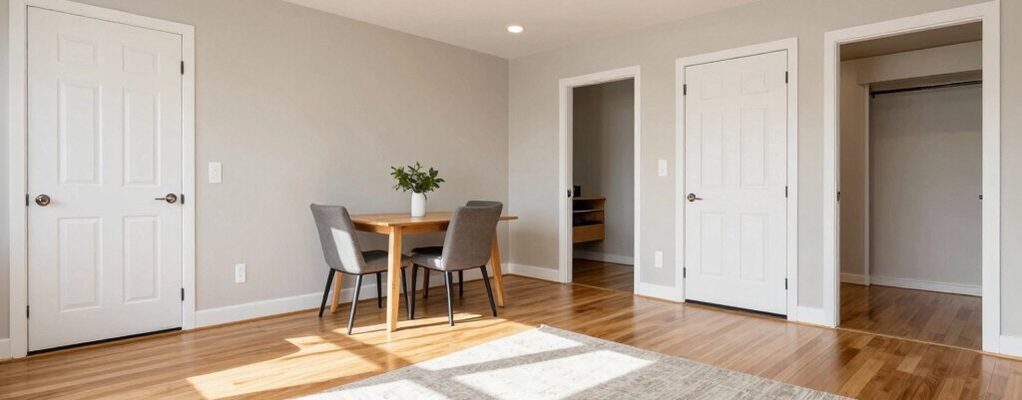
Decluttering and staging aren’t about making your home look perfect; they’re about helping buyers see its potential. You’ll start by sorting rooms into keeps, toss, and donate piles, then streamline furnishings to create open pathways. Remove personal clutter—photos, mugs, and collectibles—and pack seasonal items to reveal space.
Focus on lighting: open blinds, switch to higher-brightness bulbs, and add a few lamps to brighten corners. Use neutral colors and simple decor to help buyers envision themselves living there. Emphasize function: clear surfaces, tidy kitchens, and uncluttered baths.
Create a logical flow from room to room, staging beds with crisp linens and a single accent pillow. Maintain clean, fresh scents, and ensure every room serves a purpose. Finally, photograph the space as you’ll want buyers to see it.
Curb Appeal Quick Wins
Curb appeal isn’t a luxury—it’s your first, fastest chance to make buyers feel they’ve found their next home. You don’t need a full makeover to impress; focus on quick, high-impact tweaks.
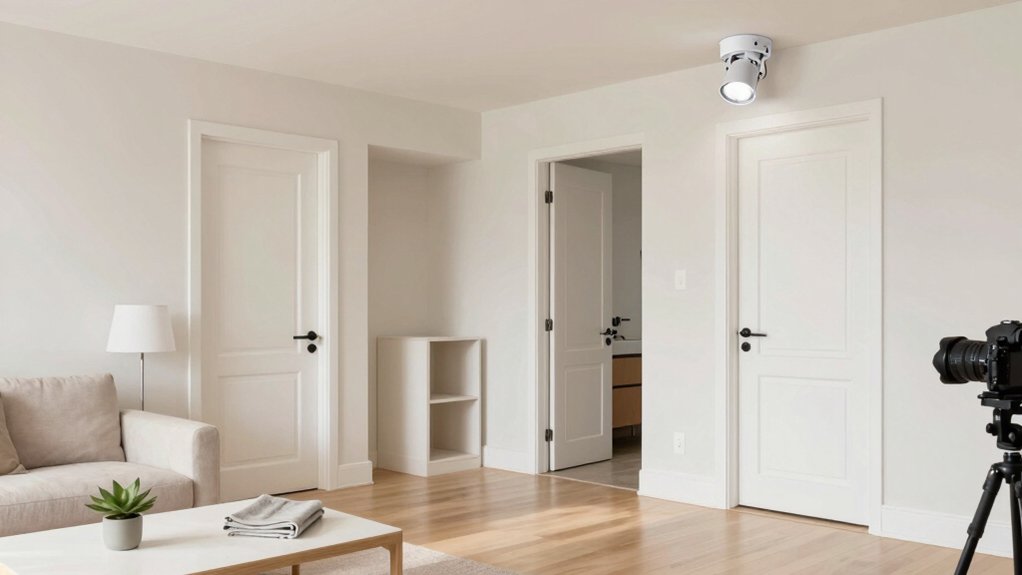
Start with a clean entryway: power-wash the front path, trim any overgrowth, and repaint the door in a welcoming color. Update hardware with brushed nickel or matte black knobs, and swap old house numbers for a cohesive set.
Illuminate the path with solar or LED lights to extend curb visibility after dusk. A fresh mailbox, potted plants, and a tidy lawn go a long way.
Remove clutter, repair small flaws, and stage with a single, confident focal point—like a bright door or statement planter—to guide buyers inside.
Stay consistent, practical, and persuasive.
Fixes That Prevent Buyer Red Flags
Increasing buyer confidence means nipping red flags in the bud before they become deal breakers. You don’t need a total renovation to prevent concerns; you need smart, practical fixes. Start with obvious issues: leaky faucets, loose cabinet doors, flickering lights, and drafty windows. Patch seen mold, fix bad grout, and seal gaps that invite drafts.
Guarantee appliances work, detectors are present, and the HVAC and water heater run smoothly. Declutter and organize to help buyers focus on space, not stains or mess.
Prioritize safety: stair railings solid, handrails secure, and trip hazards removed. Document warranties and maintenance, so buyers feel prepared.
Finally, present a clear plan: what you fixed, what you’ll fix, and why. Confident sellers close faster.
Fresh Paint That Packs a Punch
Bold color choices can energize a space, but balance them with a neutral palette to keep rooms feeling fresh and broad-market friendly. Use crisp prep and a quality finish so your paint looks clean in photos and in person, no matter the room.
Start with a few statement walls and pair them with calm tones to highlight your home’s best features without overwhelming buyers.
Bold Color Choices
Want to grab attention fast? Bold color choices can spark emotion and help buyers visualize living there. Choose one statement wall or a few coordinated accents rather than a rainbow of hues.
Prefer colors with warm undertones to feel welcoming and expansive, especially in smaller rooms. Test samples on daylight and artificial light to see how they shift throughout the day. If you avoid jarring tones, you’ll reduce buyer objections and keep spaces feeling cohesive.
Pair bold colors with neutral trims and natural textures to maintain balance. Use color strategically: a calm entry, a confident dining room, and an energetic kitchen accent.
Neutral Palette Wins
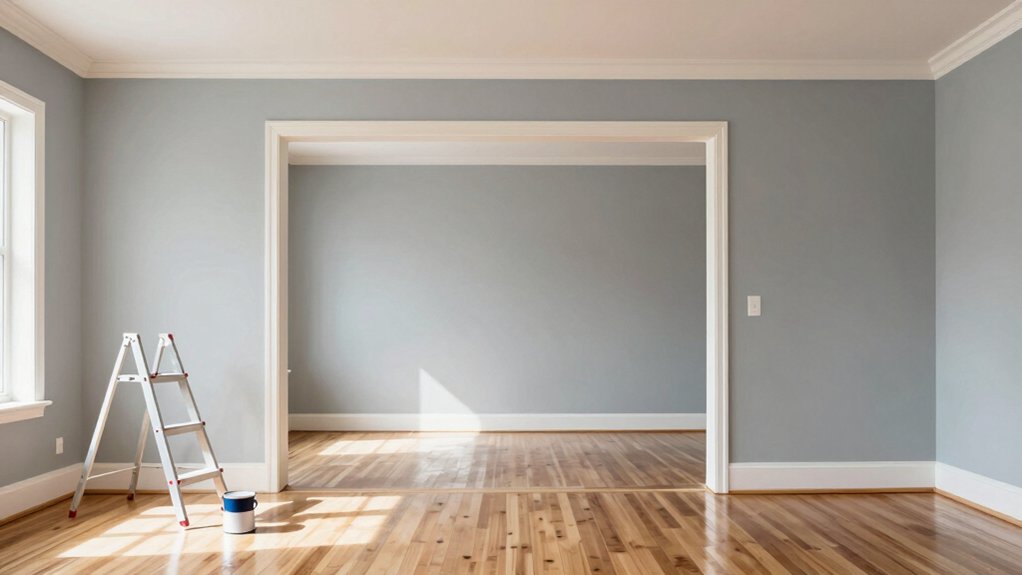
Neutral palettes pack a punch by making spaces feel larger, brighter, and universally appealing. You don’t have to overhaul every room to gain impact; a fresh, light base sets the stage for buyers to envision their lives.
Choose warm neutrals like soft greige, creamy ivory, or pale taupe to avoid cold, clinical vibes. Test samples on walls and observe under different lighting—morning sun versus evening lamps.
Keep ceilings lighter than walls to boost height, and align trim for cohesive flow. Embrace one-off accents sparingly—think white cabinetry, natural wood, or a single, soft accent wall in a main living area.
Prep surfaces, prime well, and apply even coats for a polished, move-in ready feel.
Prep Tips for Paint
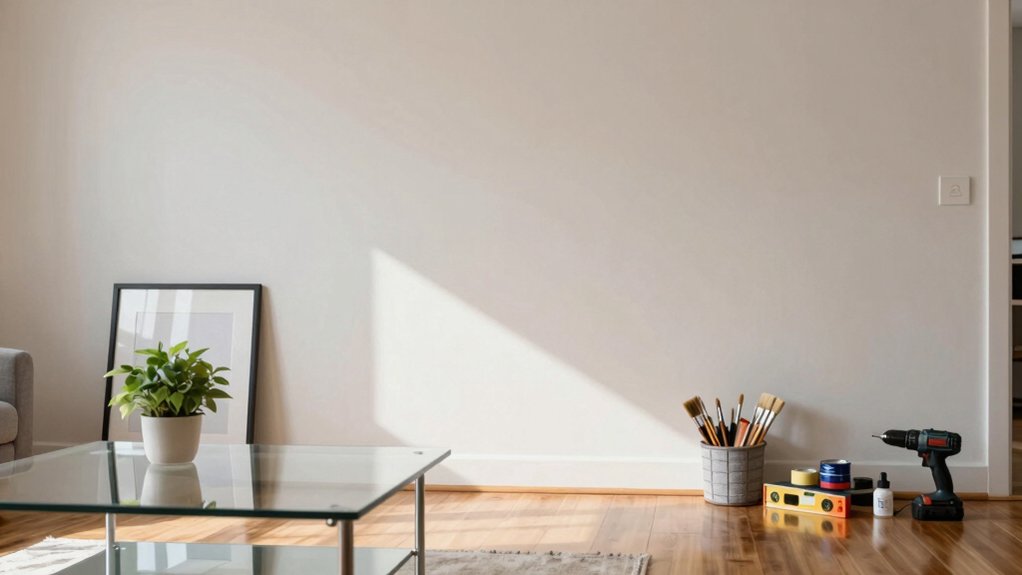
Before you roll any paint, start with a clean slate: wash walls to remove dust and grease, patch holes, and lightly sand to smooth surfaces. This prep prevents flaking and guarantees color looks true.
Choose a durable, washable finish like satin or eggshell for living areas; flat can hide flaws but stains easier with washable options. Test patches on hidden areas to confirm shade and sheen.
Use painter’s tape to protect trim, outlets, and floors; press tape firmly to prevent bleed. Prime as needed—new drywall, bold colors, or drastic light-to-dark changes benefit from it.
Cut in edges with a steady hand, then roll in even, overlapping strokes. Let each coat dry thoroughly, then apply a second for full depth.
Clean brushes promptly to keep your tools ready.
Budget-Friendly Flooring and Lighting Upgrades
If you’re selling your home, upgrading flooring and lighting on a budget can pay off quickly by boosting appeal and perceived value. Focus on practical changes that show a clean, modern look without overdoing it.
Swap worn carpet or laminate for affordable, durable options like vinyl plank with authentic textures, or repaint existing floors where feasible.
Choose light fixtures that brighten rooms evenly and reduce shadows; aim for 3000–4000K bulbs for a fresh, welcoming feel.
Use strategic lighting: floor lamps in corners, under-cabinet lights in kitchens, and dimmable options for living areas to create mood.
Keep trims and progressions tidy, and install easy-to-clean materials in high-traffic zones.
Commit to uniform color tones to make spaces appear larger and cohesive.
Kitchen and Bath Refresh on a Budget
You can update kitchens and baths on a budget with quick cosmetic fixes that your buyers notice, like fresh caulk, new knobs, and upgraded hardware.
Emphasize high-impact materials and finishes, such as quartz-like counters or solid-surface backsplashes, that look premium without breaking the bank.
Focus on practical, budget-friendly updates that boost appeal fast and push the home toward a strong sale.
Budget-Friendly Updates
Want a kitchen and bath refresh that yields big impact without blowing your budget? Start with smart, visible upgrades. Swap dated hardware for affordable, modern pulls and handles; it instantly updates cabinetry without a full remodel. Repaint walls in light, neutral tones to brighten spaces and make them feel larger. Update lighting with energy-efficient LEDs and simple fixtures to improve mood and perceived cleanliness.
Refresh caulk and grout in showers or backsplashes; clean, tight lines matter more than you think. Focus on countertops with affordable laminate or temporary covers that mimic stone. Add new towels, cleaners, and a pop of color through accessories to signal upkeep.
Plan updates in phases, track costs, and prioritize high-visibility areas to maximize resale impact without overspending.
Quick Cosmetic Fixes
Spruce up kitchens and baths quickly with budget-friendly cosmetic fixes that deliver real impact. You don’t need a full remodel to boost appeal. Start with fresh caulking around sinks and tubs to create clean lines that read like new.
Swap out dated hardware—drawer pulls and faucets—for simpler, cohesive styles on a budget. Clean grout thoroughly or regrout where needed to brighten tiles without replacing floors.
Refresh cabinet exteriors with a coat of light, washable paint or a reputable stain, using painter’s tape for sharp edges. Add mirrors and under-cabinet lighting to enhance space and brightness.
Replace tired lighting fixtures with energy-efficient LEDs. Finish with fresh towels, matching accessories, and a clean, inviting scent to seal the impression.
High-Impact Materials
High-impact materials can transform a kitchen or bath without a full remodel. You don’t need a complete overhaul to boost appeal. Focus on durable, affordable upgrades that seal the deal for buyers.
Start with resurfacing rather than replacing: refinish cabinets, refresh countertops with solid-surface overlays, or install peel-and-stick backsplash for instant style. Update fixtures—modern taps, pulls, and a refreshed lighting plan—without a major pit stop.
Choose high-contrast accents or cohesive palettes to create a modern feel that reads expensive. Emphasize cleanliness and consistency: replace dated hardware, seal grout lines, and ensure surfaces are smooth and stain-free.
Prioritize materials that resist moisture and wear, ensuring long-term value while keeping costs controlled. Your goal: quick, visible impact with minimal disruption.
DIY Repairs and Maintenance Checklist
Getting your home ready to list means starting with a practical, no-nonsense repairs and maintenance checklist. You’ll walk through every room, flagging issues that deter buyers and cost you later. Tackle peeling paint, loose railings, and grout gaps now, not after the inspection.
Check doors and windows for drafts; seal or swap weatherstripping as needed. Guarantee every light works, outlets are secure, and switches aren’t loose. Address leaks, musty odors, and mold promptly with professional help when required.
Clean gutters, downspouts, and exterior caulking to prevent water damage. Verify HVAC, water heater, and major appliances run smoothly; service them if overdue.
Finally, document fixes with receipts and warranties to project confidence and value.
Smart Styling and Space Maximization
Smart styling and space maximization start with a plan: spotlight the home’s best features, declutter aggressively, and use furniture placements that create open sightlines.
You’ll amplify room size by choosing multi-functional furniture, keeping scales balanced, and avoiding oversized pieces.
Prioritize natural light: open blinds, trim back curtains, and mirror layouts to bounce glow without glare.
Define zones in open-concept areas with simple rugs, seating arrangements, and task lighting, so buyers feel flow rather than wasted space.
Use cohesive color palettes and minimal decor to reduce visual noise; texture and a few statement accents add interest without crowding.
Keep storage visible but tidy—stow clutter out of sight.
Finally, stage with purpose: show how each space serves a real, everyday life.
Ready-to-Sell Showings and Open House Prep
As you move from styling to showings, prioritize a clean, inviting first impression that helps buyers picture themselves living here. Tidy up every room, curb to kitchen, so clutter doesn’t distract from flow. Use neutral colors, fresh scents, and well-placed lighting to brighten spaces without overpowering them.
Highlight key features with clear, added-edition notes or quick staging tweaks that don’t require permanent changes. Create a logical showing sequence: entry, living areas, then bedrooms, with a smooth path and obvious storage. Prepare a simple amenities list for buyers, including recent upgrades and energy-efficient touches.
Schedule flexibly, minimize personal items, and have a quick-dip checklist to maintain cleanliness between tours. During open houses, stay accessible, confident, and ready to answer thoughtful questions.