If a pipe freezes, act quickly but safely to thaw it without causing a burst. Locate the frozen section and apply gentle heat, using a hair dryer or warm towels, from the faucet toward the cold spot. Open cabinet doors to circulate warm air and run a small trickle of water to relieve pressure. If heat is unsafe or ineffective, call a pro. Hidden leaks can appear during thawing, so stay vigilant for damp spots and spikes in the meter. More tips ahead.
Identify At-Risk Pipes Before a Freeze
To identify at-risk pipes before a freeze, start by surveying areas prone to cold air drafts and poor insulation—basements, crawl spaces, attics, garages, and exterior walls. You’ll spot vulnerable spots where pipes run along exterior exposure or through poorly insulated seams.
Note pipes sheltered from living areas but not from cold drafts, especially those near exterior exposures like uninsulated doors or missing insulation barriers. Prioritize insulation upgrades now: wrap exposed runs, seal gaps, and add pipe insulation to likely chill zones.
Mark fixtures near exterior walls and check for signs of frost or condensation. By mapping these locations, you reinforce your home’s resilience, reduce burst risk, and join a community of proactive neighbors who value safe, steady supply.
Shut off Water Safely and Protect Yourself
Know where your shutoff valve is and how to operate it confidently, so you can stop a leak fast. Turn off the main valve first, then the local valve if needed, and keep a clear path to the equipment you may need.
Prioritize personal safety by wearing gloves and shutting off power to nearby appliances if water exposure is possible.
Shutoff Valve Basics
Shutoff valves stop water flow quickly, minimizing damage and mess during a frozen pipe emergency. You’ll want to know where your main shutoff sits, how to operate it, and how to verify it’s closed.
Valve operation is straightforward: turn the handle clockwise until it’s firmly shut. If you encounter resistance or a stiff stem, don’t force it; try again gently or call a professional.
After closing, check fixtures downstream to confirm water has stopped, and listen for the absence of rushing water.
Leak detection matters: inspect pipes and fittings for moisture, frost, or damp spots as you prepare for thawing.
Keep a reachable emergency shutoff tool, and label valves for quick recognition during a stressful moment.
Practice beforehand to protect your home and neighbors.
Personal Safety Steps
When a frozen pipe emergency hits, your safety comes first. Before you thaw, shut off the main water supply to stop further leakage and potential flooding. If you can’t reach the main valve, close the individual valve for the affected area, then open a faucet to relieve pressure.
Protect yourself by wearing gloves, boots, and eye protection; use a flashlight, not a candle, near cords and damp areas. Check outdoor faucets; if they’re frozen, cover them with pipe insulation or a protective shield once the water is off. Keep kids and pets away from cold pipes and electrical sources.
Afterward, ventilate the space and avoid propane heaters indoors. Plan ahead with pipe insulation to reduce future risk.
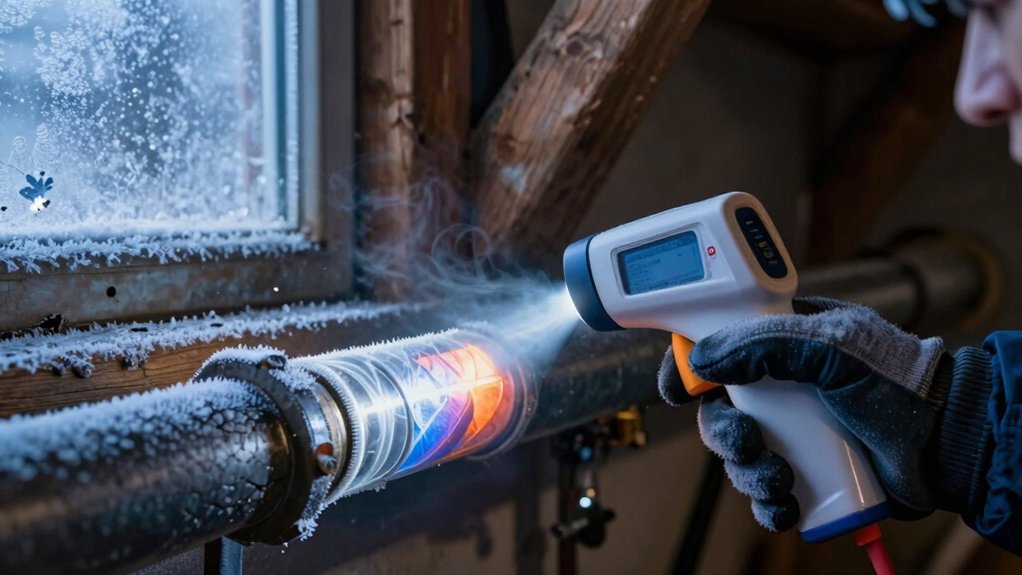
Try Safe, First-Choice At-Home Thawing Methods
If you’re dealing with a frozen pipe, start with safe, first-choice at-home thawing methods to minimize risk and speed up restoration. Begin by locating the frozen section, then apply gentle heat from a hair dryer or warm towels around the pipe, working from the faucet back toward the coldest area.
Keep cabinet doors open to circulate warm air, especially near outdoor faucets. Increase indoor heat gradually rather than blasting it.
Run a small trickle of water from a faucet served by the frozen line to prevent pressure buildup. Add insulation where possible; pipe insulation reduces future freezing and supports steady heat transfer.
When Heat Is Unsafe, Call a Pro
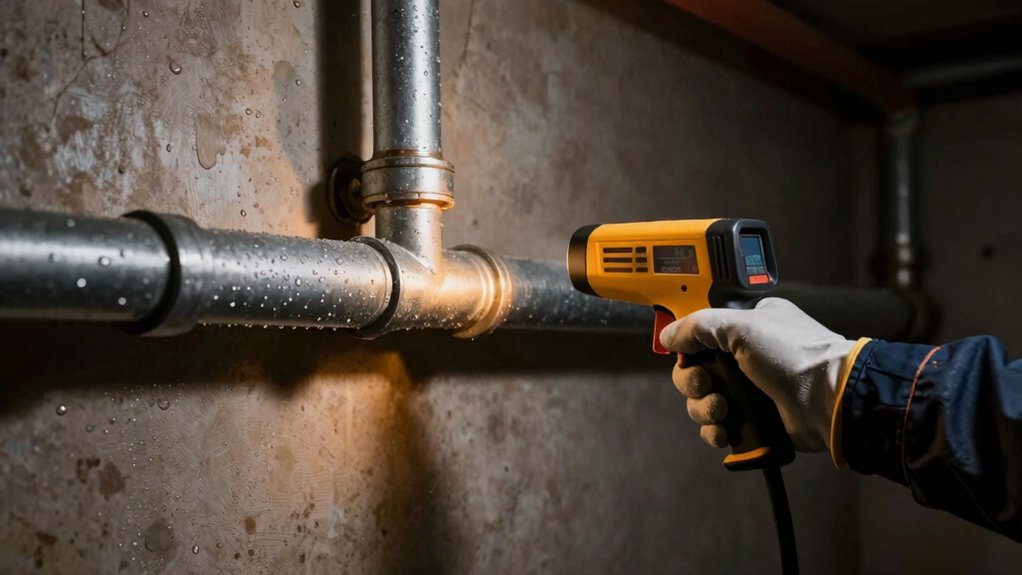
When heat methods aren’t safe or feasible, call a pro right away. You may have pipes in awkward spots or near electrical lines, where DIY thawing risks burns, leaks, or fire. Professionals bring controlled approaches that minimize rupture chances and protect your home’s plumbing system.
They can assess whether pipe insulation or exterior piping needs replacement, and they’ll address outdoor faucets to prevent frozen backups. Expect a swift, systematic process: locate the frozen section, apply safe heat sources designed for pipes, and verify there’s proper drainage and pressure once thawing begins.
They’ll also review your insulation strategy to reduce future freezes. If you’ve got exposed or uninsulated runs, a pro’s guidance is worth the peace of mind and long‑term protection for your space.
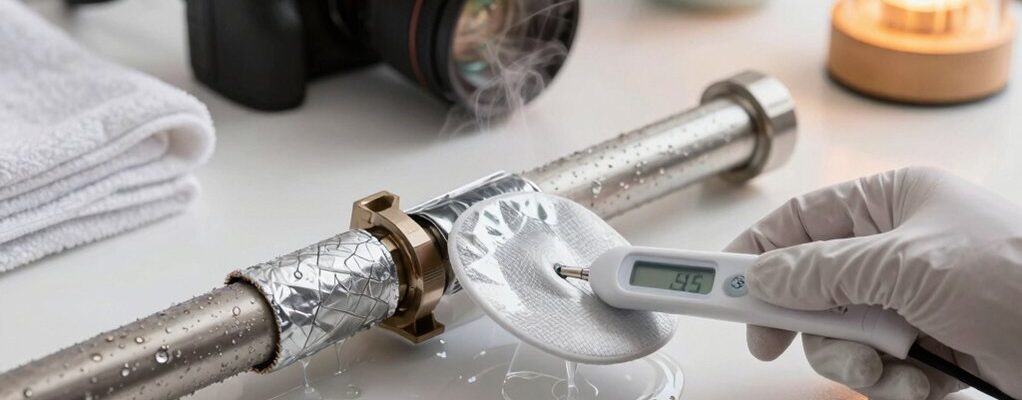
Detect Hidden Leaks During Thawing
Hidden leak indicators show up the moment thaw starts, so you should scan for damp spots, sudden puddles, or musty smells.
Watch thawing pressure clues like unexpected warmth, hissing, or creaking in pipes, which can signal hidden movement or blockages.
Monitor water flow closely—note any sudden spikes or drops, and keep an eye on meters or visible taps for anomalies.
Hidden Leak Indicators
Hidden leaks often hide behind walls or under floors, especially during thawing when expanding ice reveals new weaknesses. You’ll spot them by paying attention to subtle signs: damp odor, warm spots on cold surfaces, and sudden changes in water meter readings with no taps running.
Listen for faint, persistent dripping or thuds behind walls after power returns and pipes begin warming. Inspect pipe insulation for moisture pockets or discolored stains; damaged insulation often signals a concealed leak.
Check exterior vents for condensation or frost buildup that persists after days of cold. When you thaw, keep areas ventilated and monitor for growing damp patches.
Prioritize prompt repair to protect foundations, especially near exterior vents and exposed plumbing.
Thawing Pressure Clues
As thaw begins, you’ll notice pressure clues that point to hidden leaks behind walls or under floors. You’ll also detect subtle hints of pressure buildup in your pipes, signaling unseen trouble before it bursts. Listen for inconsistent flow patterns and feel the change as valves respond differently during thaw.
- pressure buildup behind fixtures and along runs
- flow irregularities when water starts and stops
- sudden pressure spikes near concealed spaces
These clues help you map where leaks hide and prioritize safe actions. Stay proactive: shut off affected zones if you detect unusual pressure, and avoid forcing water through frozen sections. Maintain steady, gradual thawing to minimize stress on joints.
If clues persist, call a pro promptly to confirm the leak and prevent damage. You’re choosing calm, informed steps to protect your home.
Monitoring Water Flow
Monitoring water flow helps you spot hidden leaks as thawing begins. You’ll check for sudden bursts, dripping joints, or consistent low pressure in cold zones, focusing on suspected problem circuits first.
Keep an eye on gauges, faucet turnover, and meter movement while you gently test each line. As you thaw, monitor both supply and return loops for irregular flow or sounds that signal a leak behind walls.
Protect yourself by maintaining pipe insulation around vulnerable runs and inspecting outdoor spigots for frost-free performance; loosened or cracked fixtures can mask hidden leaks until warmth returns.
If you detect unexpected flow, shut off water at the main valve and document locations for quick repairs. Belonging comes from proactive, calm vigilance.
Prevent Future Freezes With a Seasonal Checklist
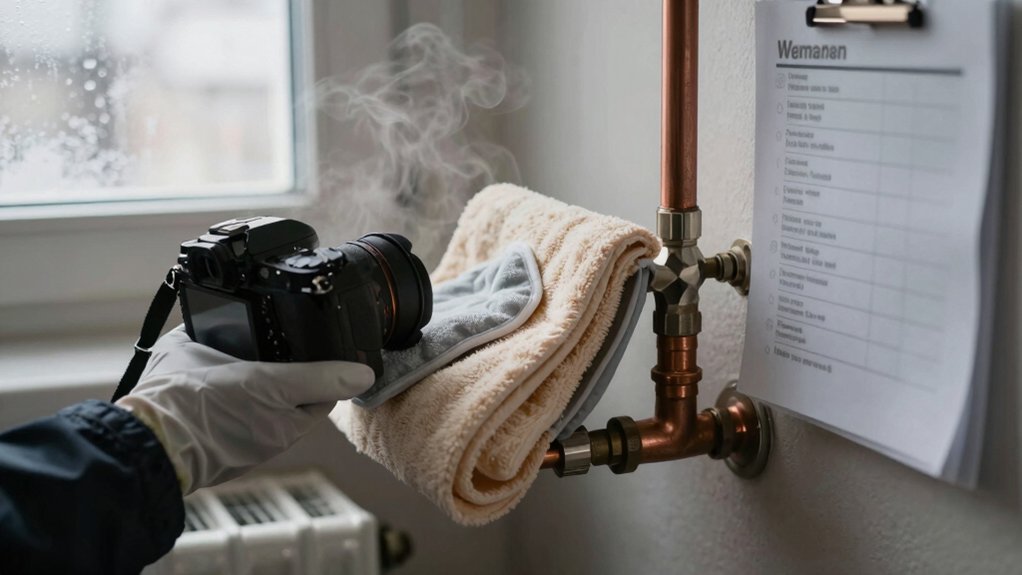
A seasonal checklist helps you prevent future freezes by outlining simple, actionable steps you can take before cold weather hits. This plan keeps you confident and connected, with clear tasks that protect your home.
- Inspect and upgrade pipe insulation, focusing on exposed runs in basements, attics, and crawlspaces.
- Insulate outdoor faucets and install frost-proof hoses to minimize heat loss and water exposure.
- Schedule a quick pre-winter test of your plumbing: run water, check for drafts, and seal gaps around doors and windows.
Following these steps helps you stay proactive, safe, and ready. When you feel prepared, you belong to a community that values practical maintenance and steady comfort, not surprises.
You’ll reduce disruptions and keep leaks from becoming emergencies.
Build a Ready-To-Use Tool Kit for Emergencies
Create a ready-to-use emergency tool kit that’s organized, portable, and fast to grab. You’ll keep essential items in a compact pouch or tote, labeled for quick access during a freeze.
Prioritize reliability: pipe insulation, outdoor valves, tape, and a small wrench stay near the top.
Add a flashlight, extra batteries, a utility knife, silicone sealant, and a temporary heat source approved for indoor use.
Include a mug with scissors and pliers, zip ties, and a marker to label repairs.
Include a basic instruction card with steps for securing exposed pipes and preventing further damage.
Store spare parts like clamps and end caps in a separate pocket.
Regularly check and replace batteries, tape, and insulation so you’re always ready.
After Thawing, Restore Pressure and Test Fixtures
Once the thaw completes, slowly restore water pressure while watching for leaks, and test fixtures one by one to confirm they’re functioning without dripping.
As pressure returns, listen and feel for any sudden changes, and prepare to shut off at the nearest valve if a leak appears. This is your moment for deliberate fixture testing, not haste, so you catch issues before they worsen.
Monitor all taps, toilets, and appliances, noting any drips, damp spots, or reduced flow. If you notice a leak, pause to address the seal, then recheck.
Remember: pressure release should be gradual to protect pipes. Stay methodical, and proceed with confidence, ensuring your system is back to reliable operation.
- Prioritize gradual pressure release and observe
- Check each fixture for drips and proper flow
- Confirm no leaks after full restoration
Frequently Asked Questions
Can Frozen Pipes Cause Hidden Water Damage Behind Walls?
Yes, frozen pipes can cause hidden damage in a wall cavity. Check pipe insulation, inspect for moisture, and run a small stream to thaw safely. Address insulation and wall cavity issues to prevent hidden water damage.
How Long Does a Pipe Typically Take to Thaw Completely?
Persistent pipes pop promptly: you’ll thaw in hours, not days, depending on warmth. With proper pipe insulation, monitor ambient temperature, stay steady, and proceed safely. You’ll feel supported as you safeguard your system and surroundings.
Are There Risks Using Heat Guns or Blow Dryers on Pipes?
Yes, there are risks. You should avoid direct contact with heat sources; use heat gun safety and blow dryer precautions, keep cords away from water, and monitor room temperature to prevent overheating or pipe damage.
What Insurance Coverage Applies to Freeze-Related Pipe Damage?
If you experience a freeze, insurance claims usually cover sudden pipe damage under your policy coverage, but verify limits and exclusions. You should document leaks promptly and contact your insurer to confirm eligible costs and required proofs for coverage.
How Can I Tell if a Pipe Is Cracked After Thawing?
You’ll know by inspecting for leaks and listening for dripping. Do a pipe inspection, look for moisture, frost lines, or stains, and use crack detection techniques to confirm any crack after thawing. Act quickly to prevent further damage.