Yes, it’s safe to paint an old radiator, but only after you confirm it’s cool, depressurized, and free of leaks. Start with thorough cleaning, degreasing, and light scuffing to promote adhesion, then use a high-heat, metal-primed coating designed for radiators. Protect nearby surfaces, ensure good ventilation, and wear appropriate PPE. Choose a durable, low-VOC enamel or ceramic/epoxy finish, and follow curing times precisely. If you want professional guidance, you’ll find practical steps you can trust and more tips ahead.
Is Your Radiator Safe to Paint? Quick Eligibility
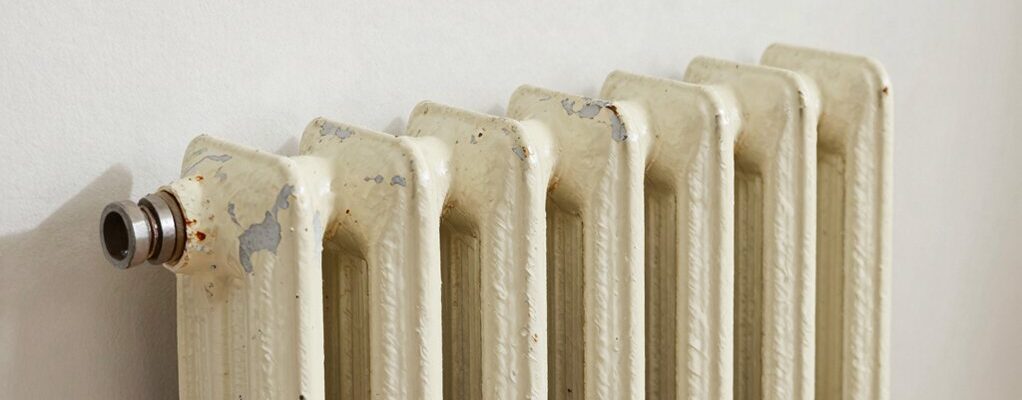
If your radiator is in good condition, you can paint it safely and effectively, but the key is quick, clear eligibility: it must be clean, free of leaks, and not under active pressure or heat during the job.
You assess safety by checking for corrosion, cracks, and any rust that could weaken structure or affect finish. A professional interior designer and property expert speaks to your sense of belonging, guiding you to tidy surroundings and plan ventilation.
Confirm the radiator is cool, depressurized, and off-gas-free before you proceed. This matters for radiator durability and paint adhesion, ensuring a lasting, polished look.
Avoid hastily masking hazards; prepare surfaces properly, then select compatible primers and finishes for a calm, confident renovation.
Best High-Heat Paints and Finishes for Radiators
You’ll want trusted high-heat paints and finishes that resist expanding radiator temperatures and maintain gloss without peeling.
I’ll guide you through choosing options, prepping surfaces, and the curing and safety steps a professional interior designer uses to protect you and your home.
We’ll cover practical prep, compatible finishes, and how to handle curing to minimize fumes and guarantee a durable, safe result.
High-Heat Paint Options
When choosing high-heat paints for radiators, prioritize products labeled for 300–500°F (149–260°C) and those that offer ceramic, epoxy, or enamel formulas designed to withstand repeated heating cycles.
As a professional interior designer and property expert, you’ll value durability, smooth application, and minimal odor, so select low-VOC options where possible.
Consider radiator color as a design detail that ties rooms together, choosing finishes that resist chipping and fading through seasons of use.
For paint durability, opt for correct primers if needed, and verify compatibility with your radiator material.
Satin or gloss sheens often yield easy cleaning without dulling.
Finally, make certain the chosen finish remains heat-stable and washable, supporting a confident, cohesive look that invites belonging and long-term satisfaction.
Prep And Surface Care
Preparation sets the foundation for a durable, showroom-worthy radiator finish. You’ll protect success by prepping surfaces thoughtfully and choosing high-adhesion primers for lasting paint adhesion.
- Thorough cleaning and degreasing to remove oils, dust, and old residues, ensuring a solid bond.
- Light abrasive scuffing and careful sanding to boost radiator durability without warping delicate fins.
- Prime with a high-heat, adhesion-promoting primer tailored to metal, followed by a compatible top coat for a seamless, durable finish.
Curing And Safety Tips
Curing and safety are non-negotiable when selecting and applying high-heat paints for radiators; choosing products labeled for metal and appliances helps prevent fumes, adhesion failures, and blistering.
You’ll reduce risk by following manufacturer directions, using proper ventilation, and curing in stages to avoid sudden temperature changes.
After painting, allow full cure before returning to normal use, and inspect for cracks or peeling, reapplying only where needed.
For long-term performance, prioritize radiator maintenance by keeping surfaces clean and dry, and avoid abrasive cleaners that could compromise paint adhesion.
If you notice discoloration or glazing, consult a pro to reassess your finish choice.
With this approach, you gain lasting color, safer fumes, and a cohesive, respected space.
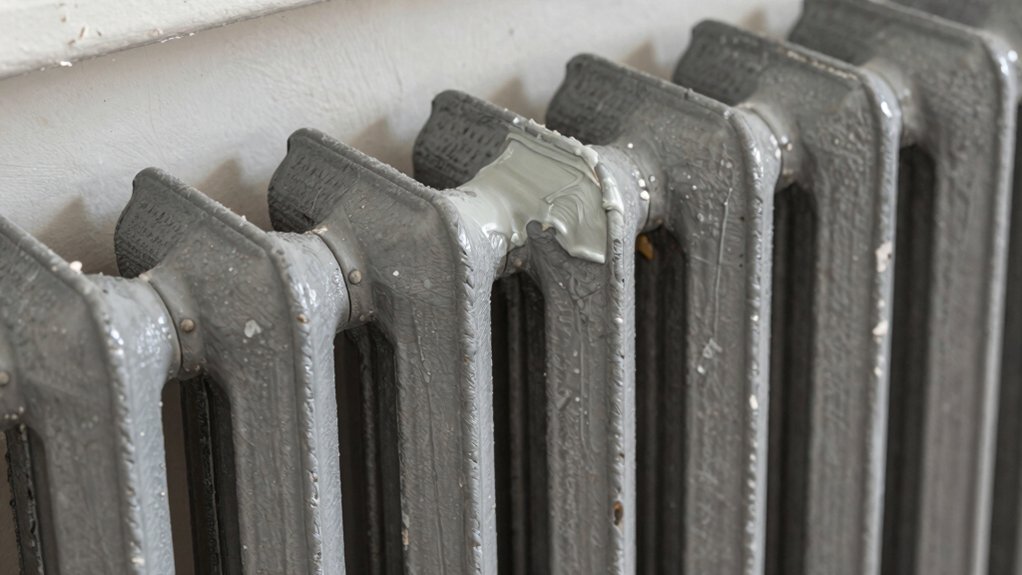
Prep Without Damage: Cleaning, Degreasing, and Scuffing
To prep without damaging the radiator, start with a light dusting to remove loose debris, then wipe it down with a mild degreasing solution and a soft cloth. You’ll set a solid foundation for paint adhesion while preventing radiator corrosion from lingering oils.
With careful scuffing, you create a micro-rough surface that helps coatings grip without harming the metal’s integrity.
- Cleanliness first: remove dust and grease to reduce contamination that undermines adhesion.
- Gentle scuffing: use fine-grit pad to expose fresh metal without gouging.
- Inspect and plan: identify corrosion spots and address them before priming, ensuring lasting results.
This approach blends professional expertise with practical care, so you feel confident, connected, and protected.
Remove or Cover: What to Take Off and What to Shield
You’ll decide what to remove and what to shield, focusing on items that can snag, spill, or suffer heat exposure. Remove any loose hardware, finicky trims, and nonessential decor.
While shielding floors, outlets, and nearby furnishings with clean drop cloths. As a pro, I’ll guide you to balance accessibility with protection so the radiator stays safe and you keep the work area tidy.
Remove What To Do
Before you start painting, remove or shield the parts you don’t want splattered and damaged: take off delicate hardware, loosen fixtures not essential to the project, and cover adjacent surfaces with drop cloths or protective sheeting.
You’ll focus on radiator removal and paint removal, keeping the system intact and safe. Proceed with a methodical plan, so your work stays neat and controlled.
- Remove components lightly attached to the radiator, disconnect power or water where safe, and store parts in labeled containers.
- Protect nearby finishes from splatter, then assess paint removal options—choose heat-safe scrapers, chemical-free methods, or professional-grade removers as appropriate.
- Recheck alignment and seals before reassembly, testing for leaks or drafts after restoration.
Shield What To Cover
Start by identifying all components that aren’t part of the radiator but could be damaged by paint or splatter, and decide what to remove versus shield. You’ll remove items like nearby wall hangings, outlets, and fragile décor, and shield doors, trim, flooring, and radiator valves with painter’s tape and drop cloths.
Take off movable accessories that aren’t heat-safe, such as decorative covers, and verify that any surrounding piping isn’t exposed to heat or moisture risk. Use proper masking to prevent paint creeping into gaps.
Prioritize radiator insulation and paint compatibility; confirm primers and coatings won’t degrade insulation or create fumes near vents. Proceed with methodical, steady coverage, maintaining a clean line between the radiator and its environment for a safe, cohesive result.
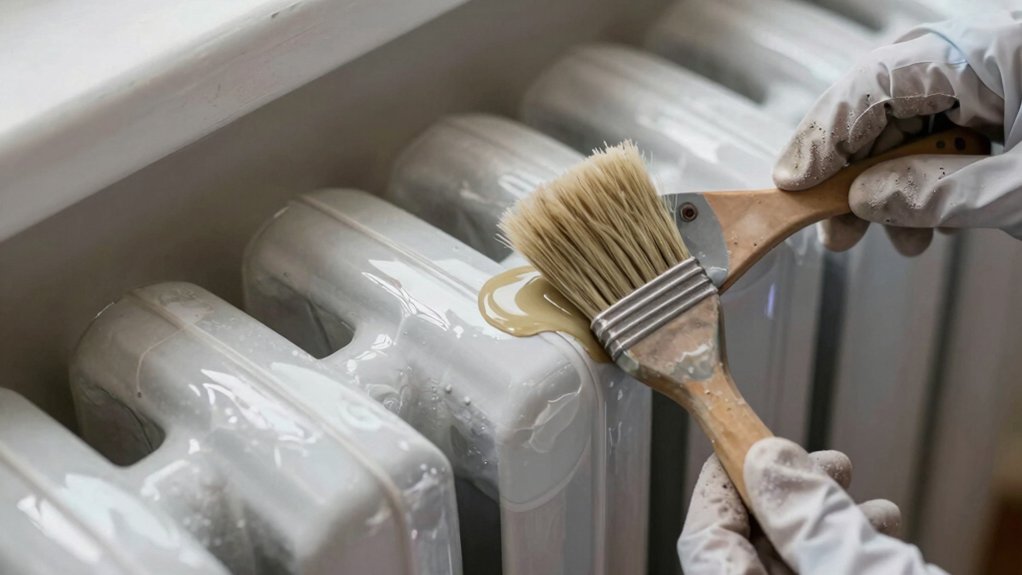
Apply Evenly: Steps for a Durable, Smooth Coat
To apply an even, durable coat, prep and technique matter as much as the paint itself. You’ll achieve better radiator longevity and paint adhesion by following precise steps and steady motions.
- Prep thoroughly: clean, degrease, and lightly sand rough areas so the surface grips the finish.
- Prime and thin: apply a bonding primer, then thin coats to avoid runs and ensure even coverage.
- Apply in stages: use long, smooth strokes, allow curing between passes, and finish with a light final pass for uniform sheen.
With this approach, you’ll create a smooth, durable coat that lasts. Your radiators look professional, feel cohesive with your space, and reflect careful design. You belong in a home that shows deliberate detail.
Ventilation, Fumes, and Fire Safety During Painting

Ventilation is non-negotiable when painting radiators, because fumes can accumulate quickly in small, enclosed spaces. You’ll protect air quality by opening doors and windows, using a well-sealed fan to pull fumes away from your breathing zone, and never painting near ignition sources.
Keep cleansers and unfinished rags in a metal container with a tight lid, and dispose of them promptly to reduce odor and fire risk.
Wear a respirator appropriate for solvent paints, plus eye protection and gloves.
Maintain a steady, moderate airflow to prevent hot, stagnant pockets around the radiator.
Choose low-odor, fast-drying products when possible, and prep the room to minimize lingering smells.
Prioritize odor control and air quality to ensure a safe, welcoming home environment.
When to Hire a Pro and What a Professional Paint Job Involves
If you’re weighing the decision, hiring a pro is wise when the radiator has complex heat exchangers, hard-to-reach areas, or you’re aiming for a flawless, durable finish that meets code and warranty requirements. A pro brings safety-tested methods, proper prep, and durable coatings that resist heat and cleaning. They also ensure compatibility with existing systems and color options that suit your space.
1) What a professional paint job involves: assessment, surface prep, priming, high-heat topcoats, and meticulous curing.
2) Radiator color options and decorative finishes that harmonize with your decor while preserving heat output.
3) Timeline and warranty considerations that protect your investment and create a sense of belonging in a well-coordinated home.
Frequently Asked Questions
Can I Paint a Hot Radiator Safely?
Yes, you can, but you must wait for the radiator to cool, then use radiator paint and follow safety precautions, masking nearby surfaces and ventilating well; as an expert, I insist on proper prep, heat resistance, and clean setup.
Do Radiator Paints Require Primer or Sealant?
“Slow and steady wins the race.” Yes—primer is usually recommended for radiators, followed by a dedicated radiator paint; use proper radiator prep and select high-heat, metal-safe paint. Sealant isn’t always required, but follow product instructions.
Will Painting Affect Radiator Efficiency or Heat Output?
Painting can slightly dampen heat output, but proper radiator paint and primers minimize loss; you’ll preserve heat efficiency while updating appearance. Follow professional guidelines, guarantee ventilation, and check clearance—you’ll feel confident, safe, and warmly supported by experts.
Are There Risks With Spray Painting Radiators?
Yes, there are spray painting risks you should respect, including fumes and coating failure; radiator safety demands proper ventilation, masking, and heat-safe paints. As a professional, I guide you to inspect, prep, and hire expert supervision for safety.
How Long Does It Take for Painted Radiators to Cure?
Painted radiators typically cure to handling between 24–48 hours, with full heat functionality returning after about 7 days. A professional note: longer cure improves paint durability and radiator lifespan, fostering belonging and confident interior decisions.