
To prepare for a building survey in an older home, gather all ownership papers, permits, previous surveys, and maintenance records, then set clear access routes to basements, attics, and service panels. Remove clutter, secure pets, and confirm with the surveyor any histories or concerns you’ve noted. Guarantee safety protocols are in place and all key areas are accessible. This approach helps prevent delays and reveals hidden issues early, but you’ll want to verify details as you move forward.
What a Building Survey Covers for Older Homes
A building survey for older homes provides a detailed assessment of the property’s condition, identifying structural issues, defects, and potential safety risks. You’ll learn what endures and what may fail, so you can plan maintenance, repairs, or replacements with confidence.
In this section, the survey covers materials, construction methods, and how they affect safety and longevity. It evaluates Historical features for preservation value and assesses whether alterations respect original design.
You’ll find assessments of foundations, walls, floors, roofs, and damp risk, with notes on moisture movement and condensation effects. Structural integrity is tested through observable movement, cracks, and load paths, plus the adequacy of supports.
The report highlights urgent issues and prioritizes actions, helping you balance cost, risk, and compliance while safeguarding the building’s overall performance.
How to Pick the Right Surveyor for an Older Home
Start by confirming the surveyor’s credentials and any specialization in historic or older homes.
Verify you understand their communication and reporting standards.
Consider their proven experience with similar properties and ask for case studies or references that illustrate outcomes and risk assessments.
Finally, request a transparent fee structure with a detailed scope of work and any potential extra charges to avoid hidden costs.
Credentials and Specialization
Credentials and specialization matter when choosing a surveyor for an older home. You should verify professional qualifications and confirm that licensure aligns with regional requirements. Look for credentials verification from recognized bodies, such as chartered building surveyors or equivalent associations, and ensure ongoing continuing education is documented.
Evaluate specialization expertise relevant to older structures, including timber framing, moisture management, foundational settlement, and historic material behavior. Request a scope of services that clearly distinguishes diagnostic tasks from general inspection and avoids reliance on non-specific checklists.
Confirm the surveyor’s adherence to safety standards, risk assessment protocols, and methodical reporting formats. Compare multiple firms for consistent terminology, transparent pricing, and documented limitations.
Prioritize those who demonstrate targeted knowledge of aging-built environmental and structural concerns.
Experience With Older Homes
Choosing the right surveyor for an older home hinges on demonstrated experience with aging buildings, not just credentials. You should seek a professional who can assess historic preservation implications and structural aging without conflating it with new-build methods.
Prioritize evidence of repeated work on similar properties, including detailing historical constraints, material behavior, and deterioration patterns common to older structures. Ask for case studies showing problem identification before costly remediation, and confirm familiarity with local regulations governing preservation standards.
The surveyor should provide a structured plan addressing renovation challenges, moisture risk, timber decay, and hidden defects behind finishes. Guarantee the consultant communicates clearly about risks, timelines, and required follow-up inspections.
Safety-conscious, objective, and technically precise reporting will support informed decisions.
Transparent Fee Structure
Transparent fee structures matter because they prevent surprises and enable accurate budgeting for an older home survey. You’ll want pricing transparency from the outset, with a breakdown of tasks, materials, and investigative methods.
Ask for a written estimate that itemizes core services, including lab tests, timber checks, and defect documentation, plus any travel or escalation charges.
Demand fee clarity on hourly rates, caps, and payment milestones, so you can monitor cost against scope as findings unfold.
Compare proposals from multiple surveyors to identify any hidden contingencies or optional extras.
Confirm how changes in scope affect price, and request a clearly defined final report deliverable.
Prioritize transparency to reduce risk, ensure safety considerations, and support practical decision‑making about repairs and renovations.
Top Problems to Inspect Before You Buy or Move In
Before you buy or move in, focus on the most common structural and system problems that can signal costly repairs or safety risks: roofing and leaks, foundations and dampness, timber decay, electrical and plumbing updates, damp or mold issues, and insulation performance.
In inspections, prioritize visible water damage, uneven floors, and cracked walls that suggest foundation issues. Check for persistent dampness or musty smells, which can indicate moisture intrusion and pest infestations, a warning sign to investigate further.
Inspect framing for wood rot, termite activity, and other timber decay indicators. Review electrical panels, wiring age, and GFCI functionality, plus plumbing pipe condition and venting.
Assess insulation gaps and air leakage. Document findings all-encompassing to assess safety, durability, and potential remediation costs.
Questions to Ask Before, During, and After the Survey
When planning and conducting a survey on an older home, asking the right questions at each stage helps you gauge risk, costs, and timelines.
Before the survey, ask about scope, credentials, and the surveyor’s experience with Historical architecture and preservation techniques.
During the survey, request a boots-on assessment of framing, foundations, moisture, and material compatibility, plus documented findings and cited codes.
Afterward, seek a clear report with actionable remedies, expected life, and cost ranges, including contingencies for hidden defects.
Verify accessibility of existing drawings, warranties, and prior renovations.
Confirm safety protocols are described, including scaffold, electrical, and asbestos considerations.
Confirm follow-up steps for reinspection and milestones.
This approach minimizes surprises and supports informed decisions about preservation techniques and long-term stability.
How to Prepare Your Home for Survey Day
Prepare your inspection space to keep the survey crew safe and efficient. Gather essential documents and keep them organized for quick access.
Make sure all entry points are clear and unobstructed. This sets the stage for a smooth survey day and lets the team focus on evaluating the structure.
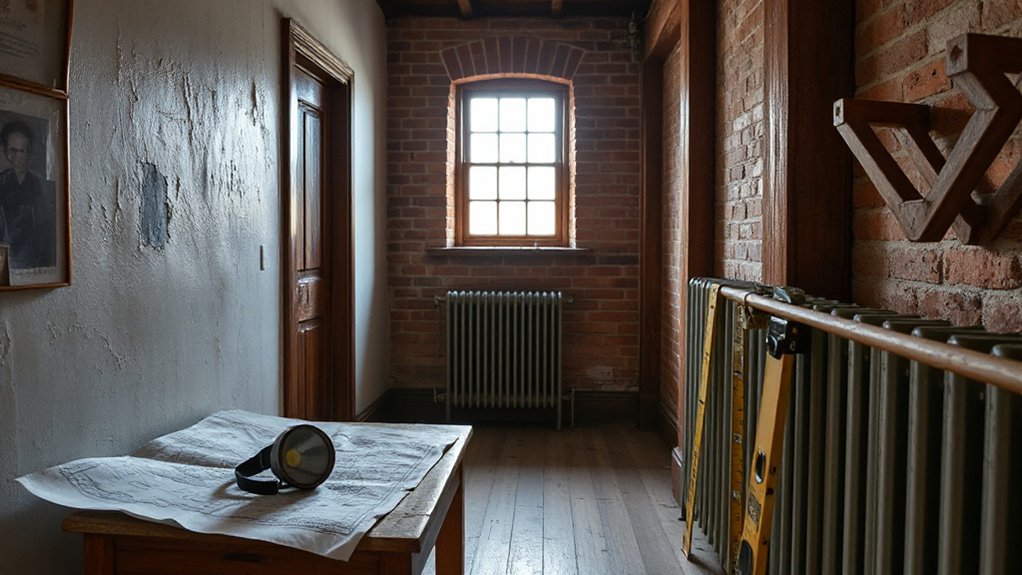
Prepare Your Inspection Space
Do you know what makes survey day smoother? Prepare your inspection space by establishing a clear, well-lit area free of clutter. Set up a dedicated zone for tools, notes, and the inspector’s equipment, ensuring safe paths and minimal trip hazards.
Position a stable work surface for measurements and documentation, with power outlets accessible but away from moisture. Prior to arrival, confirm inspection scheduling times and access routes, and communicate any building constraints.
Label hazardous zones, lock away specialized chemicals, and disable nonessential electronics to reduce interference. Provide ventilation where needed and maintain comfortable temperatures throughout the space.
Keep a concise risk checklist on hand to address safety precautions, and ensure fire extinguishers and first-aid supplies are readily accessible. This preparation reduces delays and enhances accuracy.
Gather Essential Documents
Gather essential documents before survey day to keep the process on track. Before the inspector arrives, you assemble a concise bundle: ownership papers, permits, and any recent surveys, drawings, and warranties.
Include maintenance records, last safety tests, and system specifications for HVAC, plumbing, and electrical. Historical context is useful; note any renovations, additions, or termite treatments that affect structural integrity.
Prepare a chronological folder that supports quick reference during the review. Document organization matters: label every item, date updates, and store copies in a digital backup.
Guarantee accessibility for the survey team, with a designated point of contact and a clear table of contents. Keep originals secure, and provide copies to avoid delays during assessment.
Tidy Access Points
Tidy access points guarantee the survey team can inspect every area without delay. You should designate clear routes to every room, stair, and attic hatch, guaranteeing doors open fully and floors remain unobstructed.
Prioritize access points around service panels, boilers, and electrical cupboards so technicians can assess condition and compliance without moving large items.
Perform clutter removal daily in corridors and workspaces leading to external exits, basements, and crawl spaces. Remove trip hazards, loose rugs, and cords, and store tools out of walkways.
Label areas that require special entry, like locked basements, with compliant signage.
Keep pets secured and allow space for vibration testing and moisture checks.
Maintain these access points during survey day to prevent delays and ensure accurate findings.
How to Read and Interpret the Survey Report
When you read a survey report, start with the executive summary to establish the key issues, costs, and recommended actions. You’ll then scan the findings section for the scope of work, noting any gaps between observed conditions and prior records.
Read the observations with a critical eye, focusing on severity, likelihood, and required remedies. Use Reading technical drawings to confirm dimensions, locations, and accessibility constraints, and cross-check elevations and orientations against the building’s layout.
Understand survey terminology to interpret terms like “defect,” “deficiency,” and “reference standard.” Prioritize items by safety impact, structural significance, and potential for escalating damage.
Document questions for the surveyor and seek clarifications before planning any works. Guarantee recommendations align with regulations, budgets, and practical timing.
Quick Wins vs. Major Repairs: Prioritizing From the Findings
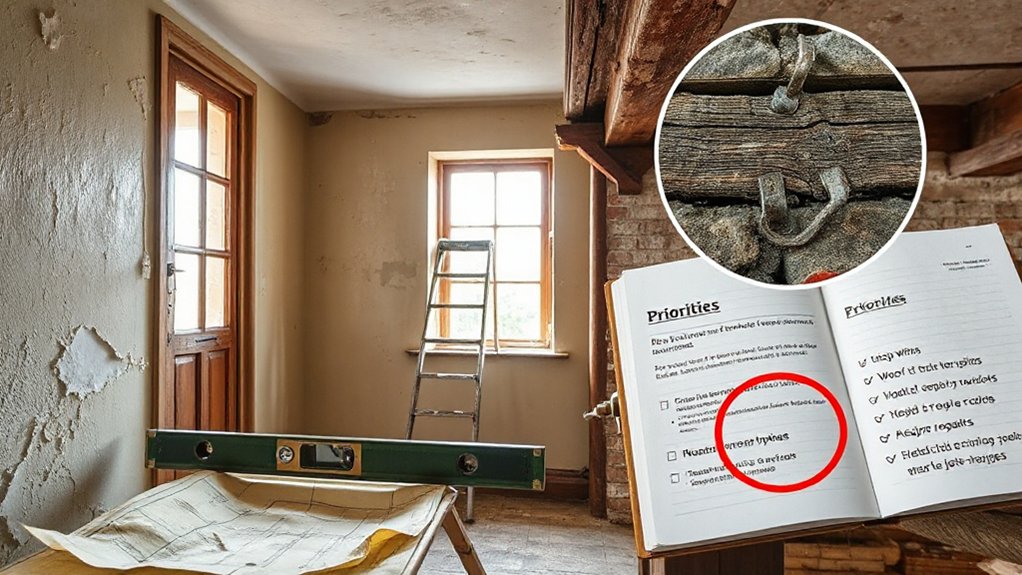
Quick wins are the low-hanging fixes you can implement safely and cheaply to stabilize the building while planning larger repairs. You’ll assess findings by risk level, immediacy, and disruption to occupancy.
Start with obvious safety concerns: loose handrails, exposed wiring, and compromised flooring. Document each quick fix with scope, materials, and a clear completion date.
Use cost prioritization to compare interventions that prevent failure versus those that merely improve comfort. Prioritize repairs that reduce ongoing damage, not just cosmetic improvements.
For structural or moisture-related issues, isolate temporary measures while you pursue permanent solutions. Communicate a phased plan to stakeholders, aligning urgent repairs with budget cycles.
Track outcomes and adjust the sequence as new survey data becomes available. Always verify workmanship and compliance after implementation.
Budgeting for Repairs and Restoration: Practical Tips
Budgeting for repairs and restoration requires a disciplined approach that integrates risk, timelines, and quality. You should begin with a detailed scope based on the survey findings, separating essential structural fixes from cosmetic updates.
Establish a baseline cost estimation by consulting qualified contractors, factoring material costs, labor rates, and contingency buffers for unforeseen conditions.
Prioritize critical issues that affect safety, moisture management, and energy performance, and document assumptions for each line item.
Build a phased plan with milestones to monitor progress, adjusting for weather windows and permitting delays.
Consider funding options early, outlining your cash flow and potential loan or grant opportunities.
Maintain traceable records of quotes and decisions to support accountability and change management throughout the project.
Next Steps After the Survey: Negotiation, Plans, and Timelines
After the survey, you’ll move quickly to evaluate findings, negotiate scope and costs, and establish a realistic timeline for approvals, planning, and workstart. You’ll document defects, prioritized actions, and required permits, then compare quotes against observed conditions. Use objective criteria to validate each item, avoid scope creep, and set clear acceptance criteria before work begins.
Negotiation strategies should focus on price, contingency, and change-order processes, with written amendments to contracts. Develop a detailed sequence of work, aligning trades, access, and safety measures to minimize disruption.
Timeline planning must accommodate regulatory approvals, design revisions, and procurement lead times, plus site constraints in older structures. Maintain ongoing communication with the client and contractor, monitor progress, and adjust milestones as conditions change.
Guarantee risk mitigation, quality control, and documentation throughout.
Frequently Asked Questions
How Long Does a Building Survey Typically Take to Complete?
A building survey typically takes one to two days, depending on size and complexity. You’ll assess structural integrity, electrical, and plumbing. Guarantee safety, comply with historical preservation, and integrate renovation planning for accurate, actionable findings and documentation.
Do Surveys Cover Hidden Structural Issues or Only Visible Ones?
Surveys investigate hidden defects and visible conditions; they assess structural integrity, not just what’s obvious. You’ll get findings on concealed issues, potential risks, and safety implications, so you can plan necessary repairs and maintain long-term building safety.
Can a Survey Restrict Access to Areas of the Property?
Yes, a survey can impose access restrictions. You should understand survey limitations, because access restrictions may prevent thorough inspection of certain areas, potentially affecting findings and safety measures during the process. Guarantee occupancy and safety protocols are communicated to the surveyor.
What Costs Are Typically Excluded From the Survey Fee?
Around 20% of survey fees exclude incidental costs like insurance claims handling and renovation planning. You’ll still pay for access, additional testing, and specialist reports. Your fee typically excludes insurance claims processing and post-survey renovation planning.
How Soon After the Survey Should I Act on Findings?
Act quickly but realistically: address urgent findings within days to weeks, while planning repairs by priority. Factor timing considerations, budget, and safety. Prioritize structural issues first, then moisture and electrical, coordinating with licensed trades for immediate actions.
Conclusion
A building survey for an older home gives you a clear map of risks, costs, and priorities, enabling informed decisions and safer upgrades. By preparing documents, clearing access, and briefing the surveyor, you’ll minimize surprises and streamline the process. An interesting stat: about 60% of surveyed older homes show at least one repair in major systems within five years of purchase, underscoring the value of proactive inspection. Stay safety-conscious, plan realistically, and use findings to guide negotiations and timelines.