
Like a calm, sealed vault, your semi-detached home hides what you can fix first. You’ll assess noise sources, seal gaps around doors, windows, and penetrations, and consider mass, decoupling, and finishes to cut both airborne and impact sound. You’ll weigh DIY steps against pro upgrades and map a practical plan that balances effectiveness with cost, while maintaining structure. The next steps reveal what to tackle first and how to measure true progress without overhauling everything at once.
Diagnose Your Noise: Assess What to Fix First
Start with a quick audit of the noise sources and pathways between you and your neighbor. Begin by mapping transmission routes: airborne, impact, and structural, then quantify their relative contributions.
For each pathway, identify the dominant frequencies and prevailing operating conditions that amplify transmission. Assess walls, floors, ceilings, doors, and shared systems for flaws, noting material gaps, joints, and resonance points.
Prioritize fixes by impact on perceived annoyance and energy transfer, not merely presence of sound. Use objective criteria: sound level measurements, door and window seals, and compromised interfaces.
Plan interventions that improve Acoustic insulation where mass, damping, and airtightness intersect. Consider initial adjustments to create effective Sound barriers, aligning immediate gains with longer-term, targeted improvements.
Document results and iterate as needed.
Quick Sealing Fixes to Cut Noise at the Source
Quick sealing fixes can substantially reduce noise at the source by eliminating common leakage paths. You should identify gaps around doors, windows, and shared walls, then seal with appropriate materials.
Use door sweeps and threshold seals to block bottom gaps, and apply weatherstripping along the jambs to minimize frame movement.
For windows, install laminated glazing or tight-seal bead gaskets where feasible, and consider temporary caulking for seasonal drafts.
In walls, seal plaintive gaps at electrical outlets, switch boxes, and plumbing chases with acoustic sealant.
Deploy Acoustic insulation concepts in cavity interfaces to damp transmitted vibration, and hang Soundproof curtains where direct line-of-sight paths exist to reduce airborne noise.
Validate improvements with a basic door test and monitor any residual leakage areas.
Mass and Decoupling Basics for a Quieter Party Wall
You’ll assess Mass and Decoupling Principles to understand how mass, stiffness, and damping influence party-wall performance.
Consider Wall Assembly Massing as a driver of airborne and structure-borne sound transfer, and identify where added mass or mass distribution can reduce transmission.
Finally, apply Decoupled Structure Techniques to interrupt vibration paths, outlining practical steps for implementing decoupling without compromising structural integrity.
Mass and Decoupling Principles
Mass and decoupling are foundational concepts for reducing sound transmission through a party wall. You assess mass to increase impedance against airborne noise, selecting mass, density, and coverage that balance structural constraints and retrofit practicality.
Decoupling interrupts vibration pathways, using resilient channels, staggered studs, or floating layers to separate assemblies from structural frames. In practice, you combine these approaches: add Acoustic insulation to the wall core while preserving decoupled interfaces and avoiding rigid ties that bridge partitions.
You must evaluate the trade-offs between added weight and building movement, ensuring compatibility with services and fire safety. Prioritize joints, penetrations, and airtightness, where proper detailing minimizes flanking paths.
Vibrational damping complements mass and decoupling by dissipating residual energy through dampers or viscoelastic layers, reducing transmitted motion.
Wall Assembly Massing
To optimize wall assembly massing, begin by evaluating how mass, density, and coverage influence airborne sound transmission across the party wall. You assess each layer’s contribution to transmission loss, prioritizing consistent mass distribution and bond integrity.
Implement a baseline wall with uniform studs, continuous sheathing, and complete sealing of joints to minimize flanking paths. Select wall insulation that adds substantial density without compromising fit, ensuring it remains in contact with faces to avoid air gaps.
Incorporate sound barriers at interfaces prone to vibration, such as corners and around service penetrations, to interrupt resonant paths. Verify airtightness and moisture control, since gaps erode mass effectiveness.
Document measured weights, densities, and coverage percentages to guide iterative improvements in future assemblies.
Decoupled Structure Techniques
Decoupled structure techniques center on interrupting vibration transfer between adjoining party walls while preserving adequate wall stiffness and load paths. You achieve this by separating the framing from the shared assemblage so motion isn’t transmitted directly.
Implement decoupled framing at key interfaces, using isolated studs or staggered partitions to disrupt continuous shear paths. Pair this with resilient channels to decouple gypsum board from the structural frame, reducing airborne and impact sound transfer without compromising drywall rigidity.
Plan detailing for joints, penetrations, and electrical boxes to maintain continuity of decoupling performance. Evaluate mass distribution and mounting hardware, selecting components with proven acoustic performance and allowable fire ratings.
Verify installation quality, inspecting fastener spacing, channel backlash, and sealing around perimeters to maximize the system’s effectiveness.
Floor and Ceiling Strategies to Cut Footstep Noise
Floor and ceiling strategies to cut footstep noise require a systematic approach that targets impulse transmission paths, damping, and air-borne coupling. You should map transmission routes: floorboards, joists, and ceiling cavities, then select appropriate interventions.
Apply mass loading to floors where practical, prioritizing continuous coverage and minimal gaps to reduce resonance. Use resilient channels or decoupling layers to interrupt frame transmission, then add damping compounds between layers to convert vibrational energy into heat.
For ceilings, install sound-damping boards backed by insulation to lower airborne coupling to the upper structure. Incorporate Acoustic painting selectively as a finishing step to reduce high-frequency energy reflections without adding excessive stiffness.
Pair with Soundproof rugs in living zones to absorb impact energy at the source while preserving room usability.
Door and Window Upgrades for Noticeable Gains
You’ll start with door seals and drafts, identifying gaps and selecting weatherstripping that meets your noise reduction goals.
Evaluate window upgrade options by prioritizing sash containment, glazing, and frame seals to minimize air leaks and vibration transfer.
Implement a measured plan: seal first, then consider window upgrades, and test results after each step to confirm gains.
Door Seals And Drafts
Door seals and drafts are a practical starting point for noticeable gains in a semi-detached home. Improving door integrity reduces heat loss and curb noise intrusion without major renovations.
You should assess gaps around the door frame using a light source or smoke test to identify leakage paths. Prioritize door insulation where joints are uneven or weatherstripping has degraded.
Apply weatherstrips that compress reliably and maintain a continuous seal along the sill, jambs, and head. Evaluate threshold gaps and install an adjustable or draft-stopping threshold if needed.
Sealant effectiveness depends on selecting compatible materials for the door type and frame material, ensuring proper curing and adhesion. Combine airtight seals with periodic maintenance to sustain long-term sound and thermal performance.
Window Upgrade Options
Window upgrades can deliver noticeable gains in noise reduction and energy efficiency when you upgrade framing, glazing, and seals. You’ll want to assess performance targets first: sound insulation, thermal resistance, and air leakage.
Choose a robust window frame with multi‑chamber profiles and sturdy hardware to minimize vibration transmission. For glazing, pair laminated or acoustic glass types with an appropriate thickness to suppress mid‑ to high‑frequency noise; consider triple glazing if exterior noise is persistent.
Seals matter: install continuous, compliant gaskets around sash and frame, and upgrade to low‑permeability weather stripping. Guarantee airtight but operable design to balance ventilation.
Address frame installation tolerances to prevent gaps. Document test results and compatibility with existing wall assembly for long‑term reliability.
Flooring Choices That Cushion Impact Noise
Flooring that cushions impact noise combines mass, resilience, and underlayment to interrupt sound transmission. You select flooring materials that balance load, stiffness, and decoupling to minimize vibration transfer between halves of a property.
Start with a rigid layer to increase mass, then pair it with a resilient underlayment to convert impact energy into heat and local flex rather rather than airborne sound. For concrete or plinth bases, consider floating assemblies with viscoelastic or rubberized underlayment.
For timber subfloors, add a layered approach using padding and a resilient board to separate finish from substructure. Ideal results arise from controlling edge-to-edge continuity and eliminating gaps.
Prioritize materials with low mass-density anomalies and verify installation tolerances to sustain consistent impact absorption and predictable performance.
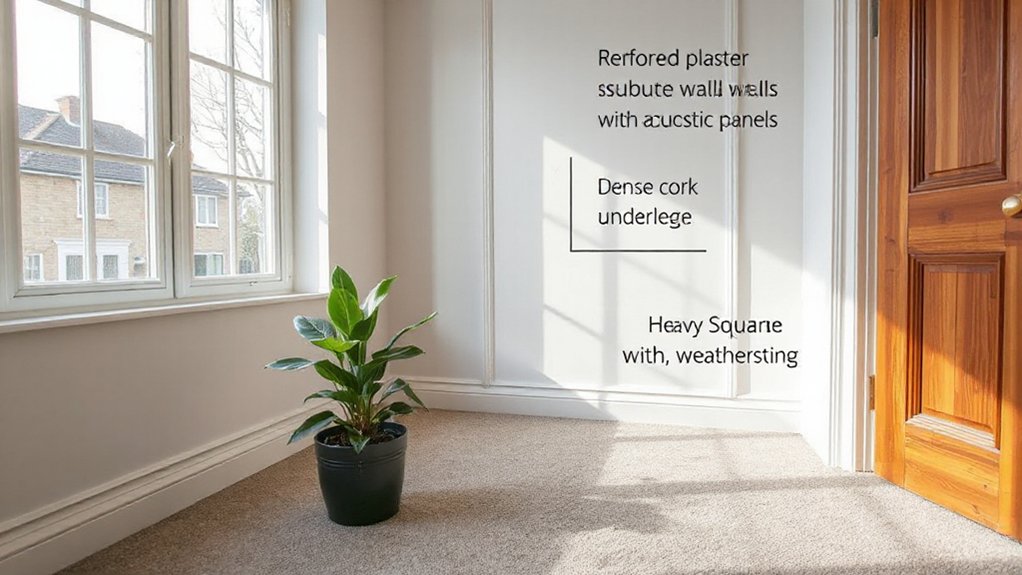
Soft Finishes and Fabrics to Dampens Sound
Soft finishes and fabrics play a key role in dampening sound by adding mass, damping energy, and decoupling surfaces without rigidly constraining the structure. You should select materials with high density or layered construction to absorb airborne and impact noise transmission modestly, then verify performance via practical testing.
Implement soft furnishings strategically to cover dominant reflecting surfaces, prioritizing wall hangings, curtains, and textile panels that span across typical noise paths. Acoustic panels are recommended where mass loading and targeted absorption are needed, especially on shared walls and ceilings.
Guarantee attachment methods preserve decoupling and avoid rigid fasteners that bridge assemblies. Balance aesthetics with acoustic effectiveness by matching fabric properties to room use, while maintaining ease of maintenance and long-term material stability.
Monitor results and adjust coverage accordingly.
Weekend DIY Soundproof Refresh: Step-by-Step
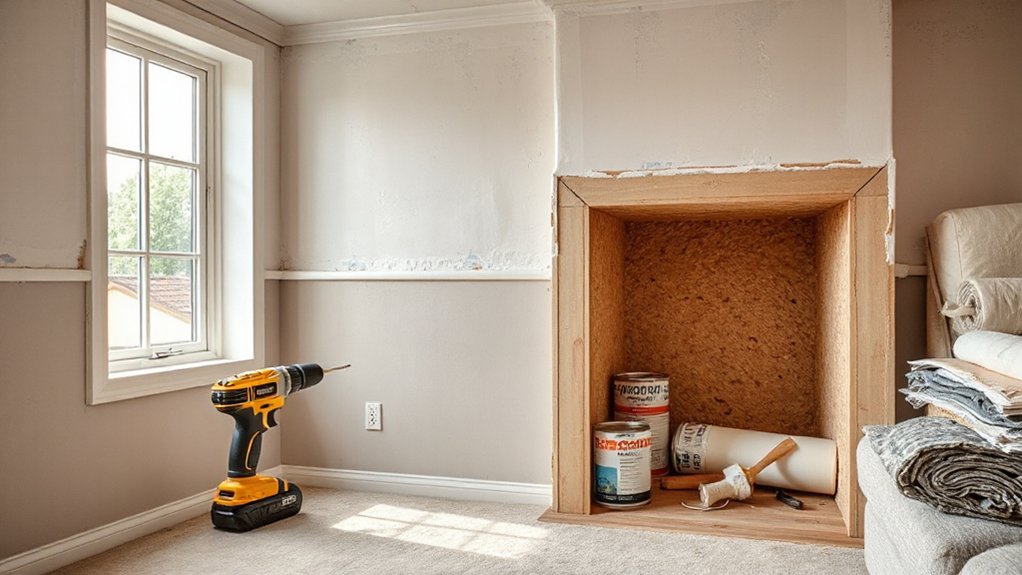
Beginning a weekend DIY soundproof refresh requires a clear, methodical plan: start by mapping contact points between the shared wall, floor, and ceiling, then isolate each path with targeted, non-rigid treatments.
You’ll locate flanking paths created by gaps, studs, and joist cavities, and label them for sequential capping. Apply mass‑loaded vinyl or resilient channels where structure transmits energy, and seal joints with low‑mismatch acoustical sealant to prevent leaks.
Install acoustic foams or mineral wool boards behind removable cover layers to dampen resonances without adding rigid bridging. Test progress with a simple door and window pick‑test, iterating until room modes reduce.
Be mindful of Soundproofing myths; rely on proven Acoustic technology principles rather than folklore. Maintain ventilation balance, avoiding airtight dead zones that could trap moisture. Document results for reproducibility.
When to Hire a Pro: Budget-Friendly Contractor Options
If you’ve set up a solid weekend refresh plan, you’ll likely reach a point where professional insight makes sense without blowing the budget. You should evaluate scope against cost, prioritizing high-impact tasks like air leaks, stud cavities, and door seals before broader interventions.
Hire a midrange contractor with documented acoustic experience and transparent bids; request a written plan, timeline, and material specs to compare Interior decor and acoustic treatments options objectively. Verify licenses and references, and, where possible, join site visits to confirm installation methods align with your performance targets.
For budget control, negotiate modular work packages: diagnostics only, then staged upgrades as results materialize. Schedule a pre-inspection, then monitor progress and adjust. Guarantee warranties cover workmanship and materials.
Measure, Maintain, and Monitor Long-Term Quiet
You’ll establish baseline measurements for sound transmission and vibration levels across common interfaces, documenting results with consistent metrics.
Implement a routine to schedule periodic maintenance checks, recording material condition, seal integrity, and hardware performance.
Start a long-term monitoring plan that flags deviations from baseline, enabling timely adjustments to maintain quiet performance.
Measure Maintenance Metrics
Measuring maintenance metrics is essential to sustain long-term quiet in a semi-detached home; you’ll track how effectively the soundproofing components perform over time and identify degradation before it impacts comfort. You’ll establish baseline measurements for each interface and material, then schedule periodic re-evaluation.
Use objective metrics: airborne and impact noise reduction indices, reverberation time, and leak-rate estimates, recorded at consistent room positions and door/window passages. Document exterior and interior conditions, prior renovations, and seasonal temperature shifts that affect seals.
Analyze variance against baseline to quantify performance drift. Apply corrective action records, including gasket replacements, joint resealing, or partition realignments, and revalidate after intervention.
Emphasize noise reduction and acoustic treatment effectiveness, ensuring repeatable methods enable rapid trend detection and informed maintenance planning.
Monitor Long-Term Quiet
How will you maintain quiet over time? You implement a structured monitoring routine to detect drift in isolation performance. Establish baseline measurements using calibrated sound level meters and repeat at regular intervals after renovations or seasonal changes.
Track transmission losses, door and window seals, and floor/ceiling assemblies for wear, sag, or degradation. Record data, compare against initial baselines, and flag deviations beyond pre-set thresholds.
Use simple root-cause analysis to distinguish acoustic technology improvements from installation faults. Reassess barrier performance after maintenance tasks to confirm gains persist.
Consider common Soundproofing myths that underestimate gradual wear. Maintain documentation, schedule periodic re-testing, and update strategies as equipment ages.
This disciplined approach preserves long-term quiet and ensures continued effectiveness.
Frequently Asked Questions
Can Door Thresholds Block Airborne Noise Effectively?
A door threshold can’t fully block airborne noise; you’ll still hear it unless you tighten gaps. Inspect the door gap, install a solid door sweep, and use a sound barrier to minimize transmission and reduce leakage effectively.
Do Acoustic Sealants Degrade Over Time?
Acoustic sealants typically degrade slowly, with durability extending 10–20 years under normal use. You’ll notice sealant durability impacting performance, and acoustic longevity depends on substrate prep and cure. Keep joints dry; reapply before gaps form.
Will Rug Underlays Reduce Creaky Floor Noise?
Yes, rug underlays can reduce creaky floor noise. Use dense rug padding and add floor insulation beneath it; combine with resilient bar or underlayment for better decoupling, improving overall vibration damping and sound transmission reduction.
Are Double-Stud Walls Feasible in Existing Semi-Detached Homes?
Yes, double-stud walls are feasible in some existing semi-detached homes, though you’ll need careful retrofit. Interior insulation and wall reinforcement are key, ensuring space for decoupled framing while preserving structure and minimizing thermal bridging.
How Does HVAC Rumble Affect Party Wall Noise?
You’ll notice HVAC rumble mostly travels through structure; implement vibration dampening and monitor for airborne leakage. Apply targeted structural reinforcement at party walls, seal joints, and mount vibration isolators to reduce reverberation and limit transmitted noise.
Conclusion
You can quietly enjoy a more peaceful home by methodically tightening gaps, upgrading materials, and adding mass or decoupling where it matters. With careful sealing, resilient details, and thoughtful finishes, you’ll curb noise transfer without overhauling the structure. If persistent sounds linger, a pragmatic blend of DIY refinements and selective professional help keeps costs sensible. Maintain monitoring, schedule refreshes, and treat each improvement as a small, steady step toward enhanced comfort and reliability.