Basements with low ceilings can feel cramped, but you can change that with careful lighting choices. Think slimline or recessed LEDs, layered into ambient, task, and accent layers to keep spaces usable yet inviting. Use wall-washing and uplighting to lift perceived height, plus mirrors or reflective finishes to bounce light around. Stick to warm white tones (2700–3000K) and add dimmers for mood and safety. It’s all about balance and intention, so you’ll want a cohesive plan before you start.
Why Basements Feel Dark and How to Brighten Them
Basements often feel dark because they’re cut off from natural light and use limited artificial illumination. You can counter this by maximizing existing windows and reflecting light around the room. Choose bright, white walls and ceilings to create clean diffusion, then add a few carefully placed mirrors to bounce Natural sunlight deeper inside. Opt for light, matte finishes on floors to reduce glare while keeping warmth. Use layered lighting: ambient, task, and accent, so you don’t rely on a single source. Keep window treatments minimal to avoid blocking what daylight you have. Color contrast matters too—pair cool whites with warm wood or textiles to prevent a flat look. Small, strategic updates add perceived space and clarity without large renovations.
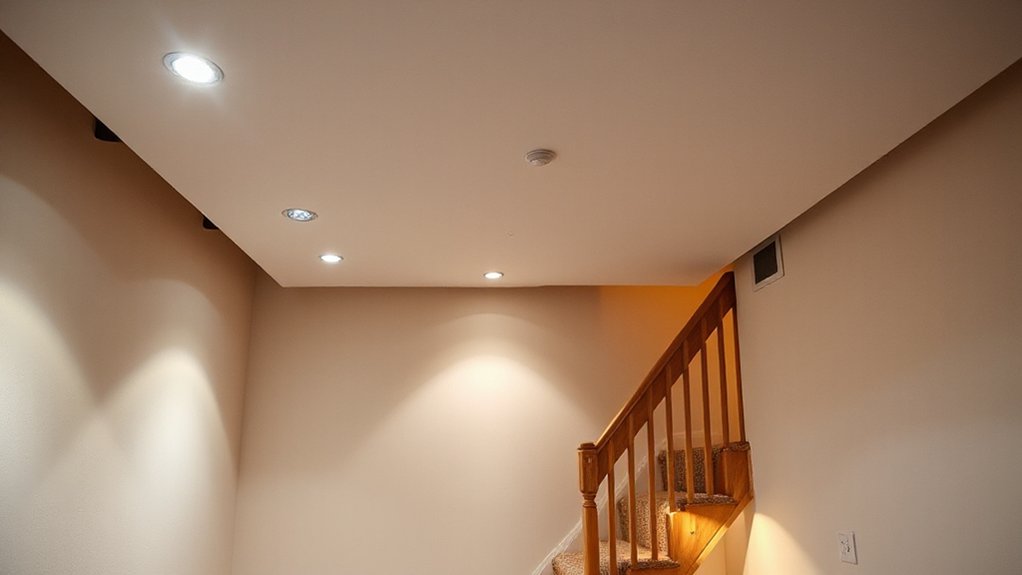
Slimline and Recessed Lighting That Fit Low Ceilings
Slimline ceiling fixtures keep sightlines clean while painting your basement with even, glare-free light. Recessed options maximize headroom and pair with efficient LEDs to boost brightness without bulk. Plan your wiring for low-ceiling clearance and choose slim drivers to maintain a tidy, cohesive look.
Slimline Ceiling Fixtures
For low ceilings, choose slimline fixtures that sit close to the ceiling and cast broad, even illumination without crowding the space. Slimline ceiling fixtures maximize headroom while delivering strong ambient light, so you won’t feel boxed in. Look for low-profile profiles that blend with plaster or drywall, with clean lines and minimal glare. When selecting, prioritize recessed options or ultra-thin trims that disappear into the ceiling plane, yet still evenly illuminate task zones. Smart controls let you tailor brightness and color temperature to the room’s mood and functions, enhancing flexibility without adding clutter. Choose LED advantages, including long life and low heat, to reduce maintenance and keep ceilings looking crisp and airily modern. Pair with dimming for subtle evenings and bright mornings for practical, aesthetic basements.
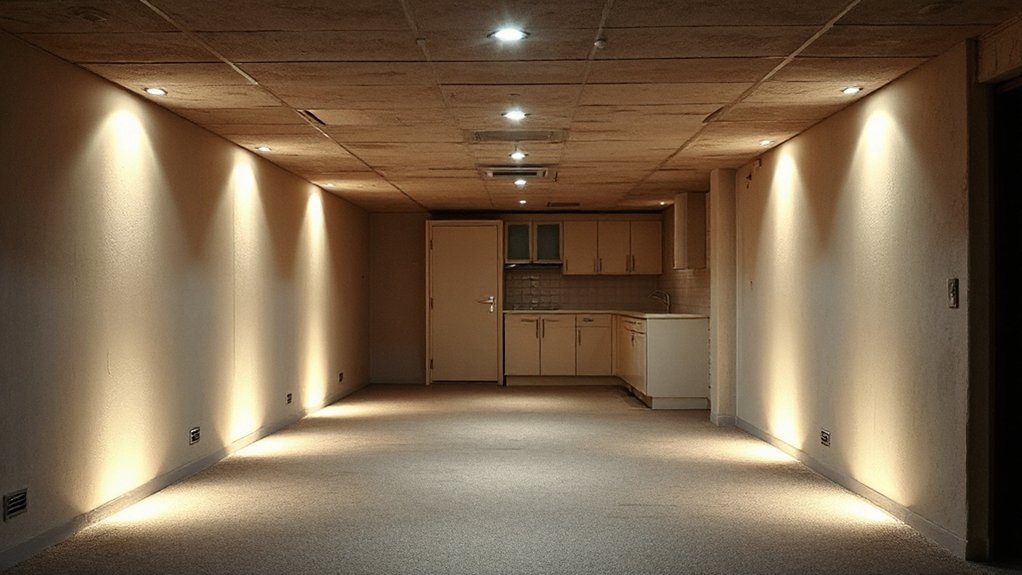
Recessed Light Efficiency
Recessed lighting that fits low ceilings trades off fewer fixtures for broader, uniform coverage, so you get daylight-like brightness without crowding headroom. When you choose slimline and recessed options, prioritize models with deep-cut profiles and integrated housings to minimize protrusion. Look for airtight, IC-rated housings to reduce heat transfer and improve energy efficiency, especially in UK basements with limited ventilation. Opt for LED modules with high lumens per watt, and select color temperatures around 2700–3000K for a warm, inviting feel. Dimmer compatibility matters for atmosphere and efficiency; pair with compatible dimmers to sustain light quality at reduced levels. Plan spacing to avoid hot spots, typically 1.5–2 meters apart, ensuring even coverage without sacrificing style or comfort. recessed lighting supports practical, quiet sophistication while conserving energy.
Low-Ceiling Wiring Tips
To fit slimline and recessed lighting into low ceilings, plan wiring so the run is neat, accessible, and safe. You’ll prefer surface-free routes with shallow boxes and compliant fixings, keeping cables routed away from heat and moisture zones. Choose low-profile drivers and compatible transformers to minimize depth, and label circuits for easy future checks. Ceiling height considerations mean you should map joists and avoid trenching through structure where possible, using pre-wired tracks or conduit risers that tuck neatly along edges. Use junction boxes only where needed, and install access panels for serviceability. Wire lengths should have slack for movement, yet stay within reach of the ceiling void. Wiring safety tips: test insulation, secure hangers, and keep cables away from hot fixtures to prevent sagging or damage.
Layering Ambient, Task, and Accent Light Effectively
Start by layering ambient light to wash the room with soft, even brightness, then add task lighting where you’ll read, cook, or work, keeping beam angles and glare in check. Balance the levels so no one area overwhelms another, using dimmers and thoughtfully chosen color temperatures to keep the space cohesive. Finally, introduce accent lighting to highlight architectural features or artwork, guiding the eye without cluttering the ceiling line.
Layer Ambient Lighting
Layer ambient lighting sets the mood and defines the space by softly illuminating walls and ceilings, reducing harsh contrasts while you work out the room’s flow. You’ll layer sources to create a balanced backdrop: diffuse ceiling fixtures, wall sconces, and hidden cucks or coves that wash the space with color-neutral light. Aim for even brightness, avoiding hot spots that make the ceiling feel lower. Use dimmable LEDs to adjust mood from practical to relaxed, especially for evenings. Smart lighting helps you preset scenes, syncing with motion sensors to greet you without glare. Prioritize energy efficiency with warm tones around 2700–3000K and high-CRI LEDs for true color. Keep cords discreet and install controls within easy reach to maintain a clean, cohesive look.
Balance Task Illumination
Balancing task, ambient, and accent lighting is about orchestration: you want each layer to play its part without stealing attention. You achieve this by pairing a steady ambient base with purposeful task luminance that reduces shadows in work zones. Place evenly diffused task light above counters or desks, using color-neutral bulbs to keep true tones. Align fixtures so glare isn’t directed into your eyes, and allow light diffusion to soften edges while preserving crisp visibility. Use dimmers to tailor intensity as activities shift, from reading to detail work. Color contrast matters: pair cool task light with warmer ambient tones for depth and readability. Keep progression seamless, ensuring the overall floor area remains evenly lit without hotspots or dark corners.
Accent Light Strategy
Accent lighting ties the room together by drawing attention to architectural features, artwork, or textures while staying integrated with your ambient and task layers. You’ll layer light so accents aren’t flat, using selective brightness and color to define zones without overpowering ceilings. Smart bulbs help you tweak warmth and intensity from a single app, matching mood to activity. Color accents can highlight textures or artwork, adding depth without clutter.
1) Identify focal features and choose a directional, low-profile fixture.
2) Use dimmed accents that contrast with ambient light to create depth.
3) Pair smart bulbs with neutral task lighting for flexible scenes.
4) Schedule subtle color shifts for evenings to enhance warmth and perception of height.
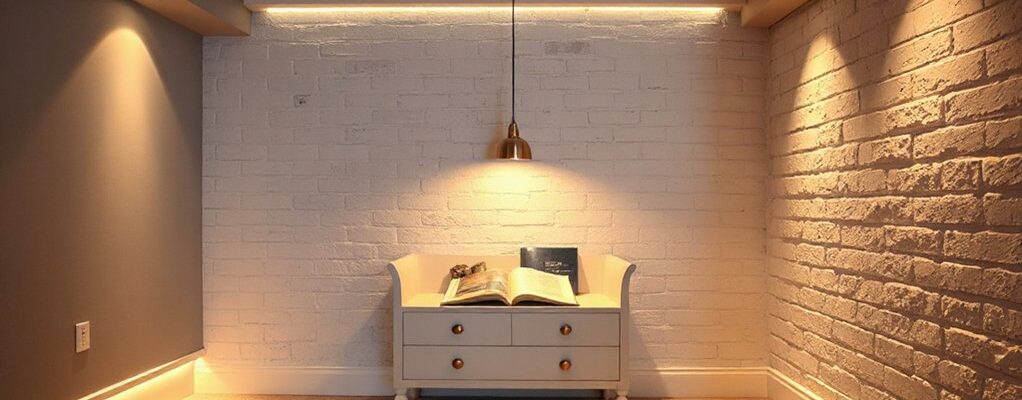
Wall-Washing and Uplighting to Maximize Headroom
Wall-washing and uplighting are practical, space-saving techniques that help create the illusion of higher ceilings in a low-ceiling UK basement. You’ll want even, diffuse wall illumination to push visual boundaries upward, not glare. Position wall mounted fixtures low and discreet, aimed upward to bounce light softly across plaster and paneling. This creates a clean gradient from floor to ceiling, visually expanding the room without adding bulk. Use linear or adjustable wall-washing units for uniform coverage, avoiding hot spots. Pair with uplighting techniques behind crown moulding or along architectural recesses to emphasize vertical lines. Keep cables hidden and choose fixtures with matte finishes to minimize reflection. This approach preserves headroom while still delivering warmth, depth, and a refined, contemporary mood.
Choosing Color Temperature for Cosy UK Basements
Choosing the right color temperature is key to making a cosy UK basement feel inviting rather than clinical. You’ll shape the space with light that feels warm, not harsh, and that supports relaxed evenings. Think in terms of color temperature and mood lighting to complement your finishes and textures.
- Opt for warm white (2700–3000K) for living zones to foster comfort and intimacy.
- Use neutral white (3500–4100K) for task areas without draining character.
- Introduce dimming controls to fine‑tune mood lighting as you change activities.
- Mix accents with subtle cool accents (around 3500K) to prevent flatness while preserving warmth.
Keep luminance even, avoid glare, and let color temperature guide your atmosphere so the basement feels welcoming, not sterile.
Lighting Layouts by Room Zone: Living, Kitchenette, and Utility
Think about how you’ll zone each area: soft, ambient lighting in the living space for reading and lounge moments, focused kitchenette task lighting that stays bright without glare, and a utility area brightness plan that makes chores effortless without washing out the room. Use layered layers—cove or shelf lights, recessed downlights, and under-cabinet bites—to balance ambience with practical needs. This discussion sets the groundwork for precise layouts that keep ceilings feeling open while every zone serves its purpose.
Living Room Zoning Lighting
When planning living room zoning lighting, start by mapping three distinct zones—relaxation seating, TV/display area, and a multifunctional nook—so each feels intentional rather than a single, blanket wash. You’ll layer light to support mood, task, and accent without clutter. Use smart bulbs for dimming and scene-setting, and mix Vintage fixtures to add character without crowding ceilings. Here’s a concise approach:
- Define zones with ceiling-wash shadows and targeted floor lamps.
- Place task luminaires near seating and workspace, keeping glare off screens.
- Integrate wall grazing to emphasize textures and art.
- Choose adjustable, warm-toned sources for a cohesive ambience.
Aim for a balanced palette, avoiding overpowering brightness while preserving depth and detail.
Kitchenette Task Illumination Tips
To illuminate a kitchenette efficiently, layer task lighting where you work most: under-cabinet strips to brighten countertops, a compact ceiling or recessed fixture for general clarity, and focused desk or island lamps for precise prep spots. Position lighting so counter corners stay glare-free, using diffusers or frosted covers to reduce harsh shadows. Choose cool white tones around 4000K for true color in herbs, sauces, and mise en place, and keep cabinets flush with warm accents to soften the space. Integrate smart controls to adjust intensity by zone and time, saving energy without sacrificing visibility. Include indoor plants near a window or shelf to soften edges, boost air quality, and add visual contrast. Regularly review for scale, ensuring fixtures don’t crowd the kitchenette’s low ceiling.
Utility Area Brightness Plan
In the utility area, map a brightness plan that zones light by task: a bright baseline for general movement, focused task lighting near the washer and storage alcoves, and ambient glow along the walls to soften edges on a low ceiling. You’ll balance efficiency with mood using layered layers for any setup.
- Install a dimmable main fixture for general tasks.
- Add targeted under-cabinet or shelf lighting by the washer and storage alcoves.
- Place wall wash or cove lighting to create soft ambient edges.
- Choose lights with high Color rendering for accurate fabrics and surfaces.
Smart control enables scheduling and scene presets, while Color rendering maintains true hues and texture, enhancing practicality and aesthetic cohesion.
UK Energy Standards and Compliant Luminaires for Basements
UK energy standards for basements center on using safe, efficient lighting that’s compliant with Part L of the Building Regulations and relevant British Standards. You’ll prioritize luminaires with appropriate lumen output, efficiency, and glare control, choosing fixtures sized for low ceilings without crowding the space. Look for CE-marked products and energy labels that clearly show efficiency class and wattage, so you can compare performance at a glance. Opt for LED options with good color rendering and long life to minimize maintenance in tight, damp environments. Smart controls help you tailor light levels to tasks and daylight, reducing waste. When selecting luminaires, verify compatibility with dimmers and sensors, ensuring compliant wiring and safe clearance. This approach keeps basements bright, comfortable, and compliant.
Step-By-Step Installation Tips for Low Ceilings
If you’re working in a tight space, start by planning a compact layout that keeps fixtures at safe heights while maximizing headroom. Then, install with precision, prioritizing ceiling height and clean lines that avoid bulk. Make certain wiring paths are discreet and rated for basements, with junction boxes accessible yet hidden.
- Measure ceiling height and map fixture positions to maintain even lighting without crowding corners.
- Choose low-profile fittings and recessed options to shave depth while delivering focused, glare-free light.
- Align lighting placement with work zones, avoiding shadows in reading nooks or seating areas.
- Test with dimmers and adjust tilt angles to balance warmth and task brightness across the space.
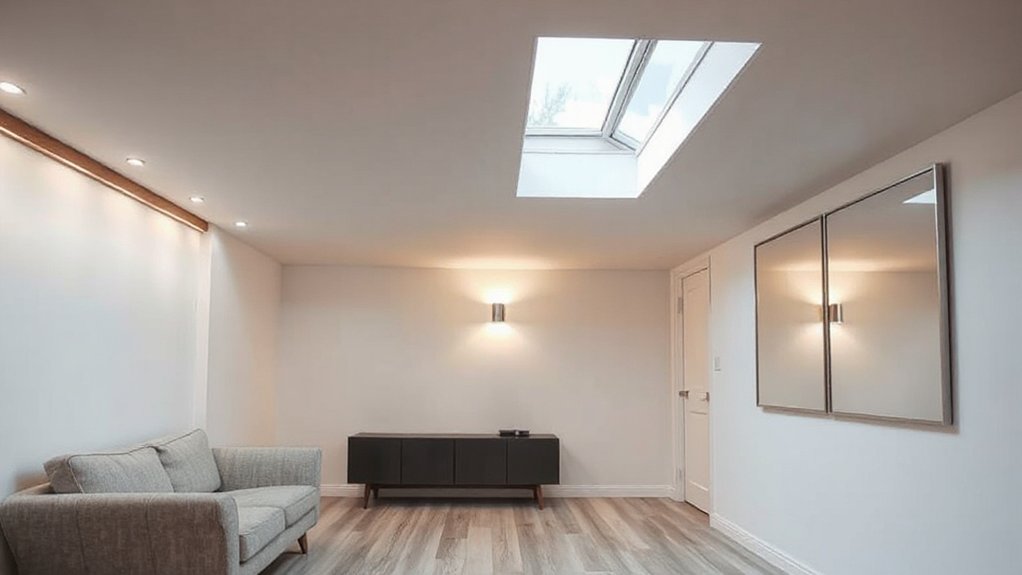
Styling With Mirrors and Reflective Surfaces to Amplify Light
Mirrors and reflective surfaces aren’t just decorative; they’re practical tools to bounce light around a low-ceiling basement and instantly brighten its feel. You’ll gain depth by placing mirrors opposite light sources or windows, maximizing the brightness without adding fixtures. Aim for wall-to-wall or large framed pieces to create continuous reflections that visually lift the ceiling height. Use reflective surfaces in strategic spots—behind seating, along narrow hallways, and near task areas—to distribute ambient light evenly. Consider showering a chrome or glass console with a soft glow, or opting for polished ceramic tiles in low-traffic zones to reflect subtle daylight. Mirror placement matters most at eye level, while reflective surfaces should complement color and texture, maintaining balance and avoiding glare.
Plan, Source, and Budget for Basement Lighting in the UK
Planning a well-lit basement in the UK starts with a clear practical map: assess the space, choose reliable fixtures, and set a realistic budget that accounts for both installation and future flexibility. You’ll plan around color schemes that widen perceived space, LED efficiency, and practical wiring routes, then source from UK-friendly suppliers with warranties. Budget smartly for ambient, task, and accent layers, plus future upgrades.
- Assess ceiling height, access, and existing wiring
- Source integrated LEDs, dimmable fittings, and smart controls
- Compare quotes, factoring delivery, installation, and permits
- Allocate a contingency for changes and accessories
Think: combine timeless fixtures with modern smart controls, and document all choices for easy future tweaks.
Frequently Asked Questions
How Can I Simulate Daylight in a Basement Without Windows?
You can simulate daylight by layering sunlight simulation and artificial daylight sources, using full-spectrum LEDs with highCRI, daylight-balanced color temps, and diffusers; combine ceiling panels, lamps, and mirrors to reflect light, creating a bright, inviting basement ambience.
Are IP Ratings Mandatory for UK Basement Lighting?
IP ratings aren’t legally mandatory for UK basement lighting, but you should pick IP65 or higher for moisture-prone zones. Practical, aesthetic setup: combine indoor plants with mood lighting, using low-profile fixtures and soothing, shadow-softening warmth. Alliteration: Perfect, practical practicality.
What’s the Best Dimmer Type for Low Ceilings?
A trailing edge or trailing-edge dimmer is best for low ceilings, offering smooth control. Choose a dimmer compatible with LED lamps, and plan lighting design to keep ceiling height visually increased, avoiding glare and ensuring even illumination.
Can Solar-Powered Lights Work Underground or Basements?
Sunlight-searching like a hidden treasure, yes—solar-powered lights can work underground. You’ll need battery storage and efficient solar efficiency, plus underground illumination designed for low-dept spaces to stay bright and reliable in basements.
How Often Should Basement Luminaires Be Replaced or Serviced?
You should service basement luminaires every 12–24 months, depending on usage and environment, to guarantee lighting maintenance and preserve fixture longevity. Inspect seals, replace bulbs promptly, and keep humidity in check for steady performance and aesthetic consistency.
Conclusion
You’ve got the blueprint to brighten a low-ceiling UK basement without sacrificing space or style. Imagine stepping down into a softly lit cellar where recessed LEDs vanish into coves, walls glow with wash lighting, and mirrors double every spark of warmth. In a recent survey, homes with layered lighting reported a perceived ceiling height increase of up to 15%. Plan, budget, and source wisely, then install with care—your cosy, practical basement will feel unexpectedly expansive.