Turning a garage into a functional workspace starts with a clear plan for zones—work, storage, and vehicle access—so you can move efficiently without crossing tasks. You’ll set a budget, climate the space, and install lighting, outlets, and ventilation for real work. With durable finishes and smart storage, you’ll control dust and noise while optimizing ergonomics, but the best approach hinges on how you map workflow to your tools and projects—and that alignment will define your next steps.
Key Takeaways
- Define core zones (workbench, storage, vehicle access, climate control) and map required spaces, utilities, and flows.
- Set a realistic budget with detailed scope, unit costs, contingency, and milestone reviews.
- Choose appropriate insulation, seal penetrations, add exterior insulation, and optimize doors and slab edges for efficiency.
- Plan layered lighting and power: LED ambient/task lighting, dedicated circuits, GFCI outlets, and code-compliant ventilation.
- Prioritize durable finishes and ergonomic storage: pegboards, cabinets, slip-resistant flooring, and regular maintenance checks.
Define Your Garage’s Ideal Use and Constraints
Defining your garage’s ideal use and constraints starts with a clear purpose. You’ll identify primary activities, then map required spaces, utilities, and flows to support them.
Establish core zones—workbench, storage, vehicle access, and climate control—so you can evaluate layout options efficiently. Assess existing constraints: door swing, ceiling height, drainage, and electrical capacity.
Prioritize safety, ventilation, and dust control for long-term reliability. Your decisions should drive cabinet depth, bench height, and clearances, enabling effective garage organization and smooth operations.
Quantify needs: required power outlets, lighting levels, tool reach, and ancillary spaces for parts or maintenance. Document must-haves versus nice-to-haves, linking them to space optimization goals.
This disciplined approach aligns design, materials, and sequencing with functional criteria, reducing rework and accelerating implementation.
Set Your Budget and Timeline Up Front
Set a realistic budget and timeline before you buy or cut any material. You’ll establish a cap on costs and a schedule that aligns with trades, permits, and delivery windows.
Begin with a detailed scope: framing, electrical, and flooring, then assign unit costs and contingency—typically 10–20% for unforeseen items.
Track cash flow by phase, not just overall totals, so you never over-commit.
Allocate funds for garage aesthetics to achieve a coherent finish, including durable coatings, storage, and work surfaces.
Plan parking solutions around access, vehicle size, and temporary reconfiguration during construction.
Build in milestone reviews to validate progress and adjust deadlines or suppliers.
A disciplined budget and timeline reduce waste and maximize space efficiency from day one.
Insulate and Climate the Space for Comfort
To create a comfortable, energy-efficient space, you’ll start by selecting an appropriate insulation strategy and climate-control approach for your garage. Choose wall and ceiling assemblies with rated R-values matched to local climate, and seal penetrations to eliminate air leaks.
Use continuous insulation on the exterior whenever possible to reduce thermal bridging, and install a vapor barrier where required to prevent moisture migration. Optimize the slab edge insulation and door seals to curb heat loss.
For sound control, implement soundproofing techniques around walls and doors to minimize noise transfer without impairing access.
Select heating solutions that fit space, safety, and efficiency goals, such as a properly sized electric or gas heater with thermostat zoning.
Prioritize balanced ventilation to maintain indoor air quality while preserving heat.
Plan Lighting, Power, and Ventilation for Real Work
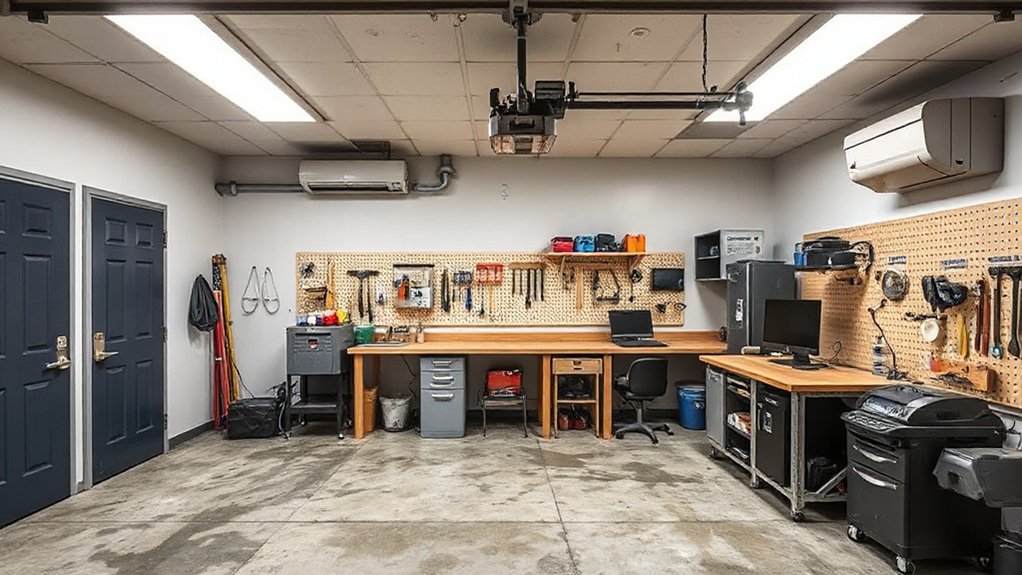
With the space prepared for comfortable, energy-efficient use, you’ll now plan lighting, power, and ventilation for real work.
Begin with lighting strategy: install LED lighting to guarantee even illumination, color accuracy, and low heat output. Choose a mix of ambient, task, and accent fixtures, with dimmable controls and easy accessibility for maintenance.
Plan electrical load by listing tools, machines, and outlets, and size circuits to avoid overloading; include a dedicated circuit for high-draw equipment and a reachable GFCI outlet layout for safety.
For ventilation, implement exhaust ventilation to remove fumes, dust, and heat; pair with makeup air if necessary to balance pressure.
Verify code compliance, permits, and proper wiring methods, assuring accessibility for service.
Schedule periodic reviews of electrical and ventilation performance.
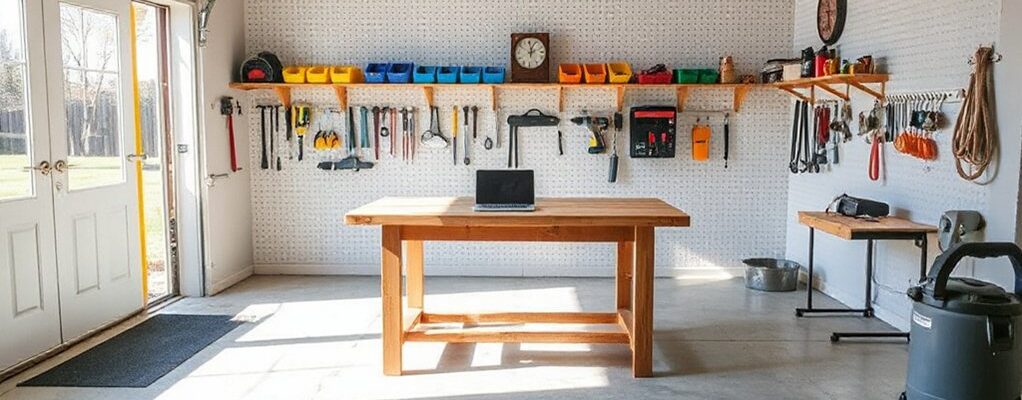
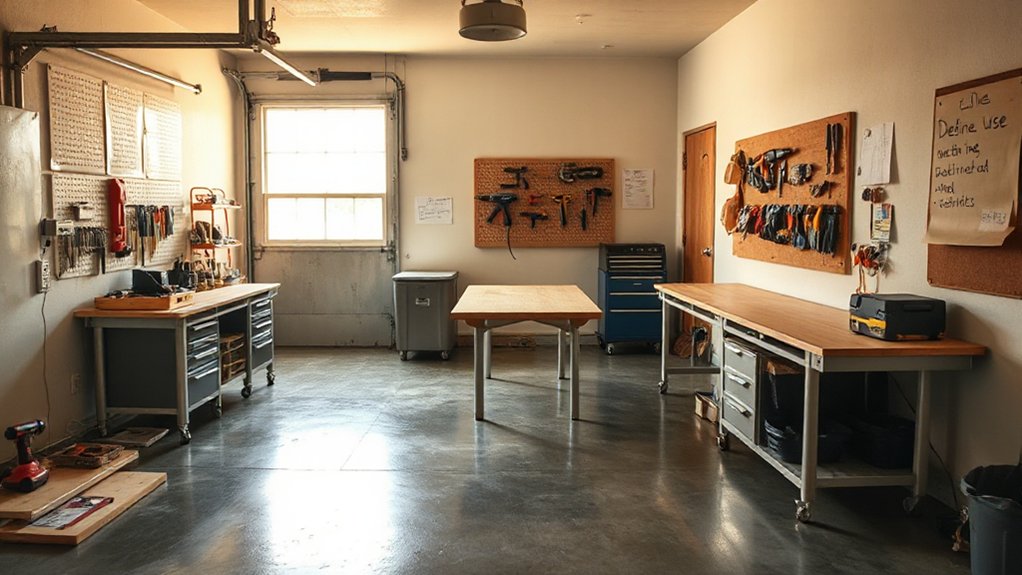
Design Tool Storage and Zoning by Project
Use pegboard or cabinet rails for frequently used items, with drawers or bins for less-accessible components. Establish zoning strategies that separate cutting, assembly, finishing, and testing areas, preventing cross-contamination of tools and debris.
Assign ownership and scheduled checks to maintain order, and incorporate dedicated mobile carts for on-site tasks. Document workflow diagrams and tool lists so new hires integrate rapidly.
Regular audits ensure compliance, reduce downtime, and preserve tool organization across projects.
Choose Durable Flooring, Walls, and Finishes
Selecting durable flooring, walls, and finishes is critical to withstand workshop traffic, tool impacts, dust, and moisture. You’ll choose surfaces that resist abrasion, chemical exposure, and impact without warping.
Begin with flooring durability options: epoxy or polyurethane composites provide seamless, sealed surfaces; consider concrete overlays for high-load areas; select slip-resistant textures and approved moisture barriers.
For walls, opt for washable, mold-resistant panels or cementitious coatings that tolerate cleaning solvents and impact. Decorative wall finishes can add protection while maintaining brightness and visibility; choose durable paints or laminated panels with antimicrobial properties.
Finishes should synchronize with ventilation and dust control, reducing maintenance cycles. Prioritize compatibility between substrate, fasteners, and coatings, and document warranty terms to guarantee long-term performance and serviceability.
Build an Ergonomic Layout With Smart Accessories
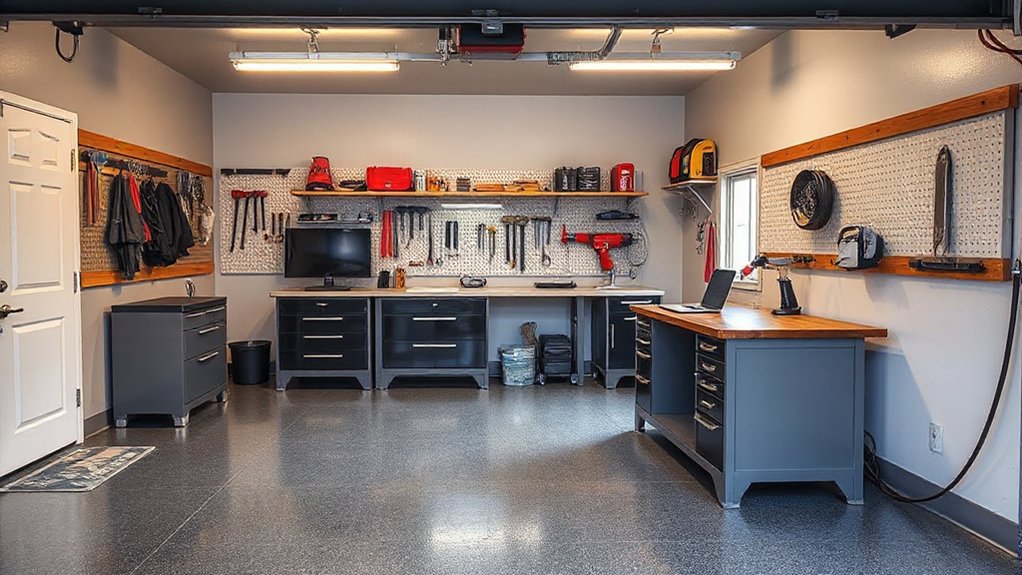
To maximize efficiency and reduce strain, map your shop layout around a central workflow that aligns frequent tasks with accessible tool storage and power at bench height. This arrangement minimizes reach distances and streamlines cycle time.
Position ergonomic furniture to support neutral postures during primary tasks, and bias gripping, cutting, and assembly zones toward the center of the workflow.
Implement smart accessories that monitor load, heat, and vibration, and integrate power and data hubs at touch points for rapid tool changes.
Use tool rails and magnet strips at consistent heights to reduce reaching overhead.
Confirm clear sightlines to displays and controls, and document ergonomic targets for each station.
Regularly audit for drift, adjust layouts, and train users on proper posture and tool use to sustain productivity.
Frequently Asked Questions
How Do I Measure the Space for Future Growth?
You’ll map current space and project future growth by measuring wall-to-wall dimensions, ceiling height, and door openings, then add clearance for equipment and circulation.
Sketch fixed features, like studs and electrical panels, and note potential expansion zones.
Use a grid plan to calculate square footage for future storage solutions and work zones.
Account for storage solutions and lighting options, ensuring conduit or outlets align with planned layouts.
Verify measurements with a laser or tape for precision.
What Legal Permits Might Be Required for a Workshop?
Getting the basics right, you’ll need to check local permit requirements, including building permits, electrical, plumbing, and fire code approvals.
In many jurisdictions, a workshop in a garage triggers inspections and updates to safety systems. Make certain garage insulation meets standards and that any structural or electrical work is approved.
You’ll also verify ventilation and waste discipline. If unsure, contact your building department.
Following permit requirements helps; otherwise, you might face code violations and fines.
How to Acoustically Treat Noise From Tools?
You want to reduce tool noise effectively. Use soundproofing materials like dense vinyl, mineral wool, and sealed drywall to create an acoustic shell around your workspace.
Implement noise reduction techniques such as resilient channels, decoupled framing, and door seals to minimize flanking sound.
Add rubber mats and acoustic panels at sources, and target ventilation with sound-dampened baffles.
Test iteratively, adjusting gaps and seals until your sound levels meet your target.
Can I Convert a Garage Into a Studio Apartment?
Yes, you can convert a garage into a studio apartment, but you’ll need careful planning. Start with garage insulation, make sure roof and walls meet code, and install a proper SEER-rated HVAC system.
For lighting options, use layered LED lighting, task lamps, and emergency egress.
Verify moisture control, electrical, plumbing, and ventilation in your design. You’ll document permits, standards, and inspections throughout, avoiding pitfalls and guaranteeing a compliant, comfortable living space.
What Is the Best DIY Approach for a Lifetime Warranty?
The best DIY approach for a lifetime warranty is to prioritize quality, documentation, and compliance. You should select code-compliant materials, follow manufacturer guidelines, and maintain thorough records.
Use proper Garage insulation to minimize gaps, moisture, and energy loss, and guarantee Electrical wiring is installed with protection, grounding, and proper junctions.
Document every step with photos and receipts, obtain inspections as required, and choose products with transferable warranties to maximize longevity.
Regular maintenance seals the warranty’s effectiveness.
Conclusion
Transform your garage into a purposeful, productive project hub with precision. Plan, prioritize, and protect: power, ventilation, and pricing; zoning, storage, and workflow; durability, dust control, and durability again. Optimize ergonomic efficiency, align with your aims, and adjust as activities evolve. Implement intelligent insulation, inviting lighting, and rugged flooring for lasting reliability. Systematically survey space, streamline steps, and sustain safety standards. Solidify your sequence, seize space, and start, stay steadily organized—set your studio, sharpen your strategy, and succeed.