Epoxy is the best all-around garage floor finish. It delivers strong chemical and abrasion resistance, a hard seamless surface, and long life with proper prep and maintenance. If you’re after fast installs or low odor, acrylics work for simple color coats but aren’t as durable. Polyurethanes add gloss and chemical resistance, but require careful ventilation and longer cures. Prep, thin even coats, and cure conditions matter more than the product name. Want more practical steps and tips?
Durability and Wear Resistance for Garage Floor Coatings
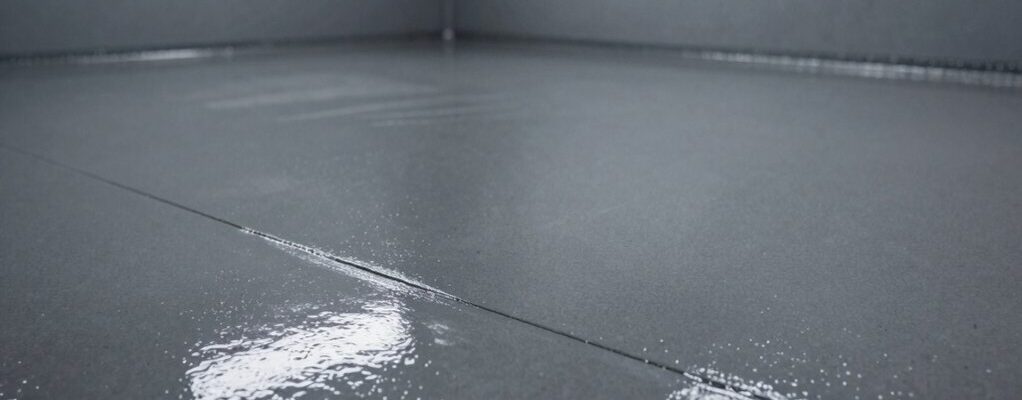
Durability and wear resistance are the core criteria you should evaluate when choosing a garage floor coating. You’ll face daily traffic, dropped tools, and rolling wheels, so your coating must withstand impact, abrasion, and chemical exposure.
Look for high quartz or aluminum oxide blends, dense polymer matrices, and proper surface preparation, including cleaning and profiling, to maximize adhesion and longevity. Consider hardness ratings and abrasion tests, such as Taber or Nano-scratch metrics, to gauge resilience.
Cure time matters too; faster cures can reduce downtime but may sacrifice initial hardness if rushed. Guarantee the formulation resists oil, solvents, and road grime, and verify UV stability to prevent chalking.
Finally, choose a system with proven track records in similar garage conditions and reputable warranty terms.
Epoxy: Pros, Cons, and Ideal Applications
Epoxy coatings enhance durability, with clear benefits like impact resistance and chemical tolerance that help garages stand up to traffic and spills.
You’ll learn practical application methods, from surface prep to proper mixing, to guarantee a solid, lasting finish.
Consider lifespan factors such as maintenance needs and floor usage to judge whether epoxy fits your space.
Durability Benefits
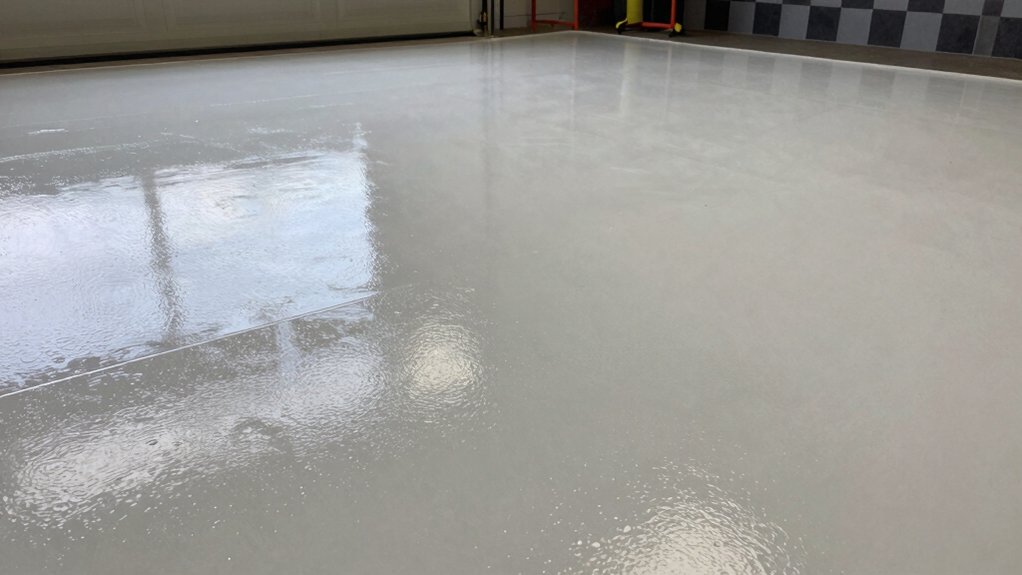
When you’re deciding on garage floor protection, epoxy offers standout durability for high-traffic areas and chemical exposure, resisting impacts, abrasion, and stains better than many alternatives. You’ll gain a hard, dense surface that tolerates tires, dropped tools, and stored items without chipping.
Epoxy’s chemical resistance safeguards against oil, gasoline, solvents, and cleaners that dull other coatings, helping keep color and shine longer. The cured layer forms a seamless, uniform shield, minimizing porosity where dirt and moisture collect.
With proper prep, adhesion remains strong across concrete joints and minor surface irregularities, reducing peel risks. Temperature swings pose less risk than with some coatings, maintaining gloss and film integrity.
Application Methods
Applying epoxy to a garage floor starts with surface prep, then choosing a method that fits your space and use. You’ll apply epoxy using solid rollers for even coats or a squeegee for self-leveling blends, depending on the product. Rollers give you control in tight areas; squeegees speed up large, flat sections.
Follow manufacturer tackiness tests and use optional primer when porosity is high. For metallic or decorative chips, mix thoroughly and broadcast evenly to refusal, then seal with a top coat. Work in small sections to maintain a wet edge and avoid lap marks.
Temperature and humidity matter, so respect cure times between coats. Choose a system with proper UV and chemical resistance for your garage’s traffic, spills, and storage habits.
Lifespan Considerations
Because epoxy floors can take daily abuse, understanding lifespan matters guides your product choice, prep requirements, and maintenance plan. Epoxy’s longevity hinges on surface prep, traffic, and chemical exposure.
Expect 3–7 years for basic garage use with light foot traffic, and 5–10 years or more with proper abrasion resistance and a tough topcoat. UV exposure and vehicles with chemicals shorten life; choose UV-stable formulations and sealed edges to slow chalking and fading.
Proper etching, cleaning, and moisture control prevent delamination. Regular recoats extend service life, typically every 2–5 years, depending on wear. Consider a clear polyaspartic or polyurethane topcoat for added scratch resistance and easier maintenance.
If you need near-term flexibility, acrylic-compatible systems offer faster cures but shorter lifespans. Plan around anticipated use and maintenance cadence.
Acrylic Floor Paint: When It Makes Sense
Acrylic floor paint can be a smart choice when you need a fast-drying, low-odor coating that’s easy to apply on concrete. You’ll notice quick handling time, which helps you stay on schedule. Use it when you want straightforward color, simple prep, and minimal equipment.
It adheres well to clean, dry concrete and tolerates light traffic soon after drying. Expect solid coverage with multiple thin coats rather than one heavy layer. Keep humidity in check and follow curing times precisely to prevent blistering or peeling.
Cleaning up is simple with water, which is convenient for DIY projects. Acrylics resist staining and are easier to touch up than heavier finishes. However, they may not withstand extreme chemical exposure or heavy abrasion as long as tougher coatings.
Polyurethane Finishes: Benefits and Trade-Offs
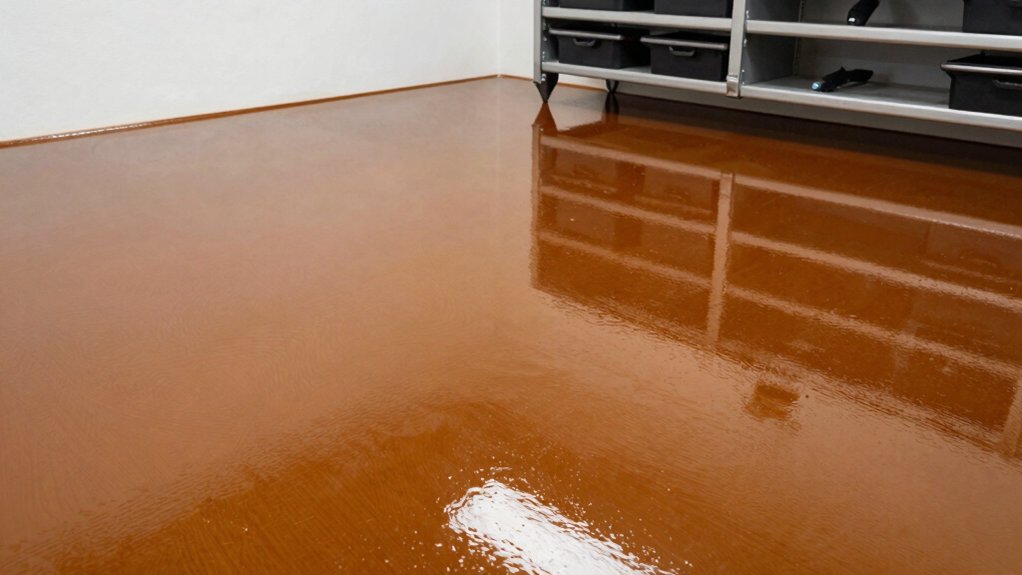
Polyurethane finishes offer lasting durability and chemical resistance, but they come with a higher odor, longer cure times, and a tougher prep process.
You’ll gain a hard, glossy surface that resists scuffs and most solvents, making cleanup easier and floors easier to maintain over years. The trade-off is odor and prolonged ventilation needs during application and curing, plus careful surface prep to prevent fish-eye or peeling.
You should expect minor substrate irregularities to show through if you use thin coats, and you’ll need compatible primers for certain concrete conditions. Temperature, humidity, and ventilation influence cure speed, so plan accordingly.
Application requires even brushing or rolling to avoid lap marks. For high-traffic, chemical-heavy spaces, polyurethane can outperform traditional coatings when properly applied.
Prep Steps That Extend Coating Life
Durable coatings start with a solid prep routine, and you’ll extend life by getting the substrate right from the start. Begin with a thorough cleaning to remove oils, grease, and dust. Use a degreaser for stubborn grime, then rinse and dry completely.
Check for moisture; use a meter, and repair any damp spots before coating. Eliminate old coatings that peel or crack—grind or abrade until the surface is uniform and porous enough to bite. Fill cracks and pits with an appropriate, compatible filler, smoothing flush with the floor.
Guarantee a dry, dust-free environment during prep and cure. Etch or priming may be necessary on concrete with sealed or smooth surfaces; follow product guidance for timing.
Finally, vacuum thoroughly and wipe down to remove residual dust before coating.
Application Tips for a Professional-Looking Result
Start with Surface Prep Essentials to guarantee the coating grips evenly and lasts. Then apply Coat Application Techniques that suit your floor’s texture and your kit, keeping a steady, even flow.
Finally, cover Curing and Maintenance steps to protect the finish and keep it looking professional for years.
Surface Prep Essentials
Before you apply any paint, prep is non-negotiable: clean, repair, and seal the surface so the coating adheres and lasts. Start with a thorough sweep and vacuum to remove loose debris, dust, and grit. Degrease oily spots with a heavy-duty cleaner, then rinse and let dry completely.
Pinpoint cracks, chips, or flaking concrete, and fill with an appropriate patch compound, smoothing flush with the surface. Sand repaired areas until they’re even with the surrounding slab, then wipe the dust away.
Etch or use a concrete etching cleaner if the floor is smooth or glossy, following product directions. Confirm the substrate is dry, then test moisture with a simple plastic sheet method. Address moisture issues before proceeding to coating.
Coat Application Techniques
To get a flawless finish, apply coats in even, thin layers and work in manageable sections. Begin with a steady pace, keeping your brush or roller at a consistent angle to avoid streaks. Use long, continuous strokes for uniform coverage, overlapping slightly with each pass. Maintain a wet edge to prevent lap marks, and don’t rush between coats; timing matters for adhesion.
Keep the workspace ventilated and temperature-controlled to minimize fumes and improper drying. Apply the second coat after the first cures per the manufacturer’s guidance, usually within the recommended window.
Inspect for thin spots and repair promptly with light, feathered touches. Label containers, clean tools promptly, and store leftovers properly to preserve color and consistency for future touch-ups.
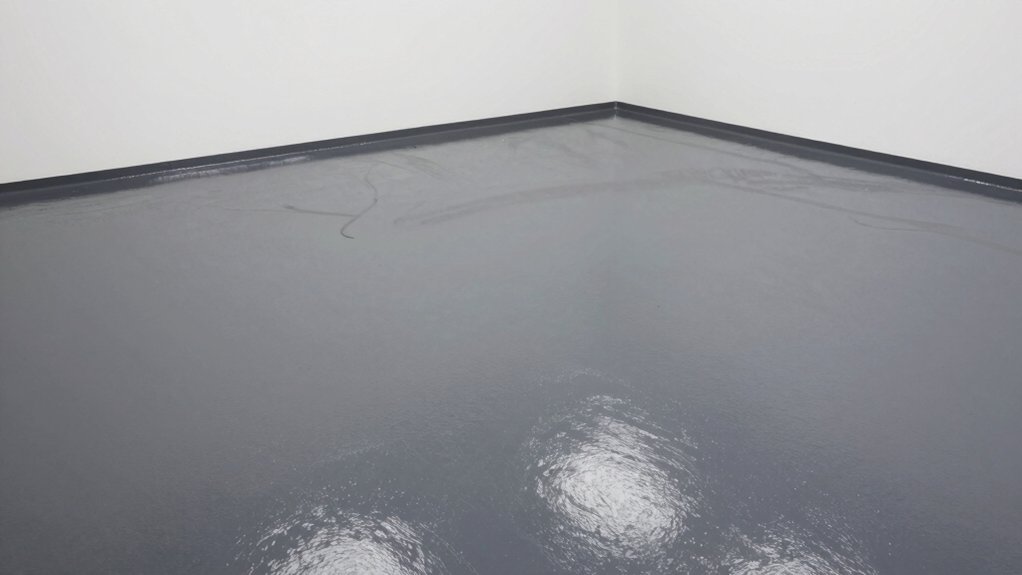
Curing and Maintenance
After you’ve laid down the coats, the longest part of delivering a professional-looking finish is proper curing and ongoing maintenance.
To cure correctly, keep temps within the product’s recommendations and avoid humidity spikes. Ventilate to prevent off-gassing but limit dust exposure during the initial set. Don’t rush; wait the manufacturer’s stated cure time before light foot traffic or loading your space. Protect the floor from spills and abrasives until it’s fully cured.
Use mats at entryways and immediate wipeups for any chemicals, oil, or rainwater intrusion. Regular maintenance means clean, dry floors with a mild detergent; avoid harsh abrasives or solvent-heavy cleaners that can dull the film. Recoat only after the cure window if wear appears, and inspect joints and edges for micro-damage.
Maintenance, Cleaning, and Long-Term Care
Regular maintenance keeps your garage floor looking good and lasting longer; start with a quick assessment after installation to spot any issues early.
With your chosen coating, establish a simple routine: sweep weekly to remove grit, mop with a mild detergent, and avoid harsh cleaners that can strip the finish.
Address chips or peeling promptly—small repairs prevent larger problems later.
For spills, blot immediately and rinse; avoid letting solvents soak into seams.
Periodically re-seal or re-coat high-traffic areas as the Shield wears, following the manufacturer’s guidance.
Use mats at entry points to minimize tracked dirt and chemical exposure.
When weather shifts, check for moisture intrusion and crack formation, sealing as needed.
Document maintenance, schedules, and product batches for dependable long-term performance.
Frequently Asked Questions
How Long Does a Garage Floor Coating Take to Fully Cure?
A garage floor coating typically cures to walk-on in 24 to 48 hours and fully cure in 7 days, depending on temperature, humidity, and product. Follow the manufacturer’s cure times, avoid traffic, and ventilate the space well.
Can I Apply Paint Over Existing Coatings Without Stripping?
Yes, you can, but test adhesion first and clean thoroughly. Roughen the surface, and use a high-adhesion enamel or epoxy topcoat; 80% of coatings fail when prep is skipped, so proper prep matters more than brand.
Is Scent or Fumes a Concern With Garage Floor Paints?
Yes, scent and fumes matter; choose low-VOC or zero-VOC epoxy or concrete paints, guarantee proper ventilation, wear a respirator, and cure in a well-ventilated area to minimize odors and health risks.
Which Color Options Resist Yellowing Over Time?
Yes, choose lightfast, UV-stable pigments like gray, tan, or charcoal; keep colors simple, and avoid bright yellows or reds that yellow faster. You’ll maintain cleaner looks longer, especially with a high-gloss or epoxy finish.
Do Coatings Require Special Ventilation During Application?
Yes, coatings require ventilation during application. Open doors and use a fan; avoid inhaling fumes, and follow product MSDS guidelines. You’ll guarantee safer drying, quicker cure, and reduce odor buildup while delivering a solid, lasting finish. That’s par for the course.
Conclusion
Choosing the right garage floor coating boils down to traffic, spills, and how long you want it to look sharp. For heavy use, epoxy dominates—tough, chemical resistant, and long-lasting. If you’re on a tighter budget or light-duty, acrylic paint with a poly or epoxy topcoat can work. Prep matters more than fancy color. Clean as you go, reseal when wear appears, and you’ll keep that showroom shine without breaking the bank. Think of it as armor that doubles as a workbench.