If you’re starting a bar from cabinets, you’ll first map your space and goals, then sketch a practical layout that flows from prep to service. Choose durable cabinets that fit your style and budget, measure carefully, and plan for clearances, power, and ventilation. Secure each cabinet firmly, add a solid countertop, and set up organized storage with lighting and outlets within reach. Done right, you’ll see a functional bar emerge—but there are details that could change everything, so keep going.
Assessing Your Space and Goals
Before you start building, take a clear look at the space and your goals. You measure the room to understand flow, clearance, and outlets. Note how many cabinets you’ll repurpose and where you’ll place the bar height, footwell, and leg room for guests.
Define your use: casual drinks, prep space, or full-service with a sink. Identify constraints like ceiling height, doors, and traffic patterns that affect door swing and cabinet orientation.
Decide on storage needs: glassware, spirits, tools, and ice. Establish a budget, timeline, and milestones to avoid scope creep.
Consider improvements beyond storage, such as lighting, power, and ventilation, but keep this topic within space assessment.
Finalize a sketch with rough dimensions to guide shopping and measurements.
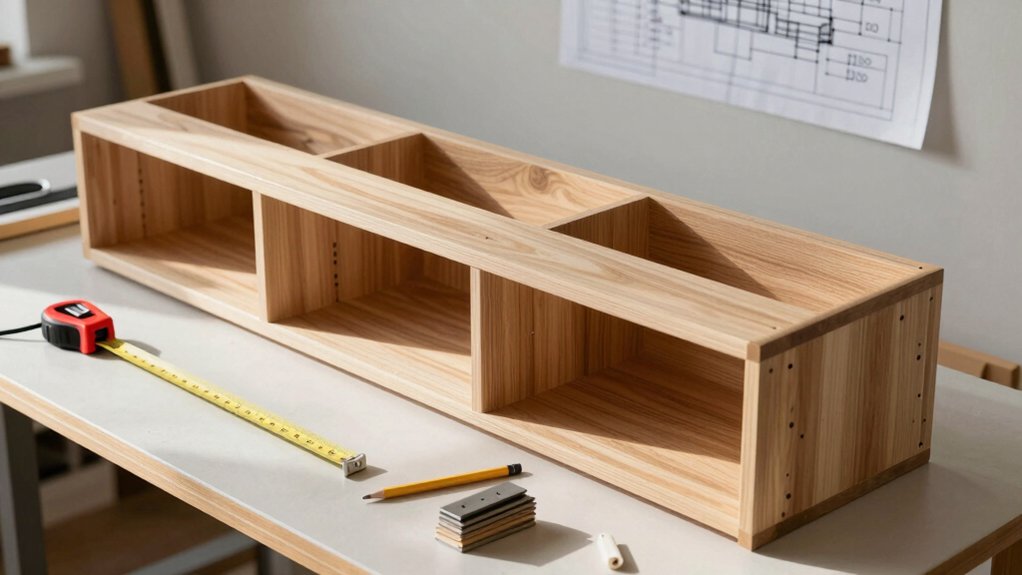
Planning the Bar Layout and Measurements
Start by mapping the bar footprint exactly: measure the space, note door swings, outlets, and any obstructions, then outline a single-rail layout that fits your workflow.
Begin with a rough sketch: mark cabinet depths, countertop heights, and the line of sight from service to guest.
Establish zones: service, drink prep, storage, and service counter.
Determine reach distances for bottles and tools to minimize steps.
Check clearance for doors, drawers, and cabinet doors to avoid interference.
Verify electrical and plumbing constraints align with planned positions, leaving room for under-counter refrigeration if needed.
Create a measurement log with room for adjustments: wall lengths, corner radii, and floor imperfections.
Translate the plan into a simple, scalable grid you’ll reference during assembly and alignment.
End with a precise, actionable checklist.
Selecting Cabinets That Fit Your Style and Budget
Selecting cabinets that fit your style and budget starts with a clear brief of how you’ll use the space and what you’re willing to invest. Gather must-haves and deal-breakers, then translate them into cabinet specs. Decide on door style, color, and finish early, because these choices drive pricing and availability.
Measure dimensions, door openings, and interior heights so you know what fits behind each face.You’ll need to know what tools you’ll need from a simple screw driver through to a table saw for big pieces of timber.
Prioritize durability for moisture-prone areas, and consider plywood boxes over particleboard for longevity. Plan for hardware that matches your workflow and aesthetic.
Round out your plan by budgeting for plumbing, lighting, and ventilation extensions separately, ensuring components align with your chosen cabinet lines.
Preparing the Area: Clearance, Ventilation, and Safety
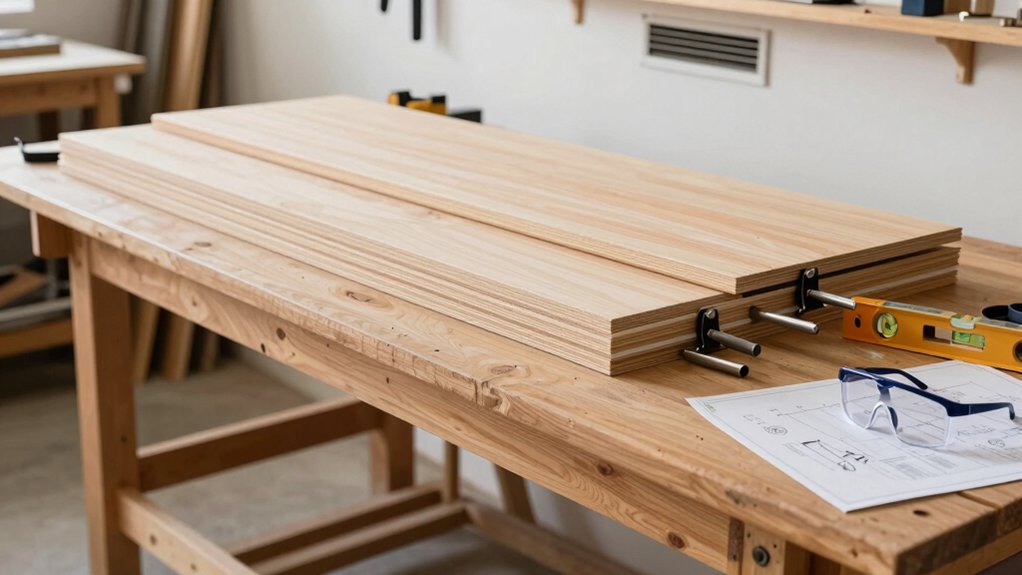
Clearing the workspace and checking ventilation are your first steps. Move obstacles, clear debris, and sweep dry so you won’t trip or drag dust into the project.
Open doors and windows to create cross-ventilation, and run a fan if needed to keep air moving.
Identify power tools, cords, and outlets; remove tripping hazards and keep cords off the floor.
Wear eye protection and gloves, and keep a first-aid kit accessible.
Check lighting to avoid shadows on work surfaces.
Mark a clear path for tool access and material delivery, so you don’t crowd the area.
Verify smoke detectors work and know where the fire extinguisher is located.
Maintain a clean, organized zone to prevent accidents and ensure precise cuts and safe operations.
Securing Cabinets: Stacking, Anchoring, and Stability
To secure cabinets, stack and anchor them in a way that prevents tipping and shifting during use. Start with a level base: check floor flatness, adjust feet, and shim gaps under the cabinet feet. Use a straightedge to confirm plumb and square, then arrange stacks so heavy pieces sit on the bottom.
Attach cabinets to each other with locking screws through properly aligned holes, not through decorative fronts. Fasten to wall studs using screws long enough for solid penetration. Consider a continuous mounting rail for added rigidity, especially where cabinets form a long run.
Use corner brackets only as needed to stabilize right angles. Recheck level after each connection and tighten progressively. Finish by testing with moderate weight before loading full contents.
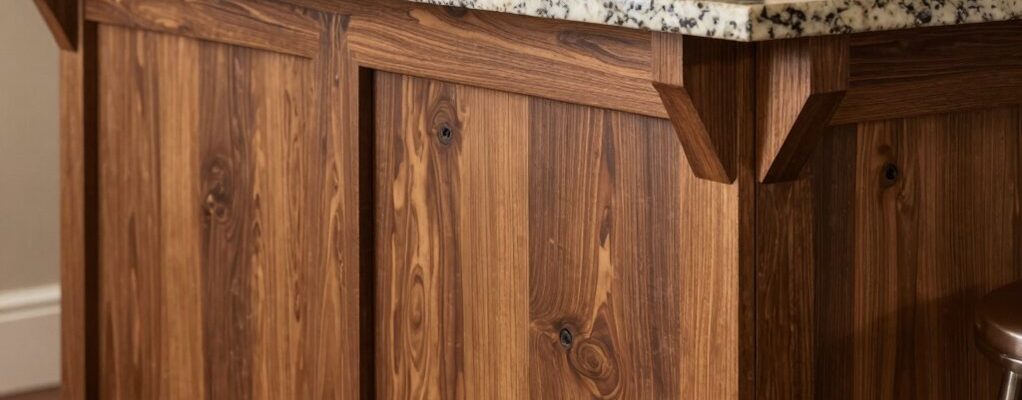
Choosing a Durable Countertop Surface
When choosing a durable countertop surface, start by matching material strengths to your kitchen tasks and budget. You want a surface that resists knife marks, heat, stains, and moisture while staying within reach financially.
Evaluate options by daily use: washing up, beverage service, prep duties, and occasional bar mixing. Solid surface, quartz, and granite offer hard wear, but differ in maintenance and price.
Laminate gives affordability with decent durability if protected, while butcher-block requires oiling and care to prevent gouges.
Consider edge profiles, seam visibility, and weight for cabinet support. Install underlayment and proper sealing where needed.
Prioritize scratch resistance, heat tolerance, and easy cleanup. Finally, pick a surface that tolerates spills, cleans quickly, and aligns with your workflow and budget.
Lighting and Electrical Considerations for a Bar
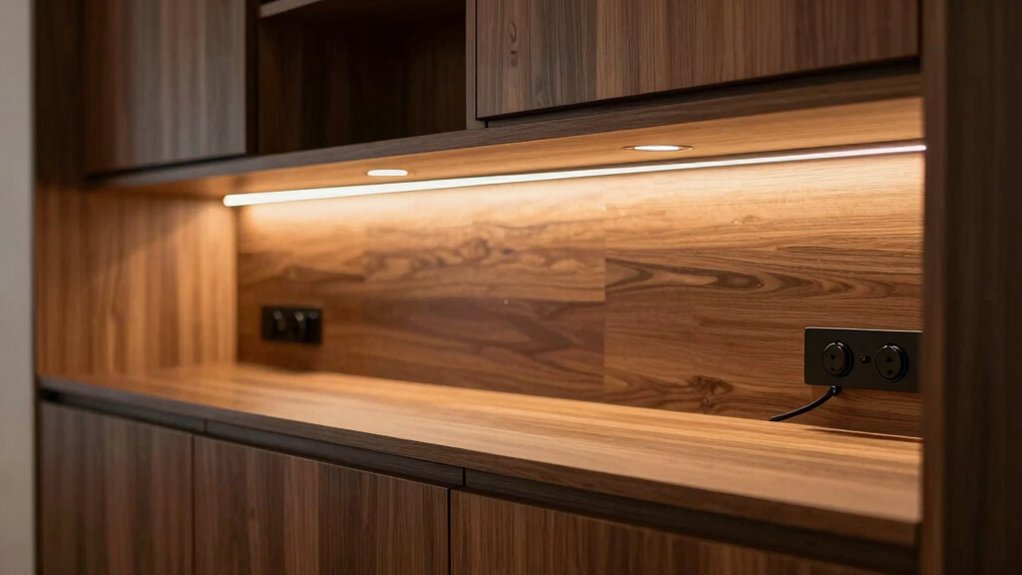
Good lighting and plugged-in convenience are non-negotiable for a functional bar, so plan a layout that balances task work, ambiance, and safety from the start.
Install a dedicated circuit for the bar area with GFCI protection near sinks, and avoid sharing outlets with other heavy loads.
Use layered lighting: bright task lights over the prep zone, dimmable ambient sconces, and a compliant ceiling fixture above the work surface.
Choose bulbs with consistent color rendering for true drink colors.
Run conduit or use conduit-ready cable raceways to keep cords off floors, reducing trip hazards.
Install an easily accessible switch and a clearly labeled breaker.
Place outlets at counter height, with surge protection for blenders, coffee makers, and under-cabinet chargers.
Verify code compliance and professional inspection.
Organizing Storage: Shelving, Racks, and Drawers
Shelf space matters as soon as you start planning the bar. You’ll organize with purpose: designate zones for bottles, glassware, and tools, then map access to essentials.
Install adjustable shelving to tailor height as you add items. Use racks on doors or under shelves for frequently used bottles, and keep bulk spirits on higher levels.
Drawers should house bar tools, strainers, and miscellaneous bits, with labeled dividers to prevent rummaging. Consider a pull-out tray for citrus, a small bin for spent garnishes, and a designated area for ice bags.
Maintain airflow behind bottles to prevent heat buildup. Use clear storage containers for mixers and syrups, labeled by type and date.
Keep fragile items on a padded shelf and avoid crowding.
Finishing Touches: Accessories, Decorative Details, and Maintenance
Finishing touches pull the look together and keep your bar running smoothly, so start with the essentials: a cohesive set of accessories, decorative details that don’t clutter, and a simple maintenance routine.
You’ll pick a dedicated tray, bottle opener, coasters, and a basic tool kit that lives near the work area.
Choose decorative details that enhance function: under-cabinet lighting, a small mirror, or metal accents that echo the hardware.
Keep surfaces clean with a daily wipe and a weekly polish for wood, avoiding harsh cleaners.
Label cords and power strips, route cables neatly, and ensure airflow isn’t blocked.
Establish a quick inventory check to replace used garnishes and tools.
Schedule seasonal deep-cleaning, reseal wood if needed, and enjoy a tidy, reliable setup.
Conclusion
You’ve mapped the space, picked sturdy cabinets, and secured everything for a stable, stylish bar. With a durable countertop, thoughtful lighting, and smart storage, your setup stays functional after hosting weekends or weeknights. For example, imagine a tight apartment where a compact, stack-and-attach cabinet bar frees floor space and keeps bottles organized, glassware accessible, and cleanup quick. Stay proactive: seal edges, check anchors yearly, and rotate supplies to keep the bar inviting and ready for the next pour.