Imagine you’re swapping a storm door for a solid interior model after finding the old hinges loose and gaps uneven. You’ll need to measure, mark hinge lines, and mortise the frame and door, then align everything so the swing is smooth. As you fit hinges and hang the door, small tweaks will matter for even gaps and proper clearance. Curious how each adjustment affects operation and finish? Keep going to get the door to close perfectly without binding.
Tools and Materials You’ll Need
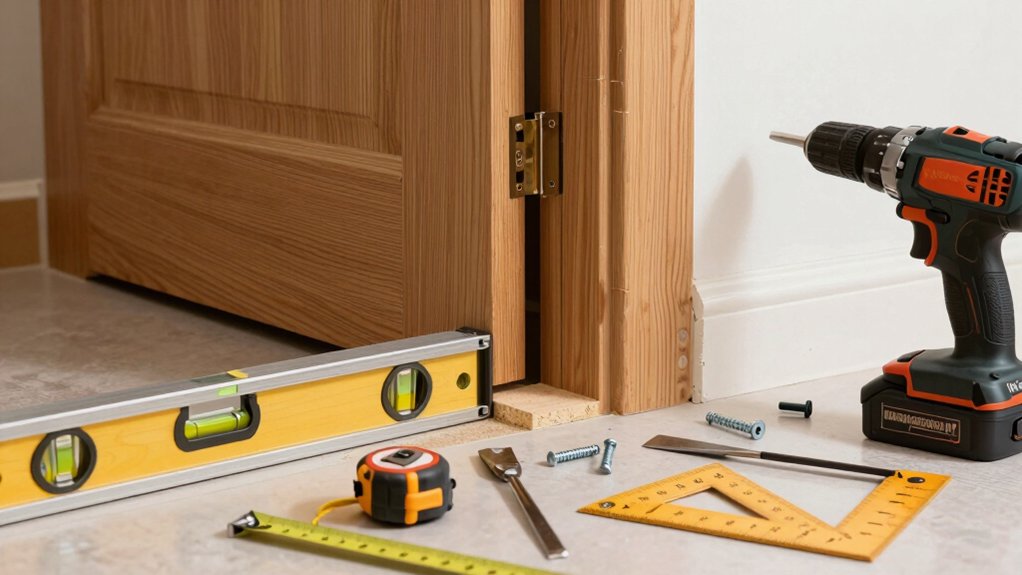
Start by gathering the essentials: a door slab, a matching hinges set, a door handle or knob, screws, a drill with bits, a chisel, a screwdriver, a hammer, a level, a utility knife, a pencil, and shims. You’ll also want a chisel guard, a tape measure, and safety glasses.
Check that hinge leaves align with the door’s edges, and verify the latch height matches the strike plate. Lay out screws and hardware in sorted piles.
Inspect the door frame for plumb and level, noting any gaps. Keep universal bits handy for wood and metal screws. Prepare the workspace; remove old hardware if needed.
Dry-fit hinges to confirm alignment, and mark screw locations precisely. Gather spare parts for quick replacements. Recheck measurements before drilling.
Follow with controlled, clean cuts and steady hands.
Choosing the Right Door for Your Frame
When choosing a door for your frame, measure the rough opening first to determine door height and width clearances.
Next, decide on swing direction and hinge placement based on traffic flow and room layout.
Select door type: slab, prehung, or hollow core, noting weight and material, then check compatibility with your frame width and height.
Compare solid wood, composite, or hollow-core options for durability and budget.
Assess finishing needs, including stain, paint, or veneer, and choose cores that deliver sound control if needed.
Verify hardware compatibility, such as strike plates and latch styles, and ensure standard 80-inch height unless your frame requires a custom size.
Confirm delivery timing, warranty terms, and installation complexity before purchasing.
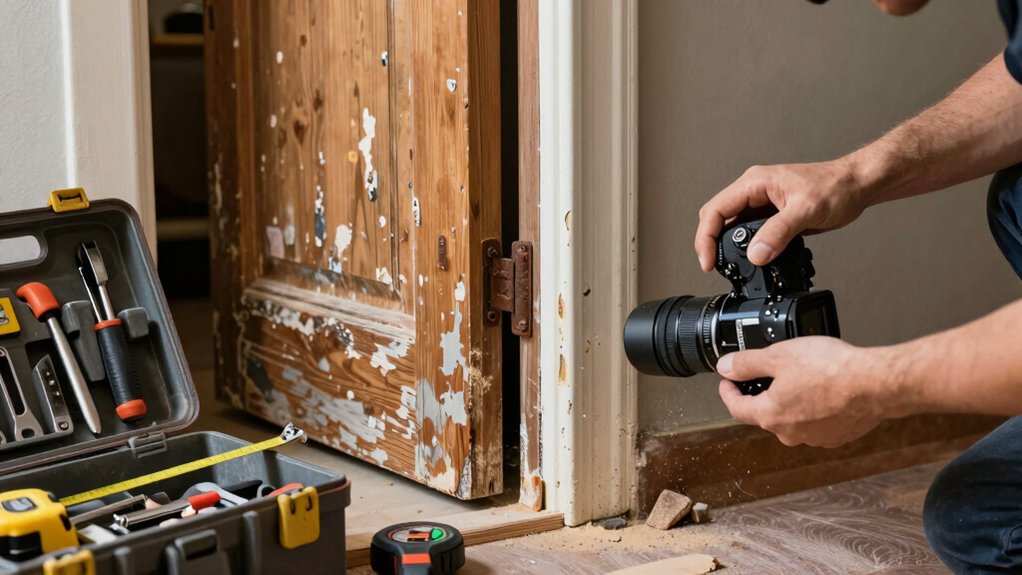
Inspecting and Prep Work on the Door and Frame
Before you install, inspect the door and frame for straightness, warps, and damage, then plan fixes or replacements as needed.
Start with the door: check for twists by placing a square on the edge and across the face; note gaps. Measure the door’s thickness and hinge side height, ensuring consistency with the frame.
Inspect the frame for plumb, level, and square using a spirit level and a carpenters’ square. Look for cracked or loose hinge mortises, chipped edges, and damaged weatherstripping.
If warps exist, decide whether to plane, shim, or replace.
Dry-fit the door in the frame to reveal binding points. Sand rough edges lightly to avoid sharp corners.
Mark hinge locations, mortises, and latch alignment before removing for final preparation.
Maintain clean, dry work surfaces.
Removing the Old Door and Hardware
To remove the old door and hardware, start by shutting off the door’s operation: open it wide and support it so the weight isn’t on the hinges. Remove the hinge pins with a nail set or punch, tapping upward to release each pin. Lift the door from the frame once the pins are out. If the door sticks, rotate it slightly to free it without forcing.
Unscrew the hinges from the door or frame using the appropriate screwdriver or drill bit, keeping screws organized. Detach any remaining hardware: handles, latches, and plates. Place removed parts in labeled bags for later reuse or disposal.
Check for screws penetrating shims and remove them as needed. Inspect the frame for any damage or loose components before proceeding.
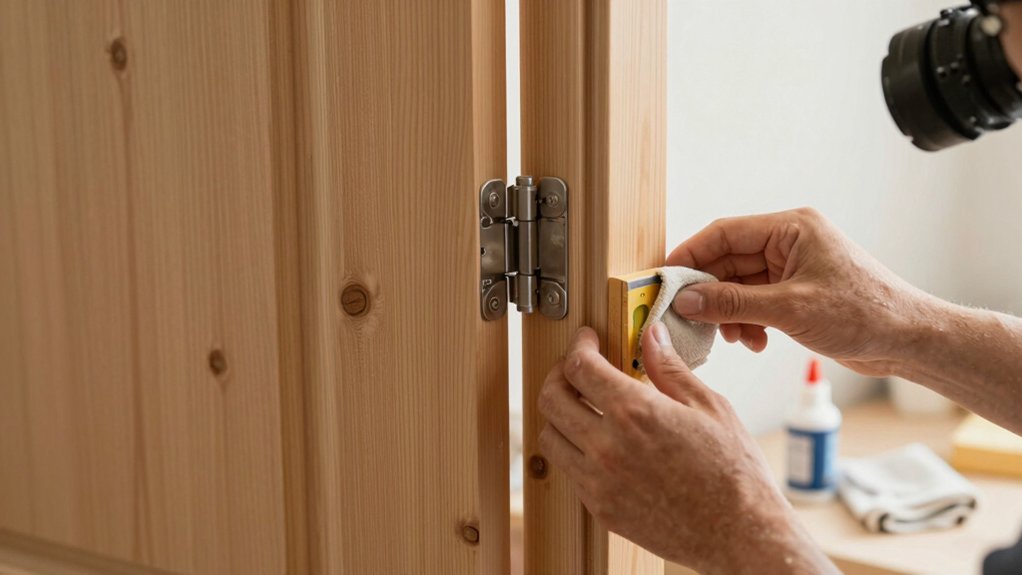
Fitting the Door to the Frame
First, check the door and frame for clearance and squareness. Mark the hinge side face for hinge mortises, then verify the gap around the perimeter is even.
Place the door in the frame, supported, and test fit by opening and closing slowly to feel for rubbing. If you detect contact, identify which edge or corner needs relief and remove small amounts with a sharp chisel or plane, testing frequently.
Ascertain the door sits plumb in both directions by shimming the hinge side slightly if needed. After minor trimming, reinsert the door and confirm smooth operation with a full swing.
Check that the gap at the latch edge aligns with the strike plate and that the door closes snugly without binding.
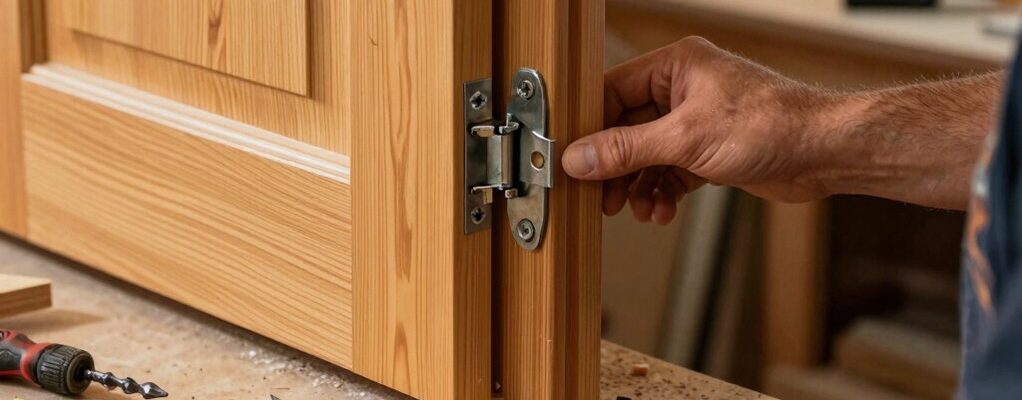
Installing Hinges and Aligning the Door
With the door properly prepared, install the hinges on the door and frame, then hang the door to check alignment.
Position the top hinge first, mark screw holes, and predrill. Attach with short screws, then repeat for the bottom hinge.
Install a middle hinge if the door is tall, aligning its screw holes with the mortises.
Close the door to verify gaps; they should be even on all sides.
If the door rubs, loosen hinge screws slightly and adjust the hinge leaf positions until the gap remains uniform.
Check the latch alignment with the strike plate; if misaligned, nudge the plate or reposition slightly.
Tighten all screws firmly once the door sits squarely.
Finally, recheck swing and close comfortably.
Trimming, Sanding, and Finishing Touches
Ever wondered how to perfect the edges and surface after hanging a door? Start by trimming any protruding shims flush with the door frame using a utility knife and a straight line. Sand the edges with medium-grit sandpaper, then switch to fine grit for a smooth profile. Wipe away dust with a tack cloth, then apply masking tape along the hinge side to protect the jamb.
If gaps exist, fill them with painter’s caulk, smearing evenly and smoothing before it cures. Lightly sand the filled areas once dry. Wipe again, then coat with a compatible primer. After it dries, apply two thin coats of paint or stain, letting each layer cure fully and blending edges for a seamless finish.
Inspect for rough spots and touch up as needed.
Troubleshooting Common Swing and Gap Issues
If the door still sticks or the gap isn’t even after hanging, start by checking the hinge alignment and door frame for twists. Next, tighten all hinge screws fully, then test the swing.
If binding persists, plane the strike side of the door by removing it and shaving a thin vertical strip at the latch edge. Reinstall and recheck.
For uneven gaps at the top or bottom, adjust the hinge mortises with a chisel or by shimming the hinge leaf slightly, then reopen and test.
Ensure the hinge pins move freely; wipe away dust.
If the door rubs the frame, sand the edge in small increments, rehang, and test again. Refinish touched areas afterward to blend with the surface.
Conclusion
As you finish, you’ll notice the door and frame align almost like they were meant to be together—coincidence that you made happen. You measured once, cut once, and now you swing freely. If gaps close by themselves, it’s luck; if not, you adjust, re-check, and tighten. The hinges settle with use, the finish dries, and the operation stays smooth. Trust the steps you followed: careful prep, precise fitting, and a door that looks and works right every time.