To fit skirting boards, start with precise measurements of height, thickness, and length, noting corner radii and any deviations. Cut each board with accurate mitre cuts at 45° for external corners and 135° for internal ones, test-fitting before fixing. Use adhesive and finishing nails, driving them level with the surface, and fill any holes smoothly. Seal perimeters to block gaps, then sand lightly between coats for a sharp, consistent finish—and you’ll master the install as you continue.
Measuring for Skirting Boards
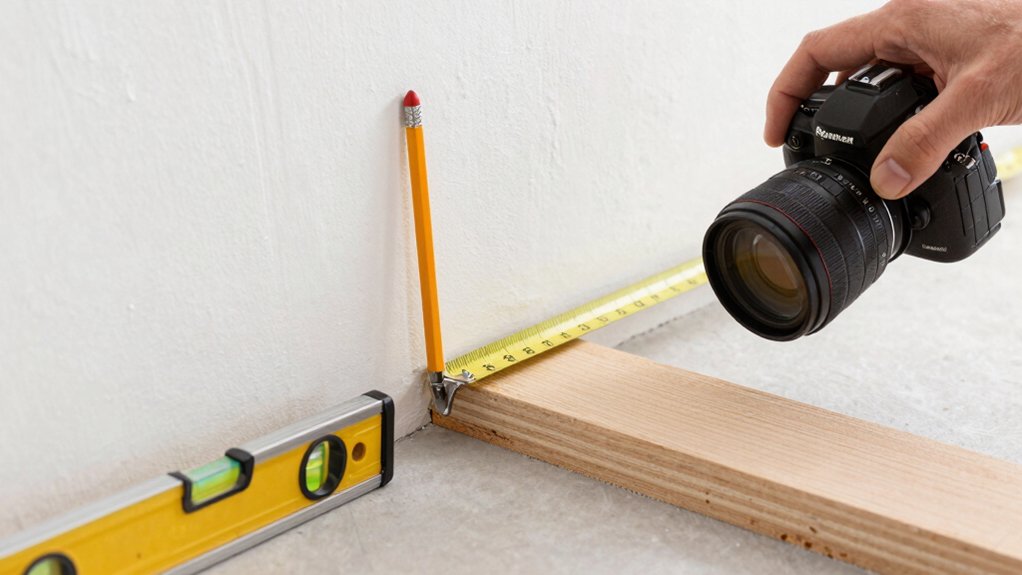
Accurate measuring is the foundation of fit. You establish the baseline by locating the wall reference points and confirming floor level. Use a steel tape, double-check with a steel rule, and record linear dimensions at head, midpoint, and base behind doorways or openings.
Measure from corner to corner for straight walls, noting deviations and recording three corridor checks if applicable. Account for decorative mouldings and skirting board styles by choosing consistent join lines and end butt locations.
Mark each measurement clearly on a schematic, labeling height, thickness, and length for each run. Include corner progressions, noting inner and outer radii where present.
Verify measurements against templates and adjust for fit, ensuring clean reveals and precise alignment with plaster or drywall surfaces.
Selecting Profiles and Thickness
Choosing skirting profiles and thicknesses hinges on both function and finish. You’ll evaluate spatial allowances, door frames, and corner tolerances to select a profile that remains unobtrusive yet compliant with trim gaps. Begin with decorative profiles that complement architectural style, then assess structural needs for wall loads and impact resistance.
Thickness decisions depend on how the board resists compression and deflection under foot traffic and furniture weight. Consider material choices for stability, moisture resistance, and ease of installation. Profile height influences shadow line and room scale, so match ceiling height and baseboard rhythm.
Ensure compatibility with cornice or architrave detailing, and verify edge treatment for paint or varnish adhesion. Finalize options by testing joint alignment and screw alignment paths.
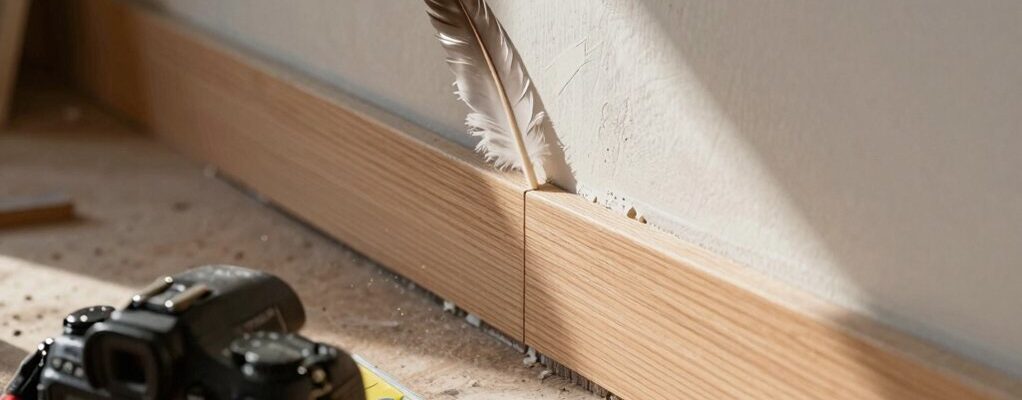
Preparing Walls and Floors
Preparing walls and floors starts with a clean, true surface: inspect for flatness, remove obstructions, and address any defects before measurements begin. You assess wall surfaces for deviations, fill gouges, and tighten loose plaster or drywall where needed.
For floors, you verify levelness, identify high spots, and plan corrective actions before skirting fits. Perform wall preparation by brushing dust away, scraping flaking paint, and smoothing uneven edges to ensure a true plane.
For floor leveling, apply thin, consistent compound or self-leveling screed where necessary, and back-chant transitions to prevent gaps. Ensure moisture barriers are intact on concrete subfloors.
Document measurements and tolerances, then proceed with accurate marking for skirting line height. Precision here minimizes misalignment and contact with walls or floors later.
Cutting and Mitring Techniques
To address end-to-end mitres, start by marking exact angles and referencing a straight edge for consistency.
You’ll compare acute joints with lapped joints to decide where each cut sits, then apply proper cutting techniques to prevent gaps.
This guide covers accurate cutting methods, bevels, and mitred alignment to ensure tight, precise fits.
End-to-end Mitres
End-to-end mitres require precise alignment of two skirting boards at a shared corner, ensuring both angle and butt fit are true.
You start by marking the cut line on each board, then set your miter saw to 45 degrees for external corners or 135 degrees for internal corners.
Use a clear square to verify the cut faces mate perfectly.
Cut one board, then test-fit against the other, adjusting with light sanding as needed to eliminate gaps.
Mount with adhesive and small nails, ensuring no glue squeeze beneath the joint.
Check the joint for tightness from multiple angles, and pare back high spots with a block plane if necessary.
Consider how decorative mouldings and wall paneling influence edge detail and finished appearance.
Acute vs. Lapped
Acute and lapped miters offer two distinct approaches for joining skirting boards at corners, each with its own alignment and cut requirements. In acute joints, you cut a single bevel to create a sharp internal angle, guaranteeing tight contact without gaps; you preserve clean lines and minimize visible seams.
Lapped joints, by contrast, involve overlapping edges so the corner remains visually continuous, which can accommodate slight wall irregularities and paint depth variations. When choosing, consider room geometry and preferred skirting aesthetics: acute cuts suit formal, precise layouts, while lapped joints support traditional, softer transitions found in historical styles.
Confirm precise measurement, square cuts, and controlled sanding. Avoid overzealous trimming that introduces stress; verify fit at multiple points before final fixing.
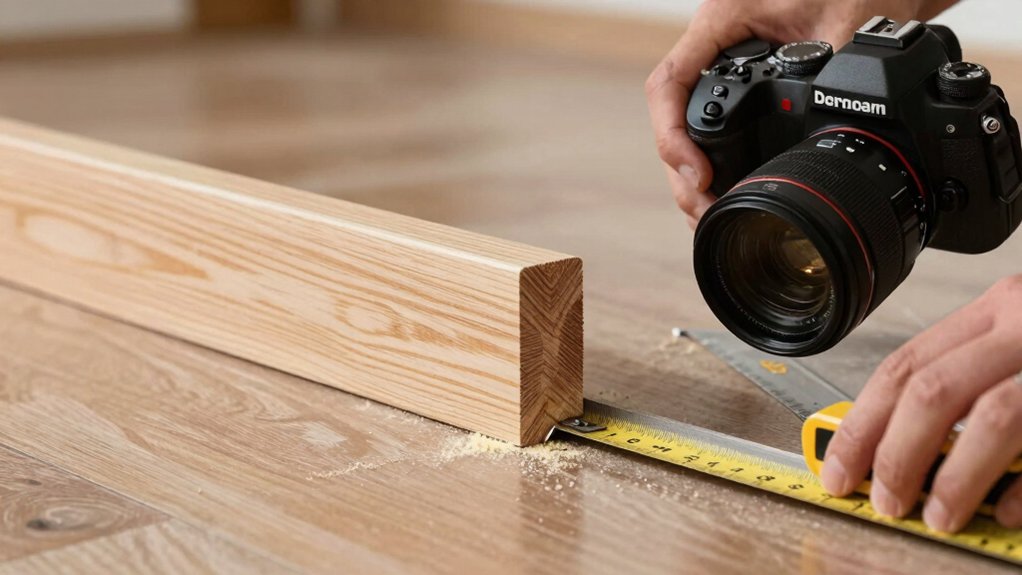
Cutting Techniques Guide
Cutting and mitring are the core actions you’ll perform to fit skirting boards accurately. You’ll set up a precise work plan, mark angles with a sharp pencil, and verify lengths before cutting. Use a mitre saw or a fine hand saw, and align boards against a straight edge to ensure square cuts.
Cut edges face down to minimize tear-out, and support long pieces to prevent binding. For internal corners, mill accurate internal mitres and test-fit before final fixation. For external corners, cut complementary mitres and adjust with sanding if needed.
Consider skirting board history to understand profile evolutions, and review the sources for consistency. Recognize types of skirting to select appropriate cutting angles, fasteners, and spacings for a clean join.
Precision minimizes gaps and enhances alignment.
Fitting, Fixing, and Finishing
Fitting, fixing, and finishing skirting boards begins with precise measurement, square cuts, and secure fixing. You establish line and plumb, then mark all recesses and joints before proceeding. Use a sharp saw for straight, true cuts and test fit pieces before final fixing.
When fixing, drive fasteners level with the surface, avoiding overdriving that can distort profile. Apply adhesives where appropriate to reduce movement and improve load distribution.
Finishing requires meticulous sealing at joints, corners, and skirting-to-wall gaps; wipe excess adhesive and filler for a clean appearance. Consider decorative mouldings and its impact on profile alignment, ensuring a consistent reveal along the wall.
Select skirting board materials suitable for moisture exposure and load, and maintain a uniform finish across the entire run. Inspect for gaps and rework as needed to achieve a seamless result.
Handling Corners, Plinth Blocks, and Finishes
Start by examining the corner notching techniques to guarantee tight, weatherproof joints and clean shadow lines.
Then align plinth blocks precisely with your skirting height and corner geometry, checking for flush shifts.
Finally, apply finishing touches with consistent reveals and edge seals to achieve a professional, uniform look.
Corner Notching Techniques
Corners require precise notching to guarantee clean joints and strong, gap-free finishes. You align the board face, then mark for inside and outside corners with a sharp pencil. Use a low-angle hand saw or a flush-cut block to remove waste in small, controlled passes, checking fit after each cut.
For miters, trim both surfaces to half the thickness at the joint, then test fit; adjust bevels until the gap disappears. Handle corner guards or returns by routing a clean reveal, ensuring consistent edge radii. When detailing, consider decorative accents and how they interact with adjacent walls and trims.
Apply caulk sparingly to fill tiny gaps, then paint with compatible paint color schemes. Finalize joints with a light sanding and a neat, flush finish along the wall.
Plinth Block Alignments
Plinth block alignments require careful planning at corners, with attention to how blocks meet wall profiles and the baseboard line. You assess wall geometry first, then determine block placement to maintain a consistent reveal.
Begin by selecting plinth block materials that resist profile changes across seasons and moisture. Confirm block design compatibility with your skirting profile, ensuring edge tolerances align with corner cuts.
For straight runs, align each block face to a common vertical reference, trimming ends to meet the corner as a single, precise angle. At internal corners, use mitered joints and butt the blocks to the wall rather than the baseboard, preserving a clean line.
Verify installed blocks remain plumb, and adjust fasteners to prevent movement. Document measurements for future maintenance and replacements.
Finishing Touches Guide
To finish skirting installations cleanly, you’ll methodically handle corners, plinth blocks, and final finishes in one coordinated pass.
Begin with accurate miter cuts at internal and external corners, checking for gaps with a straightedge and correcting any misalignment before fastening.
When integrating plinth blocks, ensure surrounding trim remains flush and plumb; use adhesive and finishing nails as needed, then fill screw holes and joints smoothly.
Apply a consistent sealant to perimeters to prevent gaps and moisture ingress.
For finishes, choose a compatible coating that matches decorative moldings and reflects historical styles; between coats, lightly sand to maintain edge sharpness.
Wipe away dust for a clean, even appearance.
Document tolerances and maintain consistency across rooms for a cohesive, refined result.
Frequently Asked Questions
How Do I Store Cut Skirting Boards to Prevent Warping?
Yes—store cut skirting boards flat, off the ground, and weighted to prevent warping. Use supporting battens, avoid direct moisture, and label pieces. For skirting board maintenance, follow storage tips: keep dry, stacked evenly, and away from heat sources.
What Sealant Is Best for Damp-Prone Rooms?
Sealant types include damp proof sealants; in damp-prone rooms you should choose a polyurethane or silicone-based product, applying with precision and curing fully to prevent moisture ingress. You’ll monitor joints, re-seal as needed, and maintain ventilation.
Can Skirting Boards Be Installed Without Plastering?
You can install skirting boards without plastering using alternative installation methods and suitable fixings. Consider skirting board styles that accommodate gaps and expansion, guarantee accurate reveal measurements, and seal joints carefully for a neat finish.
How Do I Remove Old Adhesive Without Damaging Walls?
Removing old adhesive carefully with a heat gun or plastic scraper minimizes wall damage. You then remove paint, inspect for cracks, and repair drywall as needed before repainting; work methodically, keeping heat low and blades dull to protect surfaces.
What Tools Simplify Corner Fitting for Irregular Walls?
Corner clamps and a flexible miter saw simplify corner fitting for irregular walls; you align, clamp, then cut precisely, adjusting angles as needed, ensuring tight joints, minimal gaps, and clean profiles across uneven surfaces.
Conclusion
You’re laying the final brushstrokes on your room’s spine. Skirting boards, like quiet rivers, channel the flow from floor to wall, guiding every edge toward a clean finish. Measure, cut, fix, then polish—each step a careful knot tying space to purpose. Corners become quiet puzzles solved with steady hands. When you’ve caulked, painted, and cleaned, the wall and floor converge, a sanctioned seam of function and form, signaling craft as quiet confidence.