You can start by identifying the primary noise paths in your home office and choosing targeted, practical fixes. Focus on sealing gaps around doors, adding sweeps, and treating windows with dense curtains or panels to reduce intrusion and reflections. Layer in soft furnishings and strategic furniture placement to dampen echoes and vibration. With a solid plan in place, you’ll uncover which upgrade makes the biggest difference—and you’ll want to push further to optimize the space.
Assessing Your Noise Profile
To assess your noise profile, start by identifying the dominant sources and their characteristics: frequency range, intensity, and how often they occur. You’ll map sources such as HVAC hum, street traffic, typing, and nearby conversations.
Record approximate decibel levels, noting low, mid, and high bands and how persistent each source feels throughout the day. Classify temporal patterns: continuous, intermittent, or periodic spikes.
Next, evaluate perceptual impact on your work tasks, distinguishing distraction from background ambience. Consider variability by time of day and occupancy.
For mitigation planning, note opportunities for passive controls before active options. Plan to use sound masking judiciously to raise the background floor without masking critical signals.
If needed, evaluate noise canceling devices for isolated tasks, ensuring compatibility with your workflow.
Quick Wins: Door and Window Tweaks
Door and window tweaks are quick, high-impact steps you can implement now to reduce ingress and sound leakage. You start by sealing gaps around doors with door sweeps, ensuring a snug contact along the threshold to minimize under-door transmission.
Check that window frames close fully; add weatherstripping where necessary to eliminate minor gaps that radiate noise. Employ soundproof curtains on exposed windows to dampen airborne sound without sacrificing light or airflow, selecting dense, multi-layer fabrics with a secure mounting system.
For interior doors, install tight-fitting seals and consider door bottoms with adjustable height to maintain continuous contact. Test by speaking a normal message near the entry; if you hear echoes or passing noise, recalibrate seals and curtain placement until the path is consistently attenuated.
Rack Up Soft Furnishings to Absorb Sound
You can reduce sound reflections by layering soft textiles, which dampen airborne noise as it travels through the room.
Begin with a dense textile approach, prioritizing a soft, high-filament rug beneath foot traffic to absorb impact noise.
Pair rug choices with additional textile layers to address both footfall and general sound diffusion, guided by the listed points: Soft Textile Layers and Rug Beneath Footfall.
Soft Textile Layers
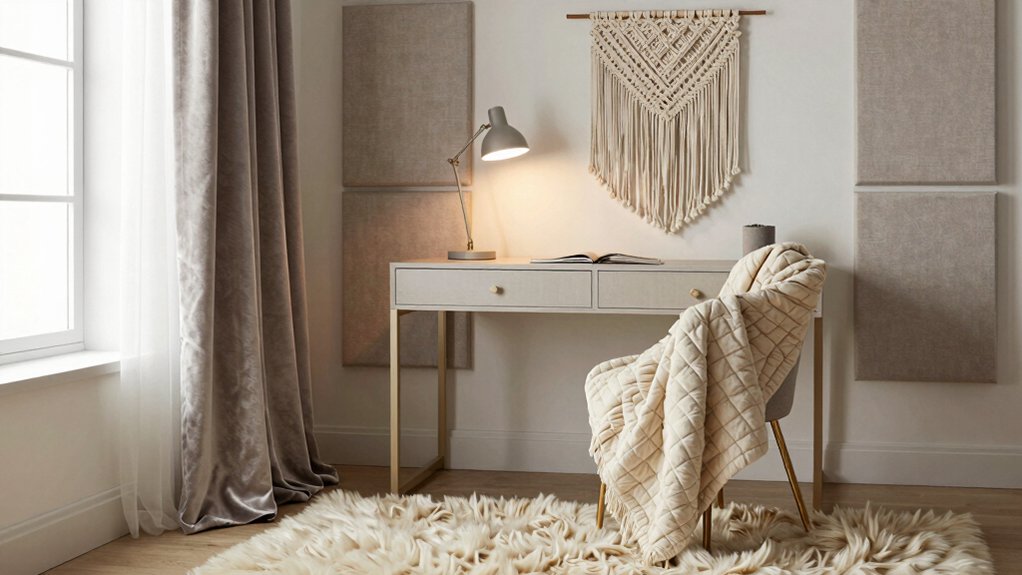
What effect do soft textiles have on room acoustics? You improves absorption by introducing porous materials that dissipate sound energy rather than reflect it. Soft textiles, like drapery and cushions, increase the sound absorption coefficient at mid and high frequencies, reducing flutter echoes and speech intelligibility issues.
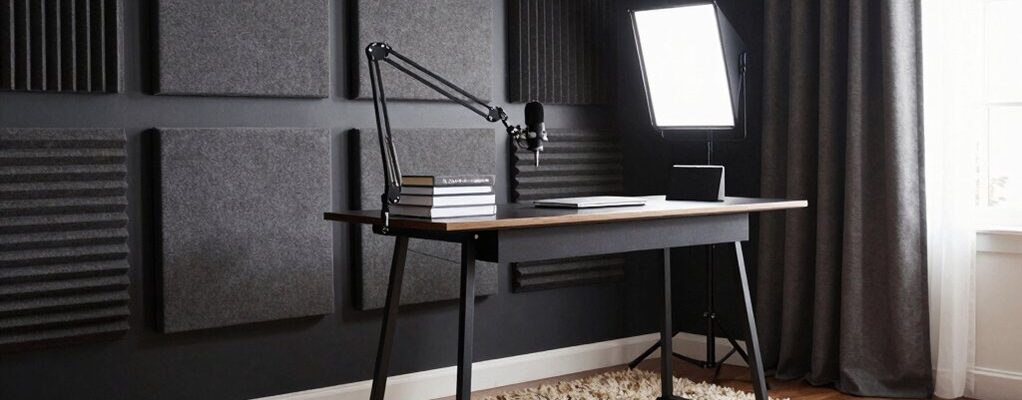
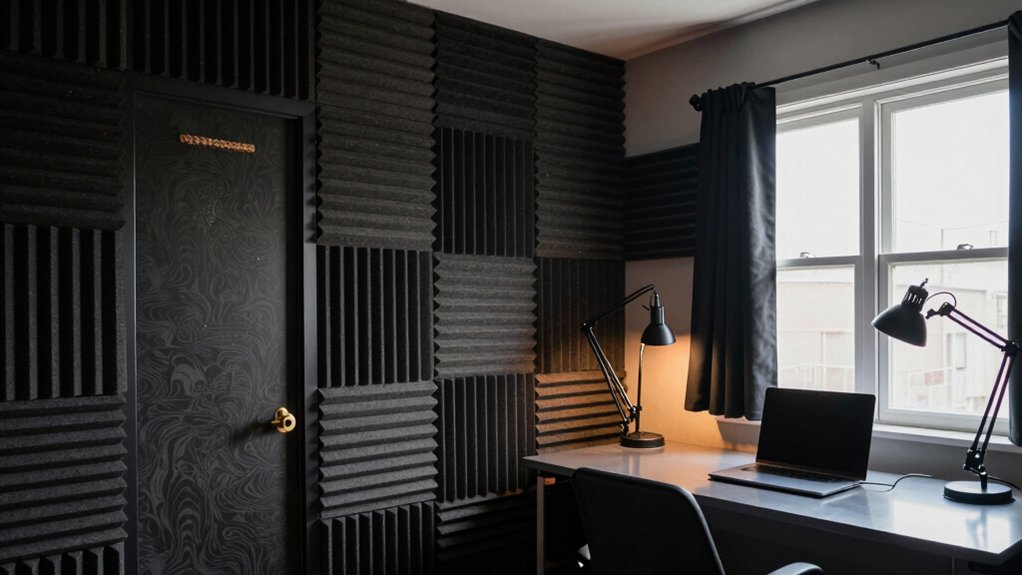
Deploy acoustic panels in combination with textiles to target problematic bands without overcrowding walls. Use soundproof curtains to create flexible, removable impedance, especially near open walls or windows. Curtains should be dense, fiber-rich, and hang to floor, maximizing surface contact.
Pair with upholstered furnishings to create a diffuse field, careful to avoid excessive bass buildup. Maintain balance between aesthetics and function, ensuring textiles don’t impede ventilation or lighting.
Rug Beneath Footfall
Rugs underfoot add a practical layer of sound absorption by dissipating footfall energy as it travels across a floor. You should select area rugs with dense pile and a tight weave to maximize surface mass per unit area, reducing transmitted vibrations.
Place pads or underlays beneath the rug to decouple the flooring and increase low-frequency isolation. For best results, cover high-traffic zones and align rug edges with doorways to prevent gaps that let sound bypass the rug.
Consider pairing rugs with boundary dampening materials, such as mass-loaded vinyl sheets, where feasible, to further attenuate impact sound. Monitor foot traffic patterns to optimize placement, avoiding thin, single-layer setups that offer limited absorption.
Reassess periodically as furniture or use evolve.
Floor and Wall Treatments That Make a Difference
Floor and wall treatments materially affect sound transmission and room acoustics; selecting proper materials reduces impact noise, echoes, and airborne sound leakage. You’ll improve isolation by pairing floors with decoupled assemblies and selecting dense, stiff finishes that resist vibration transfer.
Use ceiling insulation where accessible to suppress upward reflections and to lower overall reverberation time. In walls, wall decoupling techniques—such as staggered or double studs, resilient channels, or decoupled drywall—limit airborne coupling between spaces and mechanical noise.
Choose gypsum board with mass-loaded vinyl or acoustic panels only where transmission paths warrant; avoid tying heavy panels directly to structure. Seal seams, joints, and penetrations to prevent flanking paths.
Combine these strategies with judicious material density to balance first-comer sound reduction and room usability.
Furniture Layout for Lower Echo and Spillover
Strategic furniture placement minimizes reflections and spillover by shaping the sound field and absorbing key frequency bands. You optimize layout to create discrete listening zones and reduce flutter echoes.
Position desks and chairs away from parallel walls to disrupt standing waves, and orient seating to face treated surfaces rather than hard voids. Use soft furniture and shelves to break up sound paths without cluttering the workflow.
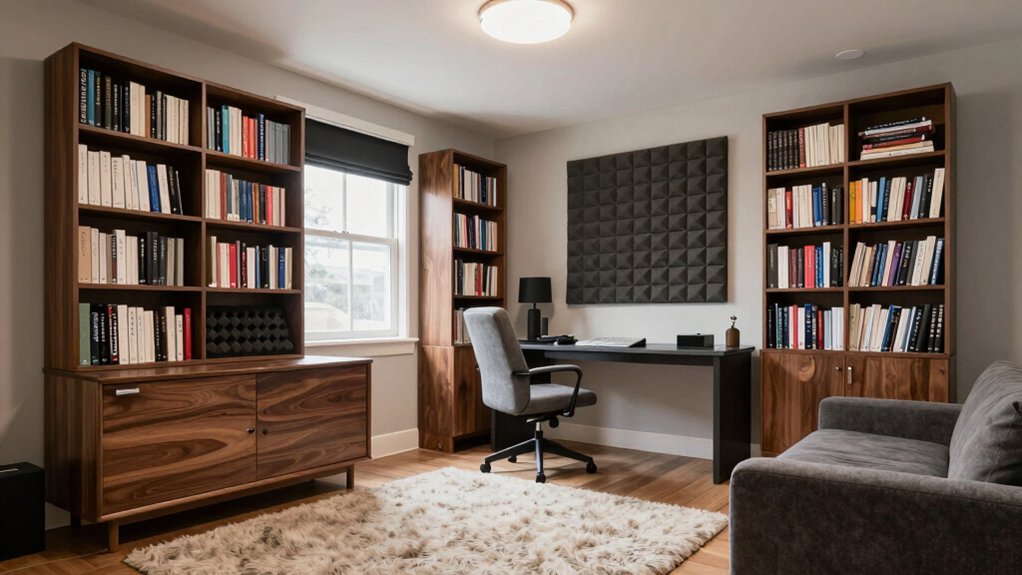
Implement furniture placement that mirrors acoustic treatment, ensuring critical faces are covered by absorbers or diffusers where practical. Integrate acoustic panels into the room’s geometry—placed near reflection points on walls and behind the primary speaker or microphone line.
Avoid oversized, uniform furniture blocks that reflect or trap sound; distribute mass evenly for balanced, controllable acoustics.
Quiet Tech and Privacy Tips for Calls
To keep calls private and interference-free, set up a dedicated mic and camera workflow with clear, predictable audio paths and labeled devices. You’ll benefit from USB, audio interfaces, and wired ethernet for stability, reducing latency and spillover.
Position the mic close to your mouth, use a pop filter, and enable low-cut filtering to minimize room noise.
Enable per-app audio routing so your conferencing software uses the designated mic, while others stay separate.
Implement sound masking subtly by enabling a background, steady noise level that covers sudden disturbances without distracting you.
Use soundproof curtains to dampen window reflections during calls, maintaining vocal clarity.
Regularly test with colleagues, adjust gain, and isolate cables to prevent interference from desk movement.
Maintain consistent acoustic zones for ideal privacy.
Budget-Friendly Upgrades and Long-Term Solutions
Budget-friendly upgrades can yield meaningful, long-lasting improvements without a major overhaul. You can start with targeted wall treatments that disrupt resonance, such as placing acoustic foam panels at primary reflection points and along shared walls.
Use soundproof curtains over existing windows to reduce flutter and bass leakage, selecting dense, multi-layer fabrics for better absorption.
Prioritize door seals and threshold gaskets to limit airborne leaks.
Opt for movable panels or screens to reconfigure rooms for recording or calls without permanent construction.
Implement door sweeps and weatherstripping around electrical outlets to reduce gaps.
Reassess furniture positioning to minimize parallel surfaces that trap sound.
Track effectiveness with a basic SPL meter and iterate based on measured changes.