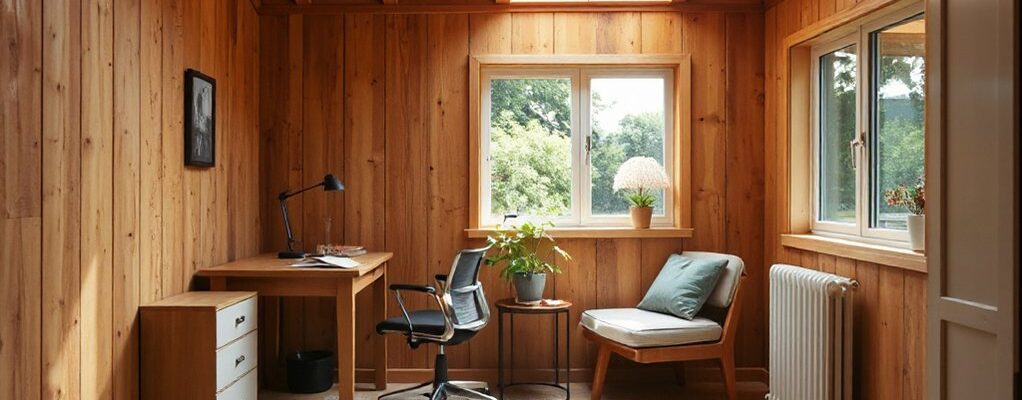
Like scaling a quiet ship from shore, you’ll transform your shed into a usable room by first judging its potential and setting clear goals. You’ll define use-cases, plan the layout, and consider light, air, and climate control from the start. With practical wiring, durable finishes, and smart storage, you’ll shape a space that fits everyday life—and it won’t end there. The next steps wait, and they could redefine your entire garden.
Key Takeaways
- Define vision and uses: determine target square footage, layout zones (work, relax, storage), and a realistic budget and timeline.
- Plan systems early: size electrical loads, HVAC, insulation, and ventilation to support future use and comfort.
- Design for comfort and light: optimize natural light, climate control, finishes, and sound insulation for daily use.
- Focus on layouts and workflows: create accessible storage, wide circulation paths, and tool placement aligned with activities.
- Address permits and maintenance: confirm local codes, obtain required permits, schedule inspections, and plan ongoing upkeep.
Evaluate Shed Potential and Set Clear Goals
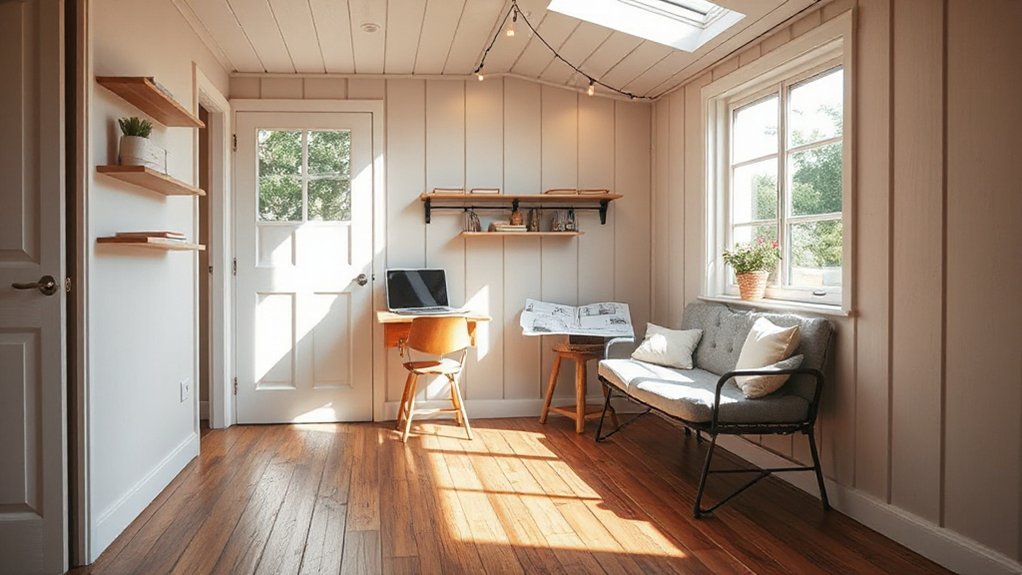
Before you plunge in, take an honest look at what you already have and what you want to achieve. You’ll assess shed potential by size, structure, insulation, and natural light, then map your priorities.
Define a clear vision: a usable room that supports work, hobbies, or relaxation, without overreaching budget or permitting limits.
Set measurable goals: target square footage, maximum cost, and a timeline for planning, permits, and completion.
Evaluate existing tools and storage needs: plan tool storage that stays organized and accessible.
Consider garden aesthetics early—how the shed will flow with the yard, textures, and colors.
Finally, translate goals into a prioritized checklist, identifying non-negotiables, trade-offs, and quick wins to keep momentum steady.
Define Use-Cases and Space Layout Before Systems
Start by defining your use cases early, so your shed serves real needs from day one.
Plan the space layout to support those activities first, then align electrical, insulation, and finishes to that workflow.
This approach keeps systems focused, scalable, and aligned with your vision.
Define Use Cases Early
To define use cases early, you should map how you’ll actually use the space and how that use drives layout decisions. You identify core activities (work, relax, storage) and time patterns (daily, weekend, seasonal) to prioritize flows, light, and access.
Translate activities into concrete zones: a focused work nook, a low-distraction retreat, and efficient storage near entry. Consider circulation—wide doors, unobstructed paths, and flexible furniture that adapts to changing needs.
Choose a garden aesthetic that harmonizes with exterior surroundings while preserving function; let natural light and ventilation guide window and vent placement.
Assess shed materials for durability and retrofit potential, ensuring insulation, moisture control, and simple maintenance.
Your plan becomes a clear blueprint, aligning budget, systems, and space before committing to construction.
Plan Space Layout
What matters most is laying out how you’ll actually use the space before you pick systems, so you can design around behavior, not just walls. You begin by defining concrete use-cases: workspace, storage, relaxation, or a hybrid.
Sketch workflows that minimize steps, placing frequently used tools within arm’s reach and defining zones for different tasks. Prioritize clear sightlines, natural light, and ventilation to sustain comfort.
Map out traffic patterns to avoid bottlenecks between door, workbench, and shelves. Consider Garden aesthetics as a design cue—materials, color, and greenery that elevate mood without clutter.
Plan tool organization with labeled bins, wall slots, and a central work surface, so every item has a home. The result is a cohesive layout that scales with needs.
Align Systems Accordingly
Aligning systems starts with a clear map of use-cases and space layout before you pick gear or finishes. You define what each zone must do—work, relax, store—and how people move through it.
Identify electrical needs, plumbing routes, and HVAC flow from the outset, aligning outlets, lighting, and tech with the intended activities. Match systems to space, not the other way around; avoid oversized gear that wastes floor area.
Sketch small, scalable layouts that permit future tweaks without ripping walls. Consider landscaping aesthetics from the start so exterior color decisions harmonize with interior circuits and furniture.
Choose finishes and materials that support maintenance and longevity. This disciplined alignment yields a cohesive, flexible, and inviting shed room.
Insulation, Sealing, and Climate Control Essentials
Insulation, sealing, and climate control aren’t optional extras—they’re the backbone of a comfortable, efficient shed-turned-room. You’ll start with a tight envelope: seal gaps, insulate walls and roof, and specify an R-value appropriate for your climate. Choose continuous insulation where possible to minimize thermal bridges.
For ventilation strategies, install balanced ventilation to manage air exchange without drafts, and pair it with humidity sensing controls to prevent moisture buildup.
Seal penetrations for electrical, plumbing, and HVAC with airtight caulks and flashing. Manage moisture control by using vapor barriers on warm-side surfaces and slope drainage away from the foundation.
Select a compact, programmable thermostat or heat pump system that’s sized to the space, ensuring predictable comfort year-round without runaway energy use. Regular checks keep performance aligned with your vision.
Electrical Planning, Wiring, and Lighting Choices
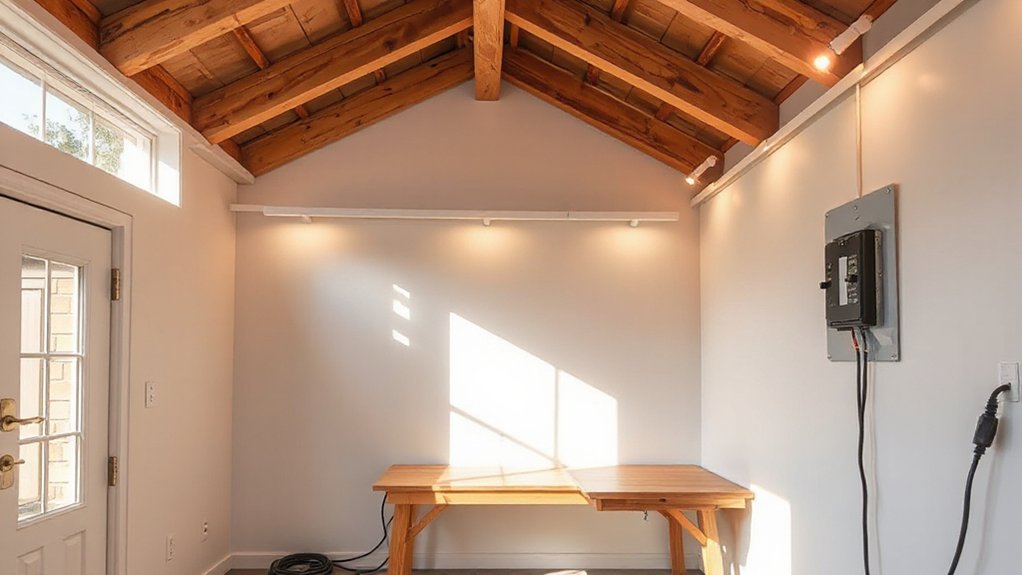
You’ll map your electrical load first, balancing outlets, appliances, and future expansion so the shed never feels overtaxed.
Next, you’ll follow wiring safety standards to protect people and property, choosing grounded circuits, proper junction boxes, and weather-rated components.
Finally, you’ll layer lighting—from task to ambient to accent—to create a bright, usable space while keeping energy use efficient and flexible.
Electrical Load Planning
How will you guarantee your shed’s electrical plan is safe and scalable from the start? You begin with load planning: map every device you’ll run, from lights to outlets, and estimate startup surges.
Prioritize a dedicated electrical feeder, sized to your anticipated power capacity, not just current needs. Choose a main circuit breaker and subpanels that handle future growth, with room for additional circuits as you add tools or climate control.
Group high-demand loads separately to minimize nuisance tripping. Use demand calculations, not guesses, to avoid oversizing or underpowering.
Plan for lighting zones with efficient fixtures and dimming options. Document all calculations and ensure wiring aligns with local codes, leaving room for updates without rework.
This proactive approach yields a safe, adaptable, and inviting workspace.
Wiring Safety Standards
With a solid load plan in hand, wiring safety standards guarantee your shed stays reliable and future-ready. You’ll implement disciplined electrical planning, grounded in circuit protection and strict adherence to wiring codes.
Prioritize safe routing, accessible panels, and clean junctions to reduce fire risk and simplify inspections.
- Map circuits to expected loads, avoiding overloads and nuisance tripping.
- Install proper circuit protection devices, including breakers and GFCIs where needed.
- Use weather-rated conduit and wiring that meet or exceed wiring codes for outdoor-to-indoor transitions.
- Create a clear labeling system for every outlet, switch, and panel to aid maintenance and future updates.
Lighting Layering Tips
Lighting layering in a shed starts with a clear plan: harmonize ambient, task, and accent light so every zone feels usable and safe.
You’ll map zones first, then assign lighting roles. For ambient glow, choose wide, diffuse fixtures that minimize shadows and create a welcoming baseline. Pair this with targeted task illumination at work surfaces, reading nooks, and equipment areas to reduce eye strain and boost accuracy.
Use dimmable layers to adapt mood and function without swapping fixtures. Consider color temperature: cooler temps for detail work, warmer tones for relaxation zones.
Prioritize energy efficiency with LEDs and controls like occupancy sensors and smart plugs. Confirm switches, outlets, and junctions are accessible, labeled, and tamper-resistant.
A thoughtful layering plan yields flexibility, safety, and a room you actually enjoy using.
Finishes and Comfort Upgrades for Daily Use
Finishes and comfort upgrades should dial in daily usability: choose durable, low-maintenance materials and soundproofing that makes the space feel calm from morning coffee to evening wind-down. You’ll select decorative finishes that endure humidity and temperature swings, pairing them with furniture choices that maximize space without clutter.
1) Prioritize seamless surfaces, washable paints, and moisture-resistant panels to reduce upkeep.
2) Install sound-absorbent underlayment and insulated walls for quiet focus and relaxation.
3) Choose compact, ergonomic furniture that supports long use and easy reconfiguration.
4) Integrate soft lighting, thermal curtains, and subtle textures to elevate mood and comfort.
Budget, Timeline, and DIY Task Planning
To turn a garden shed into a usable room on your terms, start with a clear budget, realistic timeline, and a practical DIY plan that matches your skills and access to help.
Your budget should itemize shelter updates, insulation, electrical, lighting, and décor without padding.
Set a milestone calendar: demolition, framing, rough-ins, finishes, and final inspection, with buffers for weather and delivery delays.
Choose shed materials that suit climate and budget, prioritizing durability and value, then align tasks to those choices.
Track progress daily, assign responsibilities, and reserve funds for unexpected fixes.
Keep garden aesthetics in mind during layout and light placement, ensuring storage is efficient.
Plan for scalable improvements later to extend usable space and comfort.
Common Pitfalls, Permits, and Maintenance
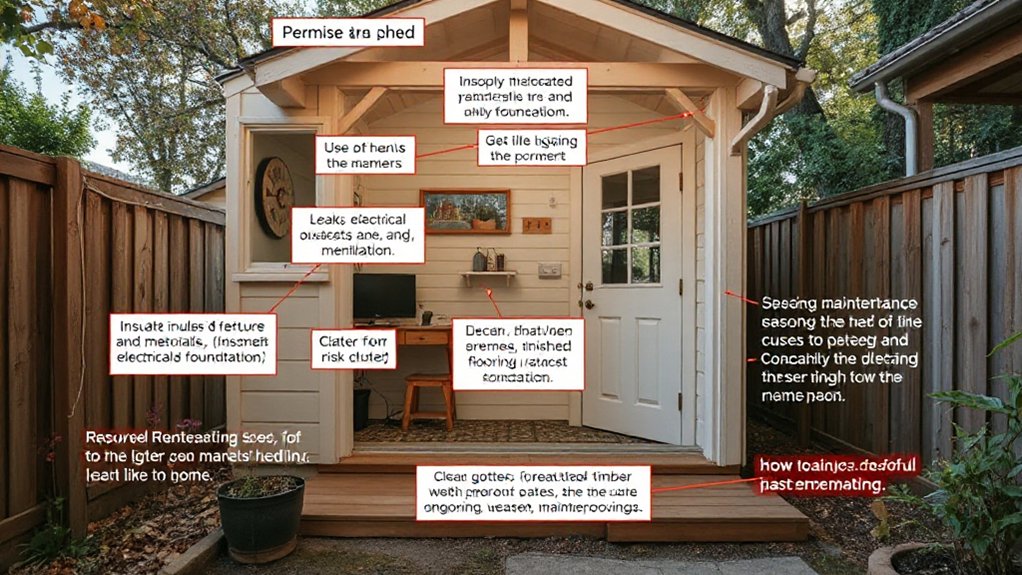
Common pitfalls can derail the project before you’re finished, so spot them early: underestimating the cost of permitting, skipping essential inspections, and ignoring long-term maintenance needs. You’ll guard against these by mapping requirements now and scheduling checks in advance.
- Permitting procedures: confirm local codes, submitted drawings, and timelines so approvals don’t stall your build.
- Inspections: line up critical visits at framing, electrical, and insulation milestones to avoid costly rework.
- Budget discipline: reserve funds for unexpected fixes and permit add-ons; avoid pennywise, pound-foolish shortcuts.
- Maintenance schedules: implement post-completion routines for heating, sealing, and venting to sustain comfort and efficiency.
Frequently Asked Questions
How Will I Finance the Shed Conversion Project?
You can finance the shed conversion by exploring financing options like a home improvement loan, line of credit, or personal loan, then compare terms carefully.
Start with clear budget planning: list all costs, set a ceiling, and factor contingencies.
Seek receipts and quotes to justify borrowing.
Consider phased work to spread costs, and small savings targets each month.
You’ll optimize interest and terms by shopping around, using 0% offers when possible, and keeping payments manageable.
Can Neighbors Challenge Home Improvements Like This?
Yes, neighbors can challenge improvements like this. You’ll face privacy concerns and zoning restrictions, so map out potential objections early.
You’ll want to show how you’ll maintain sight lines, sound insulation, and outdoor privacy for everyone. You’ll also verify permits, setbacks, and use with your local authority.
If concerns arise, you’ll negotiate setbacks, buffers, or design tweaks.
Stay practical, precise, and visionary: clear steps, documented agreements, and a cooperative spirit will keep you moving forward.
What Safety Standards Apply to Emergency Exits?
You’ll follow local codes for emergency exits, ensuring doors meet fire-rated standards and swing direction fits occupant flow. Check door safety specifics: adequate width, operable hardware, and clear egress paths.
Post clear emergency signage, keep hinges and alarms in good condition, and verify that exits stay unobstructed. Use motion or illuminated lighting to guide occupants, especially at night.
Regularly inspect, test alarms, and update door safety measures as standards evolve.
How Do I Handle Solar or Off-Grid Options?
You’ll handle solar power by sizing panels to your load, then pairing with a reliable battery and an inverter for steady AC.
For off grid systems, plan a scalable setup, prioritize proper wiring, ventilation, and a weatherproof enclosure.
You’ll monitor performance, conserve energy, and deploy a charge controller to prevent overcharge.
Think durable, practical, and visionary: harness daytime sun, store it, and keep essentials running when mains fail, like a modern, self-reliant outpost.
One anachronism: dial-up superstition.
What Resale Value Impact Will This Have?
A resale value impact depends on quality and finish; a well-insulated, thoughtfully landscaped shed boosts value more than a casual conversion.
You’ll see higher appeal with landscaping upgrades and solid interior insulation, which signal usable space and energy efficiency to buyers.
Keep compliance with local codes, add smart storage, and document improvements.
You’ll likely recover a substantial portion if you emphasize durability, curb appeal, and practical, move-in readiness rather than gimmicks.
Conclusion
You’re turning a shed into a room, a real addition that quietly reshapes your days. It’s a bold upgrade that’s grounded in practical checks and clear aims. Stretch your budget, but don’t overshoot; plan every square foot, every wire, every seam. Vision meets routine as insulation hugs winter and daylight floods projects. It’s not just space—it’s a mindset, a garden’s heartbeat, a workbench and refuge woven together until the ordinary becomes something you live in.