
A narrow terrace blocks the sun, yet a clear path to brightness begins with precise, measured choices. You’ll assess existing light, then weigh window widening, skylights, and reflective finishes against structural limits and cost. Think in angles and surfaces that bounce what you have, not just what you wish for. Let the plan guide you toward practical steps that reveal a brighter interior, while keeping energy use sensible and comfortable throughout.
Diagnose Your Narrow Home’s Light Profile
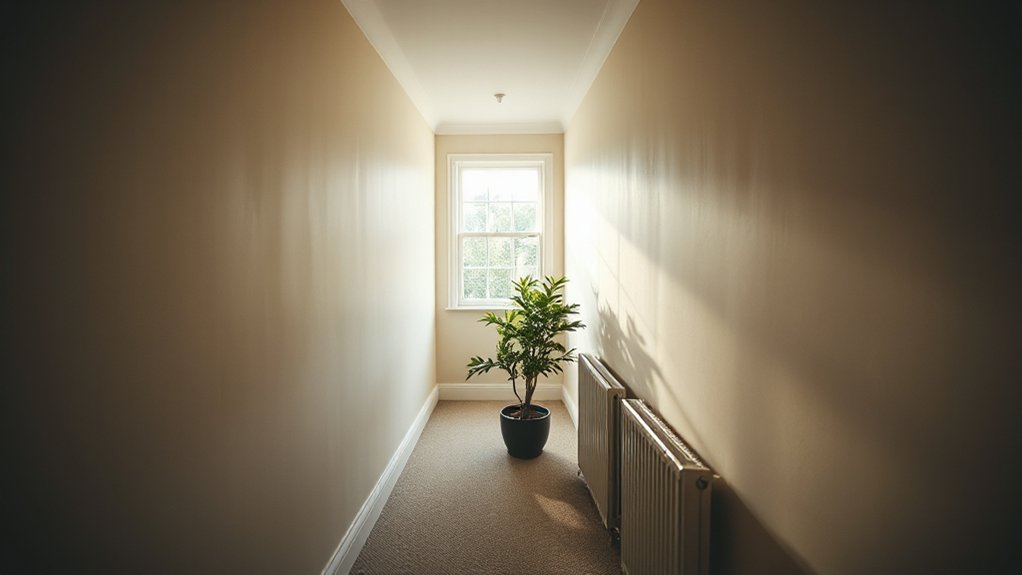
Begin by mapping how light travels through your narrow home: identify each major source (street-facing windows, skylights, interior doors, courtyards) and note the time of day when they’re brightest.
You’ll chart intensity curves across rooms, marking shadow corridors and reflective surfaces. Record angles at dawn, noon, and dusk, then translate findings into a light profile: dominant daylight corridors, secondary bounce paths, and blocked segments.
This diagnostic proves essential for targeted improvements. In practice, you’ll pair observed patterns with Garden enhancement ideas that amplify daylight without compromising space, such as reflective interior finishes and strategically placed transparent or translucent panels.
Consider exterior painting as a light-control lever, selecting hues that maximize perceived brightness. Document changes methodically to compare results over seasons and guide future optimization efforts.
Assess Window Widening: Feasibility, Cost, and Impact
Evaluating window widening starts by translating your light profile into concrete feasibility. You compare current daylight levels, neighboring obstructions, and room function to establish target opening sizes and shapes.
Assess window material options for weight, insulating value, and ease of installation; aluminum, uPVC, and timber each bring different constraints to compliance and thermal performance.
Consider structural modifications needed: load-bearing transoms, lintels, or wall removal, and how they affect floor plans, fire safety, and party-wall agreements.
Quantify costs per square meter, factoring labour, scaffolding, and potential damp remediation.
Visualize impact through sun-tracking and shadow studies—edge-to-edge glass can reduce shading elsewhere only if framing stays within structure.
Finally, weigh disruption, permits, and resale implications against daylight gains to decide whether widening is worthwhile.
Use Light-Colored Surfaces to Boost Reflection
You’ll boost internal light by selecting light-colored surfaces with high reflectance for walls, ceilings, and floors. Consider reflective wall strategies like pale whites, soft neutrals, and minimal texture to minimize diffusion loss, keeping surfaces uniform to maximize bounce.
Pair these with practical light surface choices, such as satin or matte finishes, to balance glare and clarity while enhancing perceived brightness.
Reflective Wall Strategies
Gloss white and pale neutrals reflect maximum daylight deeper into narrow rooms, so start by painting walls, ceilings, and even shelving with light-colored, matte finishes to minimize glare.
You’ll implement reflective wall strategies by selecting interior paint with high diffuse reflectance and low sheen, reducing hotspots where shadows would otherwise linger. Avoid gloss, and favor flat or washable satin in pale tones to maintain even luminance across surfaces.
Consider wall textures that trap minimal light scattering and prevent focal glare, such as smooth plaster or fine-grain panels.
Align color bands with architectural lines to guide daylight deeper, using neutral bases that pair with accent tones sparingly.
Monitor results with a light meter, tweaking tones for uniform brightness across corridors, stairwells, and shallow rooms.
Light Surface Choices
What surfaces best boost reflected light? You choose light-colored materials that maximize surface reflectance without glare. Prioritize smooth, uniform finishes on walls, ceilings, and floors to minimize absorption and enhance diffusion.
Surface textures should be subtle: fine plaster, matte paint, or lightly sanded tiles offer consistent light diffusion while avoiding hotspots. Prefer off-white or cool-toned neutrals rather than warm creams to prevent color shifting under daylight.
In narrow spaces, large panels or continuous surfaces reduce shadows and create a legible light plane. Avoid glossy, highly polished finishes that cause specular glare.
Use consistent surface illumination strategies: match textures across adjacent planes to maintain even reflection, and ensure joints are tight to prevent dark seams. This approach preserves brightness without sacrificing depth.
Add Mirrors and Reflectors to Double Brightness
You’ll maximize brightness by aligning mirrors for full-wall reflection and minimizing gaps in light paths.
Consider mirror placement strategies that bounce daylight from windows into deeper rooms, while reflector choices optimize edge-to-edge illumination.
Pair light-reflecting color schemes with this setup to sustain a coherent, doubled-brightness effect across the space.
Mirror Placement Strategies
Mirrors and reflectors should be positioned to maximize light transfer from the narrow doorway and existing windows into darker corners. Place tall, vertically oriented mirrors opposite south-facing windows to elongate visible daylight hours without creating glare.
Angle small, high-mounted reflectors to bounce light off ceiling planes, distributing it toward recessed areas and stair landings.
Use glazing with low iron content to prevent color shift; avoid antique or ornate frames that absorb light.
Maintain symmetry along main sightlines to reduce shadow pockets and guide luminance toward seating and work zones.
Pair with window treatments that minimize obstruction—clear or lightly tinted films, fabric shades raised during daylight, and unobtrusive side panels that don’t block transmission.
Schedule artificial lighting only where natural light wanes, coordinating with reflective strategies.
Reflective Surface Choices
Strategically chosen mirrors and reflectors can double the perceived brightness by channeling light from existing openings into darker zones. You select planar or gently curved surfaces with low iron glass to minimize color distortion and maximize specular return.
Position reflective panels at recessed corners, beneath stair voids, and opposite windows to create continuous light lanes across rooms. Prefer frameless designs or slim profiles to avoid visual clutter that interrupts sightlines.
Avoid high-gloss finishes in humid zones to prevent fogging; instead, opt for durable, easy-to-clean options. Incorporate decorative wall finishes that resist fingerprints and glare, and maintain a cohesive material palette that amplifies reflected light without creating hotspots.
Plan decorative wall finishes and consider indoor plant placement to avoid obstructing reflective paths.
Light-Reflecting Color Schemes
When designing light-reflecting color schemes, choose pale, cool-toned hues with high reflectance to amplify daylight without altering color accuracy. You’ll optimize brightness by pairing colors that maintain Color harmony across walls, ceilings, and trims, preventing hotspots.
Select matte to eggshell finishes on large expanses to minimize glare, reserving satin or semi-gloss for accents where you want specular bounce without overwhelming contrast. Use consistent saturation, avoiding strong, saturated tones that absorb light or create color shifts.
To double brightness, apply lighter shades on up-facing surfaces and slightly deeper tones on perpendicular planes to guide reflections toward the center. Include mirrors and reflective paneling strategically to expand perceived depth.
Document paint finishes and color codes, checking under different daylight angles to preserve fidelity and balance.
Maximize Skylights and Light Tubes for Flat Ceilings
Maximizing skylights and light tubes in a flat-ceiling layout hinges on selecting placements that optimize daylight distribution without compromising headroom. You evaluate ceiling geometry, balcony or corridor adjacency, and roof access to target even light penetration across rooms.
For skylight installation, prefer low-profile domes or flush-mounted panels that minimize glare while maximizing sky view. Orient openings to chase morning or afternoon sun depending on room use, and stagger positions to reduce simultaneous heat gain.
Light tube options should prioritize high reflectance internal channels, minimal bend radii, and efficient diffusers at the ceiling. Consider flashing, insulation, and weather sealing to prevent leaks.
Use removable trim for maintenance access and verify alignment with existing verticals to maintain consistent daylight continuity.
Plan Furniture to Minimize Shadows and Optimize Flow
You should map furniture layout to keep sightlines open and minimize shadow casting across key zones.
Position sofas, tables, and storage to avoid blocking floor lamps and windows, ensuring even light distribution and clear paths.
Prioritize unobstructed routes to traffic arteries, so movement remains fluid without creating dark pockets or congestion.
Plan Furniture Layout
To minimize shadows and improve flow, start by mapping furniture zones around the window axes and doorways. Then place seating and storage along lighter walls to maximize reflected light.
Plan furniture layout with a focus on circulation corridors, sightlines, and clear progressions between zones. Use parallel or perpendicular placements to walls that receive the most daylight, avoiding deep, bulky bundles that create opaque blocks.
Position seating to face windows where possible, while anchoring with slim storage units to maintain openness.
Implement furniture arrangements that emphasize negative space along primary axes, reducing clutter and enabling cross-ventilation.
Prioritize modular pieces, allowing reconfiguration for varying daylight conditions.
This approach supports space optimization, delivering precise, predictable light distribution and improved usability without compromising structural constraints or visual coherence.
Minimize Shadow Casting
Position furniture to shave shadows as light moves across walls and surfaces; place tall, bulky pieces away from primary daylight axes and use low-profile storage to prevent occlusion.
You’ll shape the path of daylight to reduce objectionable dark pockets by aligning seating and storage along secondary lines of sight. Favor low, narrow consoles and modular units that don’t interrupt vertical light flow, preserving wall brightness and room perceived width.
Position mirrors or light-enhancing panels opposite windows to promote light diffusion without creating glare. Use translucency or matte finishes on facing surfaces to soften shadow edges, supporting shadow mitigation.
Avoid large, solid barriers near windows; instead, stack or stagger components to maintain continuous light distribution. This approach optimizes light diffusion while maintaining clear circulation and furniture accessibility.
Improve Traffic Flow
Should you anticipate foot traffic and daylight paths, plan furniture to minimize shadows while preserving clear, logical routes through the space? Position pieces along walls and away from doorways to reduce obstruction during peak light hours.
Use compact, linear layouts that align with corridor sightlines, preventing shadowing across seating zones. Opt for low-profile tables and slender credenzas to maintain reflected light without bulk blocking it.
Place major seating opposite primary windows to maximize daylight penetration and reduce the need for artificial lighting.
Select lighting fixtures with diffusers that spread light evenly, avoiding harsh hotspots, and ensure task lighting is angle-adjustable for work zones.
Consider window treatments that modulate glare without isolating brightness, enabling consistent flow and visual connectivity between rooms.
Choose Sheer Window Treatments for Diffuse Light
Sheer window treatments soften incoming light without blocking it, creating a diffused glow that makes a narrow space feel larger. You select fabrics with a tight weave and light-colored tonality to maximize translucence while preserving contrast, aiding visual depth.
Sheer curtains guarantee diffusing sunlight across walls and ceilings, reducing harsh hotspots without sacrificing ambient brightness. Consider fabric weight, yardage, and installation height to control diffusion angles; hang slightly higher than the window frame to lengthen sightlines and avoid optical clipping.
PVC-free blends or linen-voile options yield stable translucence with minimal color shift. For versatility, pair with opaque drapes or roller shades for daytime-versus-evening lighting.
Measure track or rod width precisely, then order panels with consistent pleat or ripple tension to maintain uniform diffusion throughout the room.
Exterior Tactics That Invite More Daylight to Your Rooms
Exterior tactics can markedly boost daylight without altering interior walls. You’ll employ selective exterior modifications that reflect or transmit more sun into rooms.
Begin with outdoor landscaping that channels light rather than blocks it: prune tall specimens, remove obstructive foreground foliage, and position low-contrast ground cover to minimize shading on façades during key hours.
Next, optimize exterior paint choices; light, semi-gloss or satin shades reduce absorption and foster reflected daylight onto window planes.
Reconsider surface textures near glazing—smooth finishes lessen micro-shadowing and glare, while moderate contrast accents guide the eye outward.
Install externally mounted fins or light shelves only where permitted, ensuring their geometry complements the building’s rhythm.
Finally, maintain clean window exteriors and adjust landscaping seasonally to sustain maximum daylight ingress.
Daylight and Energy: How More Light Improves Efficiency
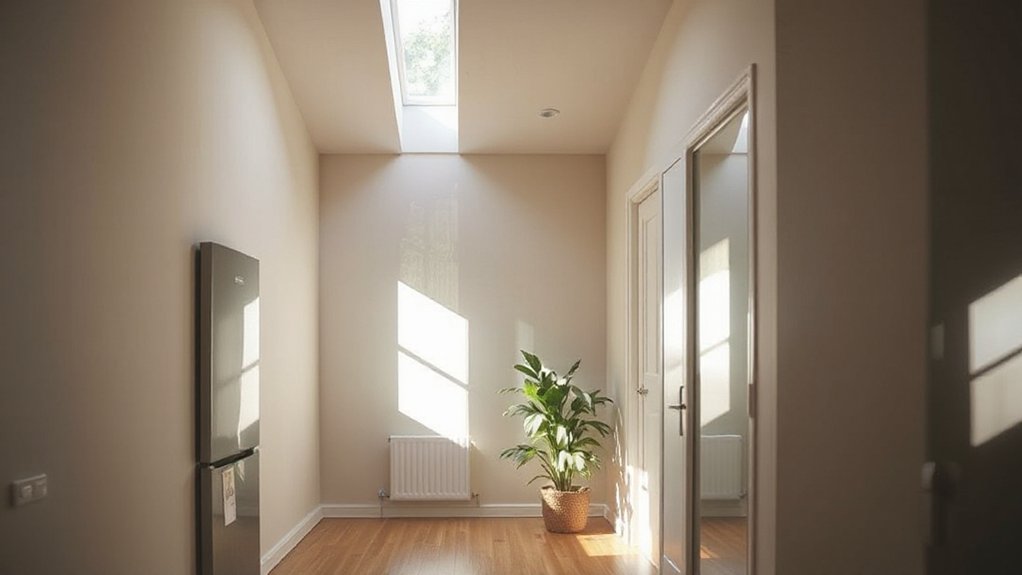
Daylight is a practical energy asset: more natural light reduces the need for artificial illumination, lowers electrical demand, and improves overall system efficiency. In practice, you’ll map daylight trajectories across rooms, aligning window axes with work zones and storage to minimize glare while maximizing usable luminance.
Daylight quality—color, diffusion, and contrast—directly influences HVAC load by reducing overcooling or overheating from radiant heat gain, keeping comfort within design intervals. You’ll implement window treatments to modulate intensity without sacrificing view or scope, selecting operable screens, blinds, or louvers that respond to sun position.
Pairing efficient glazing with controlled daylighting cuts energy per unit area, streamlines lighting schedules, and stabilizes interior lighting energy use, yielding steadier demand peaks and extended equipment life.
Practical Guide for Renters and Homeowners Alike
For renters and homeowners alike, applying the daylight insights from the previous topic translates into practical steps you can act on now. You’ll assess current light paths by mapping Sunlight penetration across rooms at different times, then prioritize interventions with the clearest return on brightness.
Begin with Window framing: choose slim profiles, light-colored finishes, and minimal obstructive mullions to reduce shadowing and maximize glazing area without compromising structural integrity. Replace heavy drapes with translucent blinds or sheers to diffuse rather than block light.
Reconfigure furniture layout to align work zones with principal light sources, preserving sightlines to exterior.
Apply reflective surfaces—pale paints, glass tiles, or metallic accents—to bounce illumination deeper.
Finally, document results with simple lux readings to verify improvements and guide future tweaks.
Frequently Asked Questions
Can I Add a Light Shelf to a Narrow Terraced Home?
Yes, you can add a light shelf, but guarantee proper depth and mounting. Install Decorative window films and Interior light diffusers to control glare, enhance diffusion, and preserve privacy while keeping structural integrity and compliant with your terrace’s constraints.
Do Skylights Affect Room Insulation and Condensation?
You’ll see that skylights affect room insulation and condensation; they can worsen heat loss and moisture if not properly installed. Thermal insulation and condensation control depend on proper flashing, glazing choices, ventilation, and attic insulation efficiency.
Will Larger Windows Compromise Privacy in a Terraced Row?
Yes, larger windows can threaten privacy in a terraced row; you should balance window placement and privacy concerns by aligning sightlines, using frosted or obscured glass, and considering partial-height glazing to preserve views without compromising neighbors.
Are Dimmer Switches Essential for Daylight Planning?
Dimmer switches aren’t essential for daylight planning, but they help you tailor lighting ambiance. Picture a sunrise timer: you control glare, mood, and task light as you widen or narrow visual contrast throughout the day. Dimming controls elevate precision.
How Do I Verify Building Regulations Before Widening Openings?
You verify building regulations by obtaining Building permits and scheduling Structural assessments before widening openings; consult your local planning authority, guarantee drawings meet code, and document fire safety, drainage, and structural loads to avoid delays or compliance issues.
Conclusion
In this narrow story, you’re a lighthouse keeper in a clay-walled village. Each window is a wick; your choices fuel the glow. Widen and polish, plant and reflect, and skyscape your ceiling with tubes of daylight. Like a compass, your furniture and shade steer the beam, while mirrors bend it deeper. When obstacles loom, align surfaces, clear paths, invite breath of sun. The house learns to glow from within, a steadier, wiser daylight that travels with you.