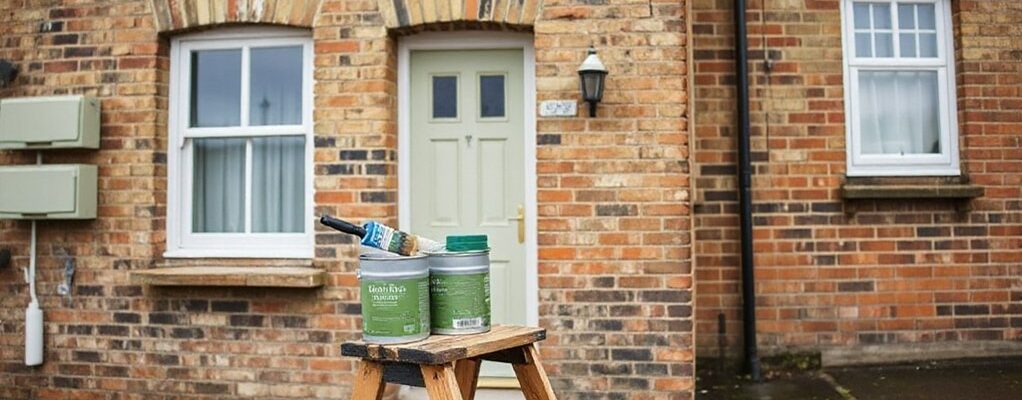
British weather keeps you on your toes, so you’ll want exterior paints that resist UV, moisture, and temperature swings while staying flexible. Start with solid surface prep and choose a durable system—primer, undercoat, and topcoat—matched to timber, masonry, or cladding. Plan for dry, mild spells and allow proper cure times between coats. Keep an eye on the forecast and inspect after every spell of rain; small issues now save bigger repairs later. You’ll see how it all holds up when you act.
What UK Weather-Proof Exterior Paints Do for Your Home
Weather-proof exterior paints shield your home by forming a durable, flexible barrier that shrug off rain, wind, and sun. You’ll notice fewer blistering issues as the film expands with temperature swings, keeping coatings intact longer. In practical terms, these paints guard against UV fade, reducing color drift and preserving curb appeal. They resist moisture ingress, preventing rot and peeling on timber and masonry, so you spend less maintenance time and money. When you pick eco friendly paints, you’re cutting volatile organic compounds while supporting healthier indoor-outdoor air quality. Look for finishes that balance breathability with film integrity, ensuring rain spills off without trapping humidity. Color trends shift, but durable performance remains constant. Choose options that suit your climate, then enjoy years of stable color and protection.
How to Choose Durable Paints for Timber, Masonry, and Cladding
You’ll start by matching timber type and primer to the surface, so the base coat grips and lasts through damp and frost. For masonry, prep matters as much as paint choice—clean, repair, and seal cracks before you select a breathable, water-shedding finish. When you assess cladding, prioritize durability and UV resistance to prevent peeling and fading in changing UK weather.
Timber Type And Primer
Choosing the right timber type and primer is essential for lasting exterior paint on British weather. You’ll select timber that resists rot and absorbs coatings consistently, then pair it with a compatible primer to seal pores and block tannins. Your goal is a stable base that welcomes color without peeling.
- Identify timber grade and moisture content to reduce movement and cracking.
- Choose an exterior-grade primer compatible with your timber and paint system.
- Match primer to finish: acrylic for flexible coatings or oil-based for stain blockers.
- Consider eco friendly paints and color psychology to influence mood while maintaining durability.
Notes: use breathable products where needed, and prep surfaces to minimize moisture intrusion. This approach keeps finishes vibrant, weather-aware, and low-maintenance.
Masonry Surface Preparation
Masonry surfaces demand a solid, breathable base to keep paint durable in Britain’s variable climate. Before you start, assess the substrate: remove loose paint, dirt, and efflorescence; rinse and allow full drying time. Repair cracks with a compatible filler, then recheck for moisture issues; damp walls ruin adhesion. Choose a breathable masonry primer to promote paint adhesion and prevent trapped moisture. For porous bricks or rough cement, consider a stabilizing sealing coat to even porosity without sealing too much. Surface texturing should be minimized where possible, but don’t over-sand glossy patches; if needed, lightly abrade to improve key. Apply on dry, mild days, in thin, even passes. Use a quality exterior masonry paint and follow manufacturer recoat times for durable results.
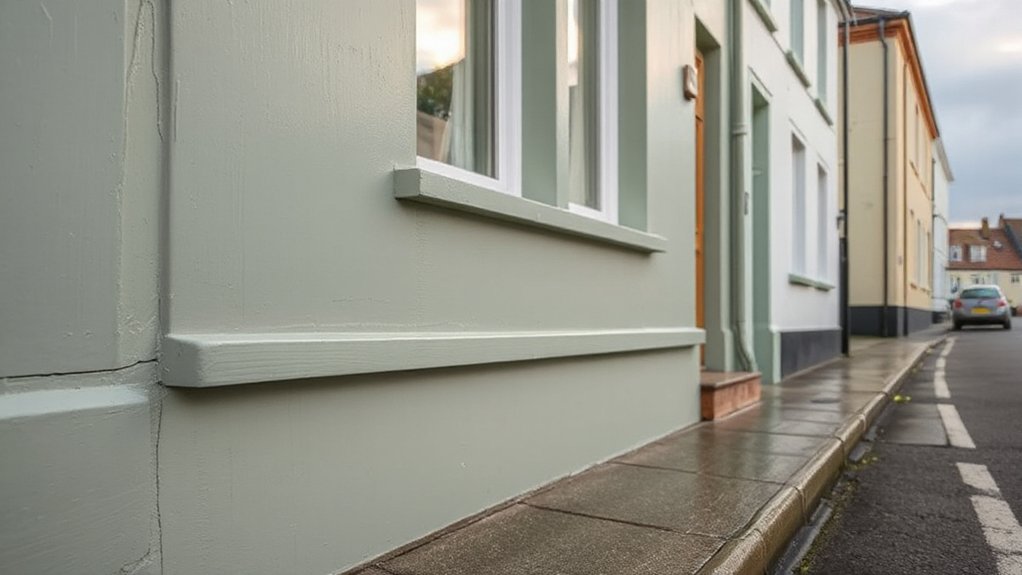
Cladding Paint Durability
Cladding paint durability hinges on selecting finishes rated for timber, masonry, and weather exposure, so start by matching the product to each substrate’s needs and the area’s climate. You’ll maximize longevity by evaluating UV resistance, water repellence, and mildew protection before choosing colours or finishes. Consider how long coats last between re-paints and how well they resist peeling in wet winters. Use this practical checklist to guide you:
- Match substrate and exposure with the right base formula
- Prioritize breathable coatings for masonry and timber joints
- Check UV stability and moisture resistance ratings
- Explore color palettes and eco friendly options that suit the climate
Color palettes and eco friendly options can extend life, reduce maintenance, and keep the exterior looking sharp.
Timber Prep: Cleaning, Sanding, and Prime-Ready Surfaces
To prepare timber surfaces for paint, start with a thorough clean to remove dirt, moss, and grime, then inspect for cracks, loose fibers, and rot. You’ll need a stiff brush and a mild detergent, scrubbing in small sections and rinsing with clean water. Remove all non-solid coatings and flaking paint, then let surfaces dry completely. Lightly sand any rough areas to promote adhesion, but avoid deep profiling that can weaken the timber. If you find rot, cut away and treat the edges to prevent spread, then fill minor gaps with a breathable wood filler. Apply a wind- and rain-resistant primer, capably sealing edges before overseal. This prep supports long-lasting exterior finish, whether you’re planning garden landscaping touches or interior wall painting prep.
Masonry Prep for a Flawless Finish: Cleaning and Repair Tips
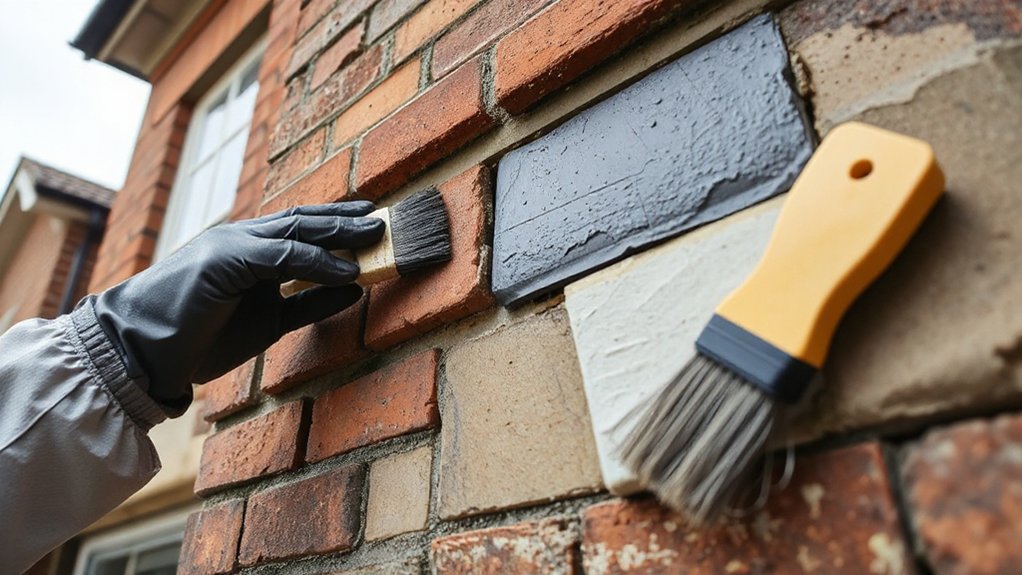
If you want a flawless finish, start with a thorough cleaning to remove mold, efflorescence, dirt, and loose paint, then assess for cracks, spalling, or mortar deterioration. You’ll then target repairs that don’t compromise breathability or historic integrity, keeping decorative finishes and historical restoration in mind.
- Clean with a stiff brush and low-pressure wash, avoiding high temps or pressure that harms mortar.
- Repair cracks with lime-based mortar compatible with the original mix.
- Repoint where joints are deteriorated, using a lime-putty mortar for moisture management.
- Protect decorative finishes with masking and compatible sealers only if needed for long-term durability.
These steps keep masonry sound, weather-ready, and true to the structure’s heritage.
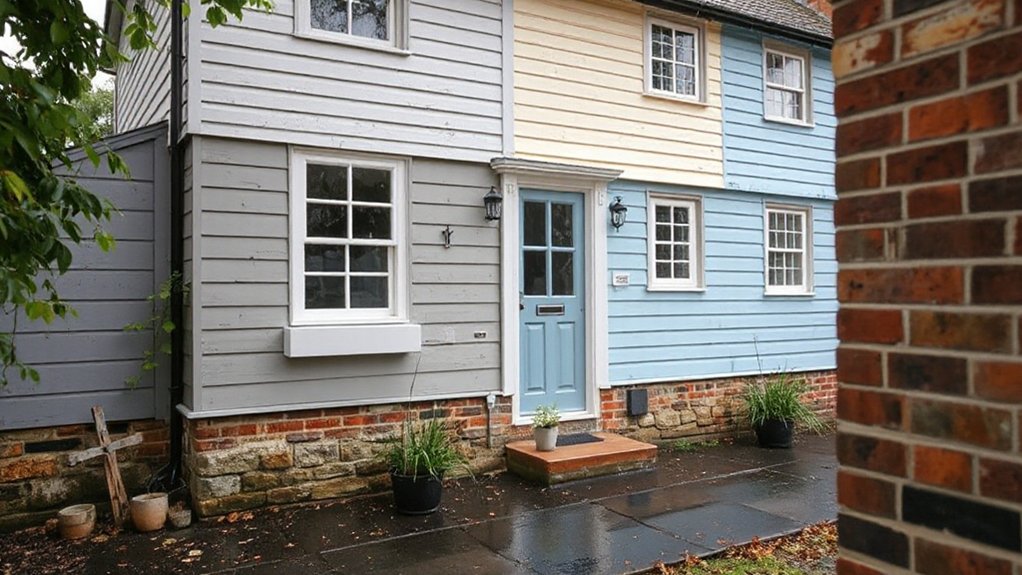
Cladding Prep for Weather Resistance: Cleaning and Priming
Before you apply any coatings, start with a clean, dry surface and remove loose material, dust, and mold using a stiff brush and a low-pressure wash. For cladding, verify joints aren’t soaking or soggy, and protect adjacent areas from overspray. Inspect for damage or loose panels; repair or secure as needed before priming. Use a weather-appropriate cleaner to prevent residue that could affect adhesion, then rinse thoroughly and let dry. Prime only after the surface is fully dry and free of contaminants, choosing a breathable primer compatible with your cladding material. Consider color selection early to confirm primer compatibility. For paint application, apply evenly in thin coats, maintaining a steady pace and rain-free window. Document color choices for seasonal touch-ups and guarantee long-term weather resistance.
Primers and Undercoats by Substrate: Timber, Masonry, Cladding
Primers and undercoats must match the substrate to guarantee adhesion and durability: timber, masonry, and cladding each demand a specific approach. You’ll choose primer selection and undercoat types based on material, porosity, and exposure. For timber, use a flexible, breathable primer and a high-build undercoat to seal grain without cracking. On masonry, pick a stain-blocking primer and a robust acrylic undercoat to combat efflorescence and crack-prone finishes. Cladding benefits from a moisture-tolerant primer and a leveling undercoat to smooth joints. 1) Assess substrate porosity 2) Match breathable films 3) Align with exterior climate 4) Test adhesion before full coat. Prioritize durability, recoat windows, and compatibility with topcoats to maintain weather resistance.
Layering Coats for Longevity: Primer, Undercoat, Topcoat in Order
Start with a fresh primer to seal the surface and improve adhesion, then apply the first layering in a thin, even coat to lock in moisture and prevent tannin bleed. Follow with the undercoat in the proper order for your substrate, ensuring each layer stays damp-dry-to-touch before the next is applied. Finish with the topcoat in steady, weather-appropriate strokes, letting each coat cure fully to achieve durable protection in British conditions.
Primer First Layering
Primer first layering sets the foundation for lasting color, so start with a clean, dry surface and choose a quality exterior primer suited to your substrate. You’ll build a durable base that enhances adhesion and overall finish, even in changeable British conditions. Follow these steps to get it right:
- Assess substrate and select primer type (alkyd or acrylic) aligned with the surface.
- Guarantee proper surface prep: remove loose material, smooth rough edges, and seal any gaps.
- Apply in thin, even coats; avoid pooling and maintain a wet edge.
- Allow thorough drying and check for uniform porosity before topcoating.
Paint sheen and color selection matter, so plan for the final shade and gloss level early in the process.
Undercoat Application Order
Undercoat application follows the primer to tighten the base and improve topcoat adhesion, so apply it in thin, even coats and allow thorough drying between layers. You should work from edges inward, avoiding puddles and encouraging uniform film thickness. In British weather, moisture management matters, so choose a breathable undercoat that resists sagging on damp days and recoat within the product’s recommended window. Once dry, lightly sand any brush marks for a smooth surface, then wipe away dust. For longevity, maintain consistent color coverage across walls and avoid skipping coats on high-traffic areas. Consider indoor decor implications and how your paint color trends integrate with exterior tones, ensuring the undercoat supports both fade resistance and even sheen. Finish by inspecting joints and corners for uniformity before topcoat.
Topcoat Finishing Steps
After applying the undercoat, you’ll finish with the topcoat in deliberate, protective layers. This final step secures color, resists weather, and enhances durability across British conditions. Follow these concise actions for reliable results:
- Color mixing: adjust shade on a small sample panel, then blend evenly before rolling to ensure uniform hue.
- Brush techniques: use long, smooth strokes, keep a wet edge, and feather edges to avoid lap marks.
- Coat management: apply two thin coats, allowing proper drying time between layers to prevent cracking.
- Inspection: check for runs, misses, and damp spots; correct promptly and recoat as needed for full coverage.
Timing Your Exterior Paint Job Around British Weather
Timing your exterior paint job around British weather is all about working with the forecast, not against it; plan for dry, mild days and avoid rain, frost, or high humidity. You’ll schedule prep and coats when conditions stay between about 10–20°C with low dew point risk. Check a reliable forecast, then target multi-day windows with consistent dryness. Wind should be light enough to prevent dust and dusting, yet not so calm that surfaces stay damp from overnight moisture. Morning applications can reduce afternoon heat buildup, but avoid direct sun on exposed walls. If color fading or paint peeling concerns arise in earlier coats, adapt next steps to cooler, drier periods to ensure adhesion and film formation remain stable. Proper timing minimizes rework and preserves finish integrity.
Maintenance Habits to Extend Color Life and Prevent Mold
Regular maintenance is your first line of defense against color fade and mold, especially in damp British climates; by washing surfaces, inspecting for cracks, and treating problem areas promptly, you keep the finish intact and curb moisture intrusion.
- Inspect annually for hairline cracks and repoint or seal as needed to stop moisture ingress.
- Wash exterior surfaces with a mild detergent and soft brush to remove algae, dirt, and spores.
- Promptly treat damp patches with breathable, paint-compatible products to prevent mold regrowth.
- Track interior décor and exterior paint color trends to plan touch-ups that align with updates without overhauling finishes.
Maintain a consistent schedule, choose breathable coatings, and avoid over-washing to protect color longevity.
Troubleshooting Common UK Exterior Painting Problems
Persistent damp spots can undermine fresh paint, so start with thorough damp patch prevention by improving drainage and addressing any leaks before repaint. Next, use proper surface preparation techniques—clean, repair cracks, and key glossy surfaces—to guarantee the coating adheres in our variable UK climate. Finally, recognize climate impact variations, tailoring timing and product choice to seasonal humidity and temperature swings for reliable results.
Damp Patch Prevention
Damp patches on exterior walls are a common UK headache, but you can prevent them with a simple, proactive approach: identify moisture sources, fix them quickly, and choose breathable paints that let walls dry. To manage interior moisture and protect paint adhesion, follow practical steps that match our climate.
- Locate leaks or condensation hotspots and seal promptly.
- Improve ventilation in damp rooms and near kitchens and bathrooms.
- Treat and repair any damaged render or masonry before painting.
- Select breathable, low-emission paints designed for damp-prone exteriors.
Surface Preparation Techniques
Surface preparation is the backbone of a durable exterior paint job, especially in Britain’s changeable climate; start by cleaning, repairing, and abrading the surface so coatings can bond firmly. You’ll remove dirt, mould, and loose film with a stiff brush or mild detergent, rinse thoroughly, and allow drying time. Repair all cracks, gaps, and damaged timber with appropriate filler, then sand smooth to feather edges. For bare masonry, apply a stabilising primer to seal porosity. Manage old peeling paint by scraping and sanding until sound. In metal elements, treat rust with a rust converter before priming. Plan color coordination early to avoid frequent repainting. Choose eco friendly paints for lower VOCs and better indoor-outdoor compatibility, ensuring ventilation during and after application. Weather windows should be dry, cool, and above 5°C.
Climate Impact Variations
British weather can dramatically affect exterior paint performance. You’ll notice climate variations drive drying rates, adhesion, and finish durability, so plan accordingly.
- Seasonal wind shifts can dry or wet surfaces unevenly, causing streaks or blush in paint color.
- Temperature swings alter film formation; apply when temperatures stay within manufacturer guidelines to avoid cracking.
- Humidity borrows moisture from walls, slowing cure and trapping volatile compounds that can dull the paint color.
- Rain windows demand extended curing time; don’t rush recoat or you’ll trap imperfections and compromise finish.
To mitigate, choose breathable primers and weather-tolerant pigments, track forecasts, and test color in a controlled patch before full application. Adjust schedules for wind risk and humidity; your paint color will stay true longer.
Frequently Asked Questions
How Long Should I Wait Between Coats in Autumn Rain?
In autumn rain, wait until the brush consistency is tack-free and the surface feels dry to touch, usually about 24 hours in damp conditions. Check paint drying time on the can and adjust for cooler, wetter days.
Can I Paint During Frosty Mornings or Humidity Spikes?
Yes, you shouldn’t paint on frosty mornings or during humidity spikes. Think of a dried puddle—temperatures above freezing and stable humidity. Wait for dry, warm, calm conditions; recheck dew points, forecast, and surface readiness before starting.
Do Darker Colors Heat-Dry Faster in UK Summers?
Yes, darker colors heat-dry faster in UK summers due to higher color absorption, but it raises interior temps. Consider color absorption and thermal regulation; ventilate, pre-warm surfaces, and monitor moisture to prevent peeling in sun.
Is Repainting Over Old Lead Paint Still Safe Here?
Yes, it’s not safe to repaint over old lead paint without proper precautions. Lead paint safety requires containment, testing, and licensed removal if needed; follow repainting techniques that minimize dust, and wear protective gear in damp, windy UK weather.
Should I Use Biocidal Additives for Mold-Prone Areas?
Yes, you can, but use cautious, proven mold prevention tactics first; only add Paint additives like biocides if needed. Guarantee proper drying, substrate prep, and weather-aware timing. Also, follow product directions for safe Mold prevention and compatibility.
Conclusion
Weather-proofing your home is a practical, year-round job. By picking UV-resistant paints, prepping surfaces, and timing coats to dry spells, you’ll resist Britain’s damp, winds, and frost. Keep to a simple routine: inspect, clean, repair, prime, undercoat, topcoat, then seal gaps. Stay proactive with maintenance to catch issues early. Remember: a stitch in time saves nine—don’t wait for peeling to shout. Your home will stay protected and fresh, no matter the forecast.