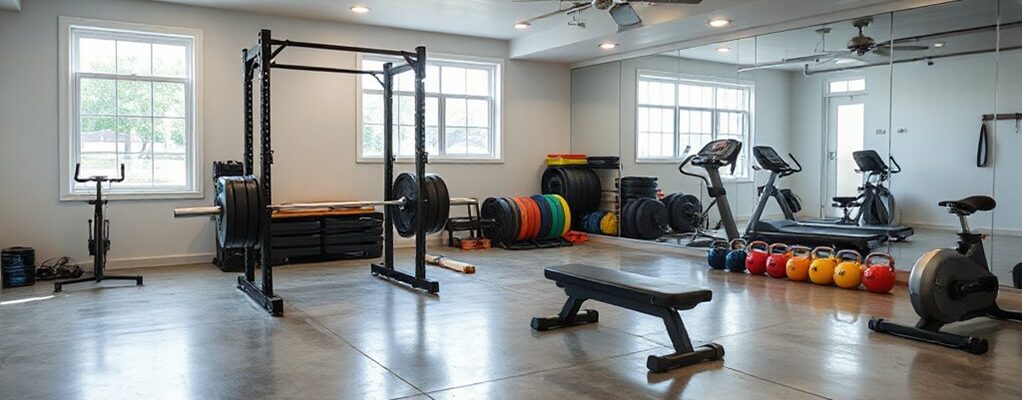
Did you know a well-designed garage gym can boost your weekly workouts by up to 60% while costing a fraction of a retrofit? You’ll measure the space, assess ceilings and floors, and map zones for cardio, strength, and storage. With precise insulation, durable flooring, smart storage, and proper lighting, you’ll create a climate-controlled, safe, and efficient setup—and that’s only the start. Ready to outline a plan that keeps you focused and progressing?
Key Takeaways
- Assess structure, electrical, plumbing, and permits to ensure safety and code compliance before renovations.
- Define gym zones (cardio, strength, mobility) and plan a layout that minimizes wasted movement.
- Install durable, moisture-tolerant flooring with edge-to-edge coverage and proper underlayment.
- Select space-saving, versatile equipment and mounts to maximize open floor space and future growth.
- Implement lighting, ventilation, climate control, storage, and maintenance routines for a comfortable, organized space.
Measure Your Garage and Check Structural Readiness
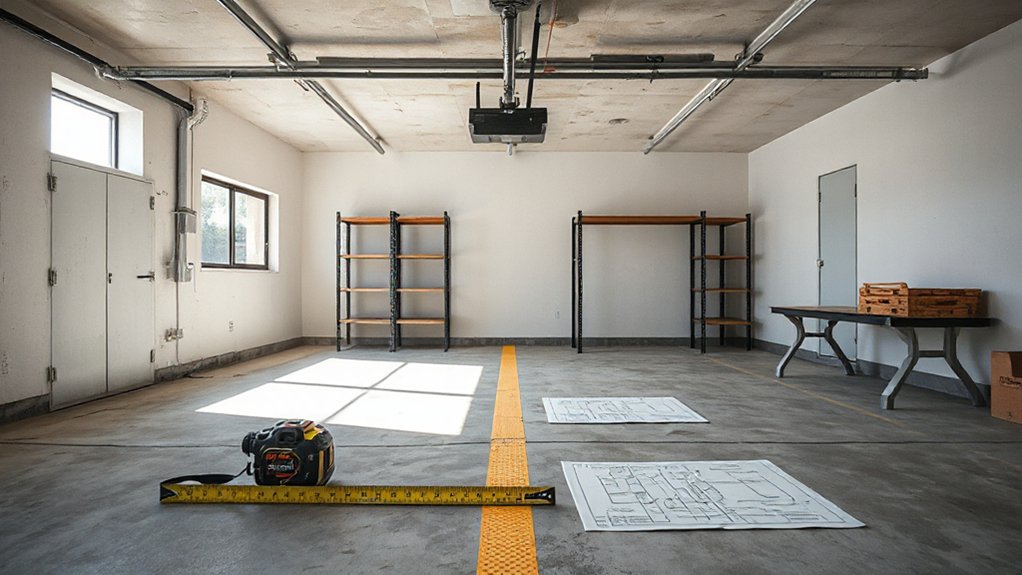
Before you do anything else, measure the garage’s footprint and assess its structure to guarantee a safe foundation for a home gym. You’ll map width, length, and door clearance, noting irregular walls or slopes that affect layout.
Check the ceiling height for overhead racks and vertical functionality.
Inspect the floor for cracks, moisture, or uneven patches; plan a level, dedicated workout zone.
Verify electrical capacity and amperage for equipment, outlets, and safety switches.
Assess load-bearing walls and potential retrofits for added support.
Create a baseline for future renovations without overreaching.
Prioritize Garage organization and Tool storage solutions that keep gear off the floor and away from hazards, enabling safe flow.
Document findings, then proceed with precise, scalable planning anchored in stability and clarity.
Define Your Gym Goals, Space, and Budget
Now that you’ve mapped the space and checked the structure, you can define your gym’s purpose, layout, and budget with clarity. Start by naming your core goals: strength, endurance, or flexibility, and link them to measurable targets.
Next, sketch a practical layout that minimizes wasteful movement and highlights safety; keep pathways open and equipment accessible.
Briefly estimate costs for essentials, flooring, storage, and essentials like mats, mats, and a basic cardio option.
Set a monthly maintenance buffer to cover replacements and upgrades.
Map your time horizon—short term wins and long term growth.
Prioritize Garage organization to keep gear tidy, labeled, and easy to locate, reinforcing workout motivation through tangible progress.
Align your plans with discipline, budget discipline, and consistent routines.
Design Zones: Cardio, Strength, and Storage
Picture a gym floor where every square inch has a purpose: a cardio corner with easy-flow access, a compact yet capable strength zone, and a tidy storage alcove that keeps gear out of sight but instantly reachable. You organize by zones, not clutter, aligning flow, function, and safety to each activity.
This design supports Garage organization and guarantees Equipment maintenance stays simple—crates, mats, and weights are labeled, kept on shelves, and wiped after use.
- Map each zone to its primary moves and equipment, then keep paths clear.
- Use vibration-absorbing mats under cardio and lifting areas to protect floors and gear.
- Schedule weekly checks for wear, lubricate moving parts, and replace frayed straps or cords promptly.
Insulation and Climate: Keep It Comfortable Year-Round
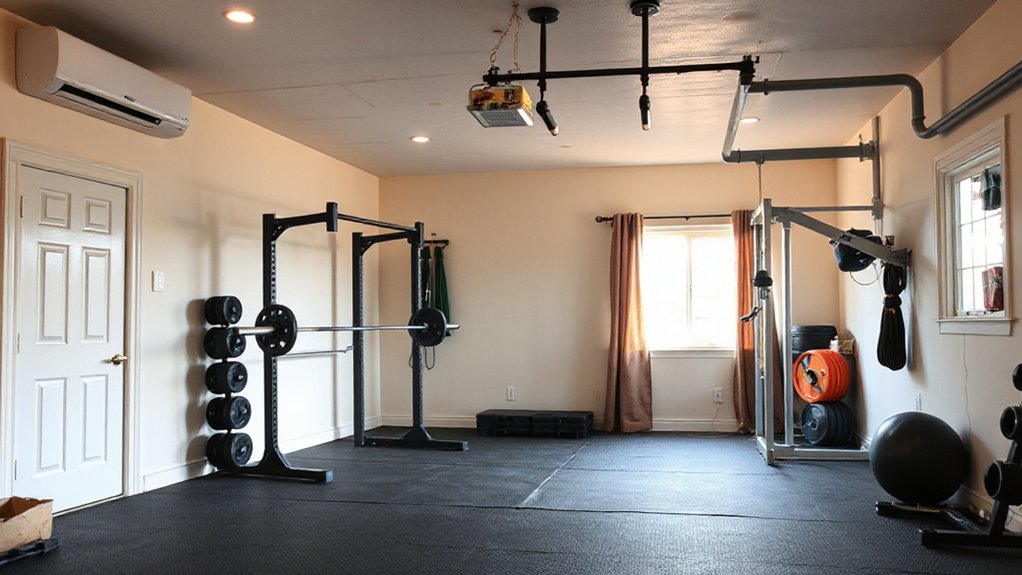
Insulating well and controlling the climate transforms a garage into a reliable year-round gym. You’ll start with tight envelopes: seal gaps, add insulation materials appropriate for your climate, and target continuous R-values across walls, ceiling, and doors. Choose vapor retarders where needed and favor high-density batts or spray foams for air-sealing power without bulk.
Next, implement climate control that fits your workouts. Install a compact, energy-efficient heat source or cooling unit, plus a balanced ventilation strategy to manage humidity. Use programmable thermostats and zoned controls so you’re comfortable during early morning cardio or late-evening lifting.
Keep ducts clean, ducts insulated, and airflow unobstructed. Finally, test comfort levels during peak use, adjust insulation thickness, and fine-tune HVAC settings to sustain consistent temperatures year-round.
Durable, Safe Flooring for Garage Workouts
Choose flooring that withstands heavy lifts and dropped weights, prioritizing durability while minimizing slip risk. We’ll compare options for impact absorption, from rubber tiles to interlocking mats.
And outline practical installation steps that guarantee uniform support. With precise planning, you’ll establish a safe foundation for workouts, modular enough to adapt as your routine evolves.
Durable Flooring Options
When selecting durable flooring for a garage gym, start with impact resistance, grip, and moisture tolerance to protect both equipment and flooring over time. You’ll choose options that balance safety with longevity, aligning with your training tempo and equipment load.
Prioritize modular solutions that install quickly, minimize trip hazards, and simplify cleaning. Rubber tiles and foam mats offer complementary benefits: resilience under heavy lifts, and cushioned zones for floor work and high-intensity cardio.
- Evaluate surface rigidity and interlock reliability for consistent support.
- Pair rubber tiles with foam mats in zones demanding traction and comfort.
- Consider moisture resistance, ease of replacement, and total floor coverage for future workouts.
Impact-Absorption Techniques
To protect both your joints and your equipment, focus on how each surface absorbs impact during workouts. You’ll design zones that distribute load efficiently, using layered materials that minimize rebound and transfer.
Prioritize shock absorbing underlayment beneath tough activities, plus a resilient top surface for barefoot or shoe workouts. Choose compositions that compress modestly under repeated steps, reducing fatigue and microtrauma over time.
Consider thickness, density, and durometer ratings to tailor impact control to each station—free weights, cardio, and plyometrics. Guarantee edges are seamless and transitions smooth to prevent trips.
Ventilation and moisture control matter, but so does long-term stability; secure anchoring and consistent surface flatness prevent wobble. Your goal: durable, safe flooring that supports steady progression.
Safe Installation Practices
Safe installation starts with a clear plan and precise execution. You’ll choose flooring that endures weight, moisture, and impacts while supporting safe workouts. Prioritize edge-to-edge coverage to eliminate trip hazards and guarantee uniform stability across the space.
Select materials with proven compressive strength and easy cleanability, then install with tight seams and proper underlayment to reduce noise transmission. Incorporate soundproofing techniques to minimize vibration into surrounding rooms and keep your routine focused.
Pair durable flooring with thoughtful garage organization to streamline moves and storage, reducing clutter that can cause accidents. Consistency in material choice and installation improves safety, performance, and longevity.
- Assess load paths and subfloor conditions before material selection.
- Use moisture barriers and mildew-resistant underlayment.
- Seal seams, edge trim, and transitions for a flush, stable surface.
Electrical Capacity and Any Plumbing Needs
You’ll assess electrical capacity basics to support equipment loads, lighting, and future upgrades without overburdening circuits.
We’ll outline plumbing needs overview only where relevant to a gym setup, such as a bathroom/cleanup options or a water line for a dunk tank or humidifier.
You’ll also map safety and permits considerations to keep the project compliant and moving forward.
Electrical Capacity Basics
For a home gym, understanding electrical capacity is essential before you drill into plumbing needs. You’ll assess existing service, dedicated circuits, and the potential load your equipment will require.
Plan for flexibility with future additions, while preventing overloads that trip breakers or overheat wires. Focus on safe routing, proper grounding, and accessible shutoff points.
Prioritize a clear layout that aligns power needs with equipment placement, so you don’t chase outlets later.
1) Determine service amperage and available headroom for new circuit runs.
2) Verify electrical wiring and circuit breakers meet current code and your planned load.
3) Allocate dedicated circuits for high-draw gear, with GFCI where required and easy access for maintenance.
Plumbing Needs Overview
Plumbing needs for a garage-to-gym conversion require careful planning to support drinking water, drainage, and equipment use without compromising space or safety. You’ll assess existing water supply lines and determine if a dedicated feed is necessary for a sink, fountain, or humidification.
Map drainage routes for equipment runoff and floor pan protection, selecting slope and trap placement that prevent odors and clogs. Consider plumbing fixtures that fit your layout, prioritizing compact fixtures for changing zones and a utility sink for quick cleanups.
Verify water pressure and flow to avoid pressure drops during workouts. Plan for shutoff accessibility and future maintenance without disrupting training.
Ensure codes and permit requirements are understood early, so installation remains efficient and compliant.
Safety and Permits Considerations
With your plumbing plan laid out, it’s time to size the electrical capacity and confirm any remaining plumbing needs to support a safe, functional gym. You’ll balance circuit loads, GFCI protection, and dedicated outlets for equipment, while reviewing local regulations and permit requirements.
Fire safety comes first: guarantee smoke detectors, proper ventilation, and reachable extinguishers are in place, and confirm code-compliant clearances around the space.
Identify any plumbing upgrades needed for a future wet bar or sink with drainage that won’t compromise structural integrity. Obtain permits where required and schedule inspections to verify compliance.
Align the plan with electrical panels, load calculations, and equipment specs to prevent overloading and to guarantee a compliant, sustainable setup.
- Verify electrical load and panel capacity for all devices.
- Document permit steps, inspections, and compliance checkpoints.
- Establish fire safety measures and local regulation adherence.
Pick Flexible, Space-Saving Gym Equipment
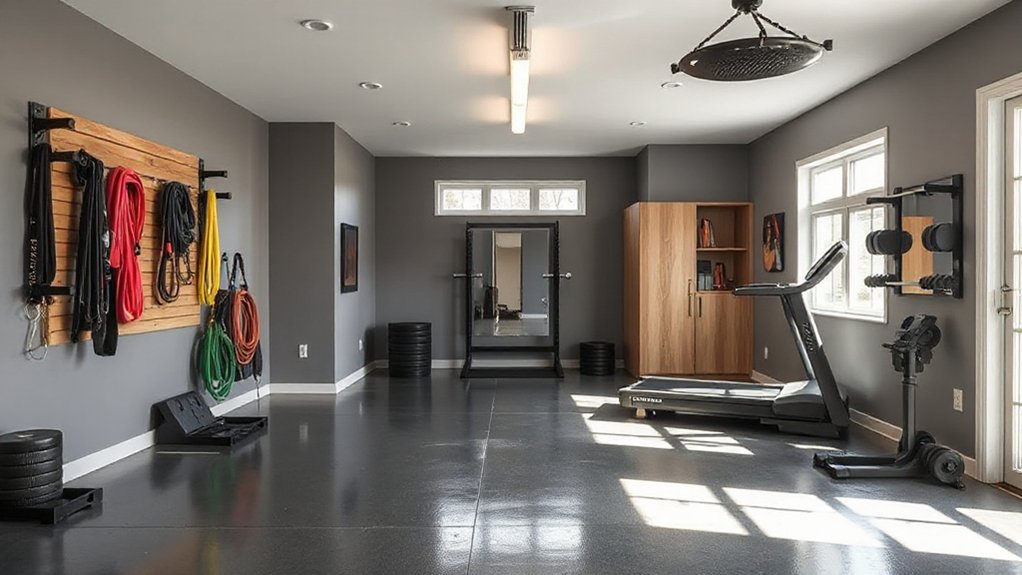
Choosing gear that flexes with your space saves you both money and hassle; start with multi-use, compact options that pair well with wall storage and a clear workout zone. You’ll prioritize adjustable dumbbells and foldable equipment to maximize variety without crowding floors.
Pick weight systems that shift seamlessly between exercises, keeping cables and plates out of the way when not in use. Look for mats and mounts that double as storage surfaces, preserving open space for dynamic moves.
Favor equipment with sturdy hinges, smooth adjustments, and compact footprints. Plan for a logical flow: warm-up, compound lifts, and mobility, all organized around a central area.
Invest deliberately, test ergonomics, and choose gear that scales as you grow in strength and routine.
Smart Storage to Eliminate Clutter
Smart storage isn’t an afterthought—it’s the framework that makes a home gym practical. When you design storage first, you reserve floor space for movement, not clutter. Use vertical solutions that keep gear ready without crowding the room. The goal is clutter elimination, so every item has a defined place and a quick return path.
Establish a system you can maintain weekly, not monthly, to preserve focus and momentum.
- Install wall-mounted racks and hooks to free floor space while keeping equipment accessible.
- Use labeled bins and clear containers for small accessories, cables, and mats.
- Integrate a compact cabinet with a dedicated spot for cleaning supplies and maintenance tools.
Smart storage aligns function with discipline, ensuring consistent, efficient workouts.
Lighting, Ventilation, and Safety Essentials
A well-lit, ventilated space isn’t a luxury in a home gym—it’s a safety essential that keeps you focused and injury-free. Start with ambient lighting that eliminates shadows on mats and racks, distributing even brightness across every zone. Combine overhead fixtures with task lighting above free weights, mirrors, and the cardio area to reduce glare and eye strain.
For air circulation, install a dedicated exhaust and intake system or a quality fan setup to move air continuously, preventing stagnation and odors. Maintain appropriate humidity and temperature with a simple controller.
Safety comes first: place outlets, cords, and equipment to minimize trip hazards, and install secure storage for small parts. Regularly test detectors, review escape routes, and document maintenance checks for ongoing readiness.
Personalize, Access, and Maintain Your Garage Gym
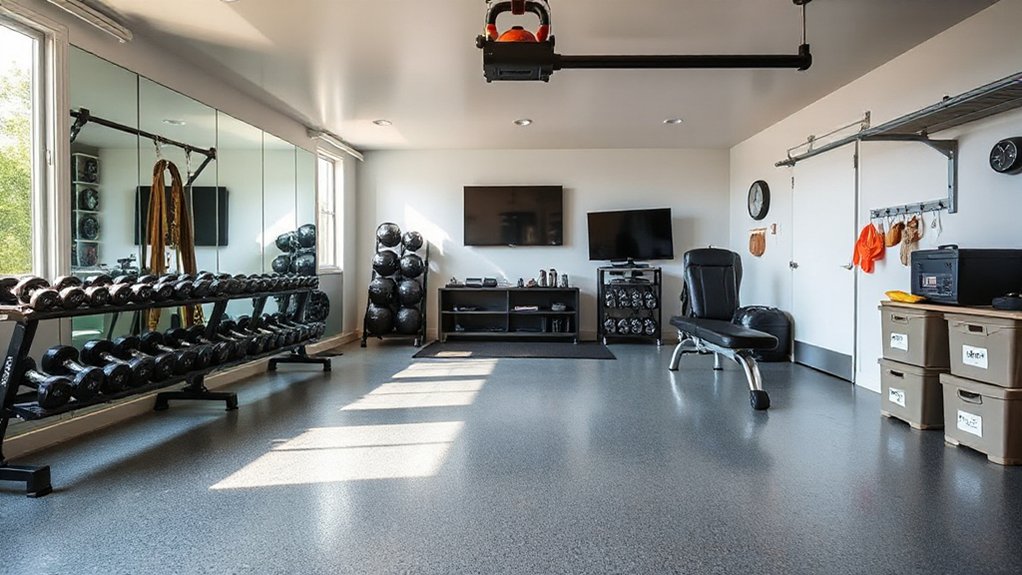
Your garage gym becomes truly yours when you tailor it to your goals, layout, and routine. Personalize it by selecting equipment that fits your workouts, labeling zones, and syncing storage with accessibility.
Build a workflow that minimizes friction: place the most-used gear near the door, keep mats ready, and map routes for warmups. Access should be simple, secure, and flexible, with smart lighting, a reliable power setup, and a clear backup plan for weather or power outages.
Maintain momentum by routine checks, cleaning, and updates to support progress. Garage decor sets the mood and supports workout motivation through color, signage, and organization.
- Define zones and flow
- Install quick-access storage and labeling
- Schedule monthly maintenance and refreshes
Frequently Asked Questions
How Much Noise Will Gym Equipment Make in a Garage?
The noise you’ll hear depends on the equipment and room treatment, but you can keep it reasonable. Start with soundproofing measures like dense mats and acoustic panels to dial down vibrations.
Choose equipment with lower impact and record noise levels before and after setup. You’ll notice a team-like focus on reducing reverberation, and you’ll quantify results to guide decisions.
With precise planning, equipment noise levels become predictable, controlled, and compatible with nearby spaces.
Can I Install a Bathroom or Kitchenette in a Garage Gym?
“Where there’s a will, there’s a way.” Yes, you can install a bathroom or kitchenette in a garage gym. Plan first for plumbing, drainage, and moisture control.
Then layout bathroom installation and kitchenette setup with ventilation and code compliance in mind. You’ll need permits and a dedicated GFCI circuit.
Consider space efficiency, waterproof finishes, and noise isolation. Make certain access, odor control, and safe power supply as you integrate these facilities into your workout zone.
What Permits or Codes Apply to a Garage Gym Build?
You’ll need permits and codes vary by location, so start by checking your city or county building department. Expect inspections for electrical wiring, structural changes, and fire safety.
Make certain garage insulation is up to code for climate control, energy efficiency, and comfort. You may also need GFCI outlets and proper ventilation.
Plan ahead for accessibility and egress. Secure documentation, schedule inspections, and align your electrical and insulation work with applicable codes to avoid rework.
How Do I Prevent Humidity Damage in a Garage Gym?
Cold as a dare, you keep humidity in check by prioritizing ventilation strategies and mold prevention. You’ll install a continuous exhaust fan, a balanced intake, and a dehumidifier sized for the space, plus ceiling vents for air flow.
Seal leaks, insulate well, and run a timer to cycle air after workouts. Monitor humidity with a gauge, dry damp corners, and plan exits for moisture.
You stay precise, visionary, and methodical, building a resilient gym.
Is Insurance Coverage Affected by a Garage Turned Gym?
Yes, insurance coverage can change when you turn a garage into a gym. You’ll face insurance implications and liability considerations as your use shifts from storage to a high-risk, equipment-heavy space.
Notify your insurer, update endorsements, and adjust limits to reflect added equipment, renovations, and potential injuries. Keep receipts and photos for proof.
You may need additional liability coverage or a separate rider. Review waivers, safety protocols, and maintenance plans to minimize risk.
Conclusion
Turn your garage into a purpose-built gym with clear zones, durable flooring, and smart storage. You’ve planned space, insulation, and ventilation, so comfort meets performance. Position cardio, strength, and storage for flow, not clutter, and pick flexible, compact equipment that grows with you. Install proper lighting and safety basics, then tailor the vibe with color and music. Keep it clean and maintainable—remember, a place for everything and everything in its place. The adage: plan ahead, perform with ease.