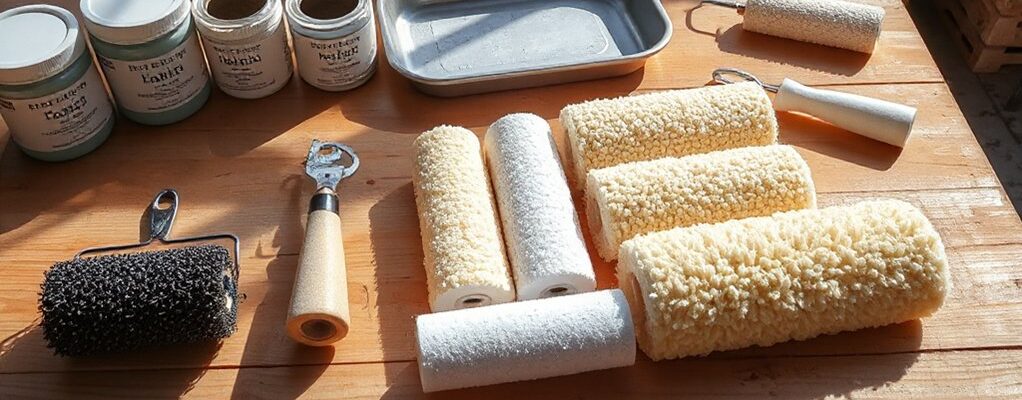
When you compare rollers, match the surface texture, paint type, and finish goal to the roller’s nap, core, and handle. Foam rollers work fast on smooth, solid colors but aren’t great for rough textures, while microfiber delivers smooth coats on drywall and ceilings. For rough surfaces, choose thicker naps or specialty rollers; edgers and corner rollers handle tight spots. Consider frame quality and comfort to reduce fatigue. If you want efficiency and savings, you’ll want more details below.
Key Takeaways
- Foam rollers are best for small, smooth surfaces and quick coats; avoid heavy applications.
- Microfiber rollers provide smooth, even coats on drywall and ceilings for large, semi-smooth areas.
- Nap length determines texture compatibility: fine-nap for smooth walls; thicker naps for rough textures or stippling.
- Edger and corner rollers save time on tight spots; slat rollers follow grooves for consistent coverage.
- Core/build quality, durability, and maintenance influence longevity and paint consistency.
How to Pick the Right Roller Type for Your Project
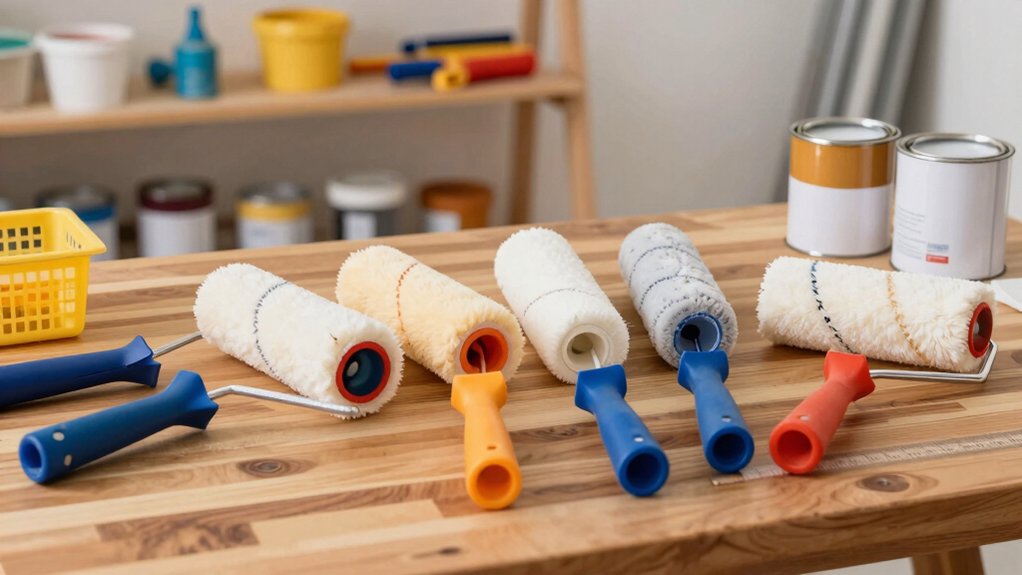
Choosing the right roller type starts with your project needs. You identify the surface, the finish you crave, and your speed.
For smooth walls, pick a fine-nap roller; for rough textures, go with a thicker nap that delivers fuller coverage. Consider paint patterns you want to achieve—will you skim, roll, or stipple to texture the surface?
A reliable roller grips more evenly, reduces drips, and speeds results, so you stay in control. If you’re tackling cabinetry or trim, smaller sleeves give precision without sacrificing power.
Don’t overlook roller storage; store clean rollers upright in a dry, ventilated space to preserve performance and prevent odors.
Your choice should balance efficiency, control, and durability, delivering a professional finish that commands attention.
Five Criteria That Should Drive Your Roller Choice
Here are five criteria that should drive your roller choice, so you can pick with confidence and avoid costly mistakes.
First, consider the surface and paint techniques you’ll use; a rough roller grabs texture, while a smooth roller delivers flawless finishes.
Second, durability matters: choose materials built to withstand solvents and repeated use without shedding.
Third, coverage efficiency counts, so evaluate nap length and roller diameter for your project scale.
Fourth, control and ergonomics matter for long sessions, ensuring you minimize fatigue and maximize consistency.
Fifth, storage practicality affects results—look at roller storage options that keep tips clean and ready.
Align these factors with your goals, and you’ll protect results, speed up work, and master every job.
Foam Rollers: Best Uses and Limits
Foam rollers offer smooth, uniform finishes for small surfaces, but they’re not a one-size-fits-all tool. You’ll harness their speed and control on tight areas, but know their limits before you commit to a project.
- They excel with flat, solid colors and bold paint patterns on trim, doors, and panels.
- They’re best for quick coats and minimal texture; avoid heavy coats that cause streaking or bulging.
- Clean immediately after use to protect roller storage and reuse.
- Pair with a quality water- or solvent-based paint to maximize flow and minimize fuzzing.
Use them for precise edges, crisp lines, and fast coverage, then store responsibly. When you respect their scope, foam rollers save time and deliver powerfully consistent results.
Microfiber Rollers: When They Shine and When They Don’t
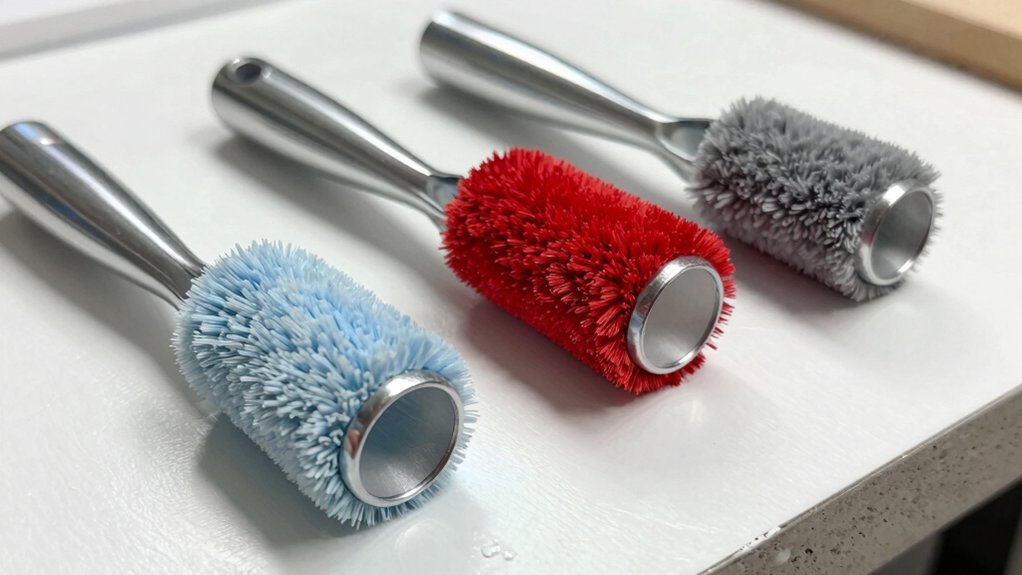
Microfiber rollers can deliver smooth, even coats on flat surfaces, but they don’t perform equally well in every scenario. You’ll shine when you’re painting drywall, ceilings, and large areas with minimal texture. The microfiber naps hold more paint and reduce lap marks, boosting paint sheen with a professional look.
They excel with water- or latex-based paints, drying quickly and resisting streaks. However, avoid tight corners, trim work, or glossy surfaces where tough edge control matters—nap loft and roller dimensions can blur lines or miss tight seams.
For doors and cabinets, test a small area first to ensure consistency. Choose the right size to maximize coverage, and pair your microfiber roller with the proper primer for a flawless finish.
Wool vs Synthetic Nap: Which Nap Length Do You Need?
Which nap length should you choose: wool or synthetic, and why does it matter for your project? Your choice defines coverage, finish, and speed. Wool nap grips smooth surfaces for a tighter, crisper edge, while synthetic nap sweeps texture into rougher surfaces with less effort.
For high-contrast, durable results, pick wool when your project demands precision and a premium roller texture; go synthetic when you need speed and easier cleanup. Nap length drives consistency, so select based on surface and paint.
1) Wool excels on glossy or tight surfaces for a flawless edge.
2) Synthetic delivers faster work on rough or porous substrates.
3) Short nap minimizes paint buildup and improves control.
4) Medium-long blends balance durability and versatility.
Short, Medium, or Long Nap: Matching Texture and Surface
Choosing the right nap length is about matching texture to surface for consistent coverage and a clean finish. Short nap delivers precise control on smooth surfaces and minimizes texture telegraphing, ideal for cabinets or trim where surface integrity matters.
Medium nap blends texture and efficiency, offering solid surface compatibility for walls in common spaces, balancing glide and even pigment distribution.
Long nap injects maximum texture, perfect for rough surfaces like popcorn, stucco, or textured drywall where you want deep coverage and bold finish.
Consider the surface history, porosity, and desired final look when choosing: texture matching is essential for durability and appearance.
Always test a small patch first, adjust accordingly, and prioritize a roller with steady, even ink transfer to maintain professional, repeatable results.
Rollers for Smooth Surfaces: Cabinets, Walls, and Metal
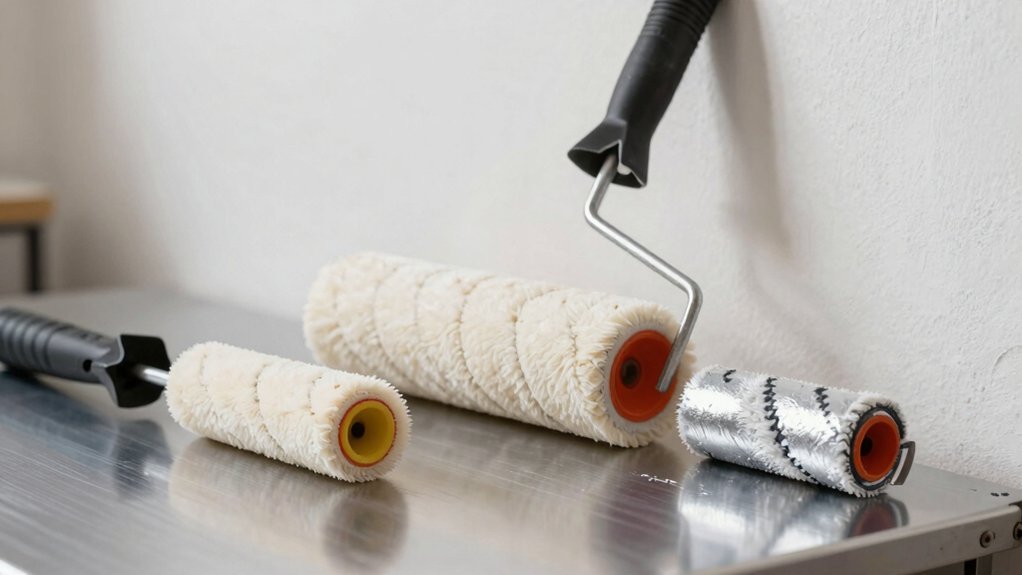
Rollers for smooth surfaces—focusing on cabinets, walls, and metal—deliver clean coverage with minimal texture. You demand precision, and these rollers provide a flawless finish with low spray and even pigment deposition.
For cabinet doors, they minimize fuzz and color grab, boosting roller sheen across hard surfaces.
On walls, they reduce stipple while preserving color depth, so your space reads polished.
Metal surfaces get uniform coats, resisting orange peel and drips.
Use them with a steady, moderate roll to maximize paint texture control and sheen consistency.
- Choose a synthetic or blend that matches your solvent or water-based system
- Maintain a clean, pressed nap for consistent finish
- Apply light, even pressure to prevent ridges
- Allow proper cure before handling or recoat
Rollers for Flat Walls vs Ceilings: Handling and Finish Tips
Flat walls demand a steady hand and the right nap length, while ceilings crave a lighter touch and less texture. You’ll maximize results by selecting a roller that matches both wall texture and your pressure.
For flat walls, opt for a medium nap that handles semi-smooth to lightly textured surfaces with even paint pickup, reducing lap marks.
Ceilings benefit from a short nap and a quality handle that dampens wrist fatigue, giving you smooth, uniform coverage without drips.
Pay attention to roller compatibility with your paint type and finish; switch rollers when moving between surfaces to avoid texture carryover.
Maintain a steady, overlapping pattern, keep a relaxed grip, and rotate wrists to prevent stippling.
With the right tools, you’ll achieve flawless lines and a professional finish.
Textured Surfaces: Best Rollers for Knockdown, Orange Peel, and Stucco
For textured surfaces like knockdown, orange peel, and stucco, the right roller makes the difference between a truly even finish and obvious texture carryover. You want control, speed, and consistency, so choose rollers that match wall textures and deliver uniform coverage without overworking.
- Pick rollers with short naps for knockdown and orange peel to minimize texture elongation.
- Use longer-nap sleeves for heavy stucco to embed and distribute without patchiness.
- Opt for a core that resists shedding to protect texture integrity.
- Pair with compatible paint and technique to avoid excess buildup.
With textured surfaces, your goal is a smooth, deliberate transfer that respects wall textures. Stay deliberate, pressure-balanced, and steady to win a flawless, durable finish.
Specialty Rollers: Slat, Corner, and Edger Tools Explained
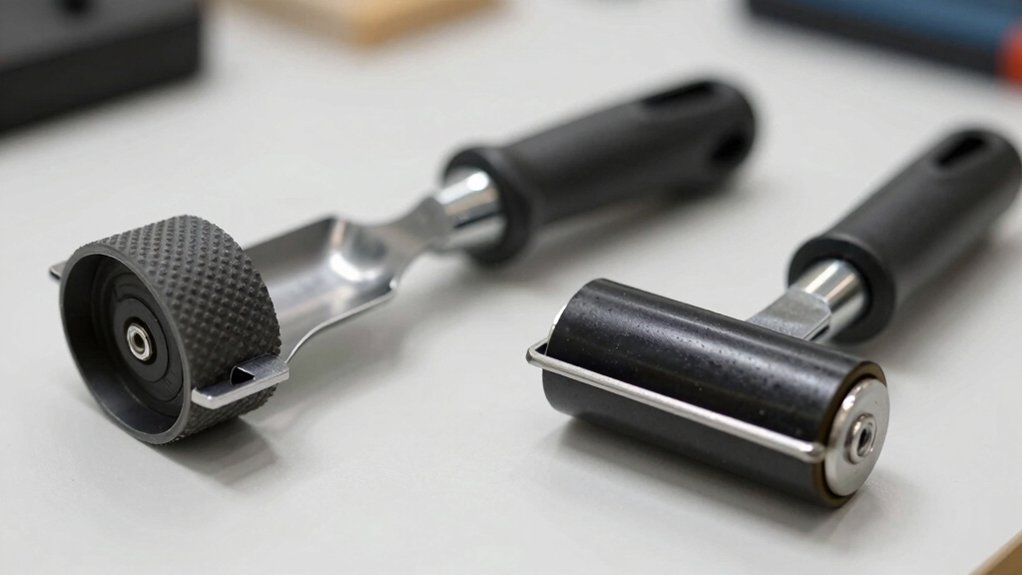
Specialty rollers save time on tight, tricky spots. You’ll learn how slat, corner, and edger tools slice through edges and tight curves with minimal fuss.
Slat rollers loosen up large, irregular panels by flexing to follow grooves, giving you consistent paint application without rework.
Corner rollers pair multiple naps to reach acute angles, delivering even coverage where standard rollers struggle.
Edger tools sharpen your boundary lines along ceilings, baseboards, and trim, producing crisp, professional results fast.
Keep roller maintenance simple: clean after use, store dry, and check nap integrity to avoid pull and snag.
When you choose specialty rollers, you gain precision, speed, and less fatigue—empowering your project with decisive, high-quality finishes.
Edges and Trim: Tools for Crisp, Clean Lines
Edges and trim demand precision, so you’ll want the right tools to deliver crisp, clean lines along ceilings, baseboards, and moldings. When you focus on edge finishing and trim painting, control is king, and the result feels powerful.
1) Use angled edge rollers for tight corners and sharp delineations.
2) Choose mini rollers for trim so paint lays evenly without overflow.
3) Pair a high-quality tray with a steady hand to avoid drips.
4) Prep surfaces thoroughly; sharp lines start with clean, dry, dust-free edges.
These tools boost accuracy, minimize touch-ups, and produce professional results you can boast. With the right setup, your edges stay tight, your trim pops, and your project earns a masterful finish, not a rushed blur.
Core Material and Build Quality: Durability You Can Feel
You’ll feel the difference in material strength and density the moment you pick it up. Strong build integrity and precise fit guarantee dependable performance under pressure.
With longevity and wear resistance in mind, durability becomes a tangible factor you can trust, not just promises.
Material Strength and Density
What core material and build quality define the roller’s durability, and why should you care? Your choice sets density, resilience, and performance under load. When you demand power, you want material strength you can trust, not guesswork.
A robust core resists warping, maintains balance, and delivers consistent paint deposition with fewer passes. Density directly affects control and fatigue; the right density gives you precision without surrendering form or feel.
Choose wisely, and you’ll experience smoother operation and longer tool life.
- Density comparison: pick the higher-density core for smoother, steadier results.
- Material strength: opt for tough formulations that resist cracking and deformation.
- Core integration: ensure seamless bonding between core and cover for lasting performance.
- Finish consistency: your roller should deliver uniform coats, not jitter or skip.
Build Integrity and Fit
Core material and build quality are the backbone of durability you can feel. When you choose a roller, you’re selecting how long it lasts under pressure. Look for solid core materials, seamless joints, and balanced weight that stay rigid under load. A well-made core resists bending, preventing streaks and uneven coverage.
Fit matters too: handle ferrules should be snug, and sleeves must rotate smoothly without wobble. You’ll notice cleaner lines and fewer fiber shed if the construction is tight. Paint consistency matters as well; a precise nap and uniform covering deliver steady results, reducing touch-ups.
Drying time becomes a practical metric of efficiency—faster, predictable dries mean fewer interruptions and sharper edges. In short, you feel power in every dependable pass.
Longevity and Wear Resistance
Longevity and wear resistance hinge on the same backbone: durable core materials and solid construction that keep performing edge to edge. You want durability you can feel, not hype you’ll outgrow.
When you pick a roller, inspect core material, bonding, and finish to guarantee paint durability and wear resistance hold up under heavy use.
1) Choose high-grade cores (foam, phenolic, or composite) with tight bonding to prevent delamination.
2) Look for low-friction sleeves and reinforced ends to resist peeling and abrasion.
3) Favor seamless or well-welded constructions that minimize paint buildup and edge chatter.
4) Verify tool compatibility with your coatings to sustain paint durability and resist wear across projects.
Frame, Handle, and Grip: Comfort Meets Control
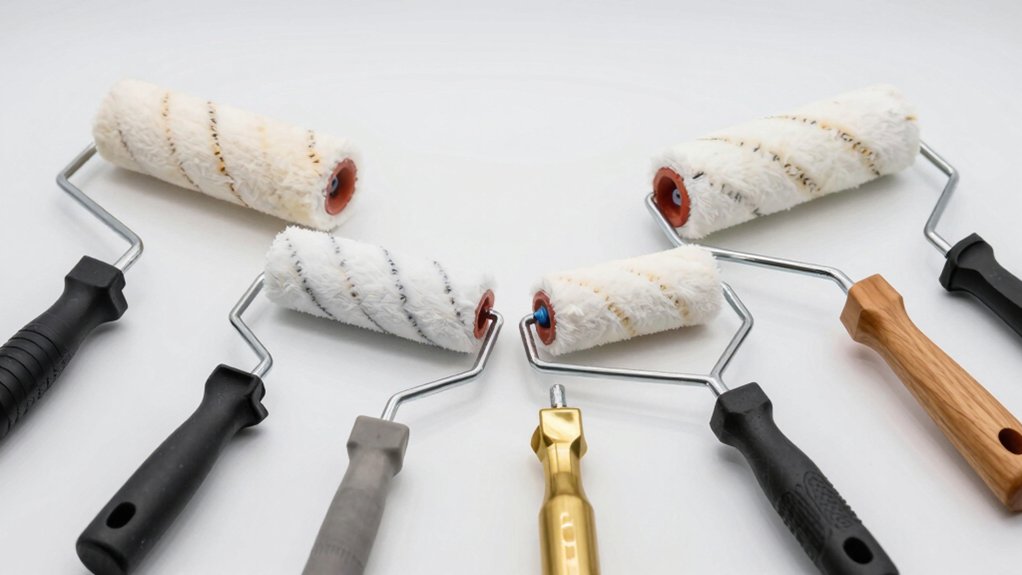
You’ll notice how an ergonomic handle reduces fatigue and keeps your grip secure even during long sessions.
A balanced grip feel helps you steer smoothly, avoiding slips and uneven pressure.
Consider frame stability tips to lock in control and maintain precise, comfortable rolling every time.
Ergonomic Handle Design
A well-designed ergonomic handle combines a sturdy frame with a comfortable grip to reduce fatigue and boost control during extended use. You’ll feel the difference when the weight sits balanced, and your wrist stays aligned for long sessions.
Urban power users demand ergonomic comfort and handle durability, so choose designs that support both precision and stamina.
- Dynamic grip texture provides secure control without excessive squeeze.
- Contoured palm support reduces fatigue during continuous rolling.
- Lightweight yet rigid frame preserves balance under load.
- Quick-access trigger or hook improves efficiency and command.
Focus on materials and finish—soft-touch coatings, corrosion-resistant metals, and seamless *progression* between grip and shaft.
A proven ergonomic handle elevates performance, minimizes strain, and keeps you in total control from start to finish.
Balanced Grip Feel
Balanced grip feel is about harmonizing the frame, handle, and grip so every move feels effortless. When you pick up a roller with this balance, you command precision from the first stroke.
An ergonomic handle puts power in your palm without fatigue, letting you push, pull, and pivot with confidence. The frame should align with your wrist, reducing strain while you maintain steady pressure.
A well-designed grip texture adds tactile control, so your back-and-forth motion stays smooth and unwavering, even during long tasks. You’ll notice faster coverage and fewer slips, because the components work as one.
Choose tools that optimize balance, and your results will look deliberate, professional, and powerful.
Frame Stability Tips
Frame stability starts with how the frame, handle, and grip work together to keep your movements controlled. You’ll feel more power when the tool’s core is rigid, balanced, and responsive, so you command each pass with precision.
Prioritize structural reinforcement where stress concentrates, ensuring no wobble under load. Tighter joints and reinforced brackets translate into cleaner results and faster work.
1) Inspect joints monthly and tighten with purpose.
2) Choose handles with ergonomic contouring for steady control.
3) Use a grip with adequate texture to prevent slipping.
4) Balance frame weight to improve maneuverability and aesthetic enhancement.
Frame stability isn’t cosmetic; it’s performance. When you upgrade reinforcement and grip design, you gain control, speed, and professional-grade finish.
Cleaning, Reuse, and Maintenance: Extend Roller Life
To extend roller life, start with a simple cleaning routine that removes debris, dust, and adhesive residues after each use; this keeps moving parts smooth and prevents buildup that dulls performance. You’ll protect efficiency by quick-rinse and wipe, then store upright in a dry, cool spot.
Prioritize roller maintenance by inspecting the core, frame, and grip for wear, cracks, or loose components, and tighten or replace as needed. After cleaning, apply a light coat of lubricant to the moving joints, not the roller surface, to preserve rotation and reduce resistance.
Reuse matters: dry, clean rollers perform better across coats and projects. Practice disciplined roller cleaning and maintenance, and you’ll maximize life, consistency, and power on every job.
Quick Budget Guide: Cost-Effectiveness by Project Type
You’ll see how small, upfront material costs can add up differently by project type, so choosing the right roller matters. Compare material costs, time-saving options, and budget-friendly tips to maximize value without sacrificing results.
Let’s explore practical choices that keep projects on track and costs under control.
Budget-Friendly Project Tips
If you’re on a tight budget, start by prioritizing projects that deliver the biggest impact per dollar, since choosing efficient materials and smart methods saves both time and money in the long run. You’ll maximize value by choosing versatile tools and proven techniques that cut waste and speed results.
Focus on affordable upgrades that improve finish quality without overhauling rooms.
1) Prioritize paint jobs that cover well with fewer coats, using high-coverage options to reduce product waste.
2) Reuse and refresh existing fixtures where possible, instead of full replacements.
3) Invest in durable tools like a long-lasting paint roller, emphasizing paint roller durability for consistent results.
4) Organize gear with simple roller storage solutions to prevent loss and damage.
These moves keep costs down while delivering bold, professional results.
Material Cost Comparisons
Across budget projects, weighing material costs by type and project scope helps you maximize value without sacrificing finish. When you compare rollers, consider purchase price versus coverage per coat. Foam handles fast, but synthetic covers may outlast cheaper natural fibers, changing long-term cost.
For lighter doors and trim, a medium-density foam or microfiber blend delivers solid paint durability without overpaying. If you’re painting walls with high-gloss enamel, a durable nylon/polyester mix resists wear and delivers consistent finish, justifying the higher upfront.
For garage or exterior jobs, upgrade to a tougher roller sleeve to reduce replacement frequency, saving labor time. Finally, plan storage carefully—roller storage keeps naps clean and ready, preserving performance between projects and preventing waste.
Time-Saving Roller Choices
To save time without sacrificing finish, pick rollers that match your project type and application speed. You want fast coverage without sacrificing precision, so choose nap length, cover material, and core stiffness that align with your painting techniques and color matching goals. Efficient rollers reduce touch-ups and reclaimable time, maximizing project momentum and budget control.
- Choose medium-nap rollers for smooth walls to balance speed and finish quality.
- Opt for high-coverage covers when color matching requires uniform laydown under consistent lighting.
- Prefer sturdy, short cores for quick reloading and reduced downtime between coats.
- Match roller type to technique: synthetic for water-based, blended cores for solvent-based systems to preserve color fidelity.
Quick Decision Framework: Match Your Project to the Right Roller Setup
Choosing the right roller setup starts with a quick, practical check: what’s the surface, the coating, and the finish you want? You assess texture, sheen, and durability, then map those needs to a proven setup.
For smooth walls, go with a fine-nap roller and compatible tray system; for rough surfaces, choose a heavier nap and a sturdier frame. If you’re repainting, consider coverage goals and drying time to optimize speed.
Don’t ignore control—select ergonomic handles and compatible roller accessories to maintain precision. When projects escalate, leverage paint sprayers for large areas and use rollers for detail work to balance speed and finish.
This framework keeps you decisive, minimizes rework, and helps you demand results that look and perform powerfully.
Conclusion
In short, pick the roller that fits your project, not the brand. Quick wins come from matching nap type and frame to texture, paint, and surface, then pairing it with a comfortable grip and smart cleaning routine. This approach saves time, reduces waste, and cuts costs in the long run. Remember: a thoughtful setup today, plus a rinse-and-dry habit, keeps your tools ready for the next job—and makes you look like you’ve got it together. Metaphorically, your toolkit is a bridge to smoother results.