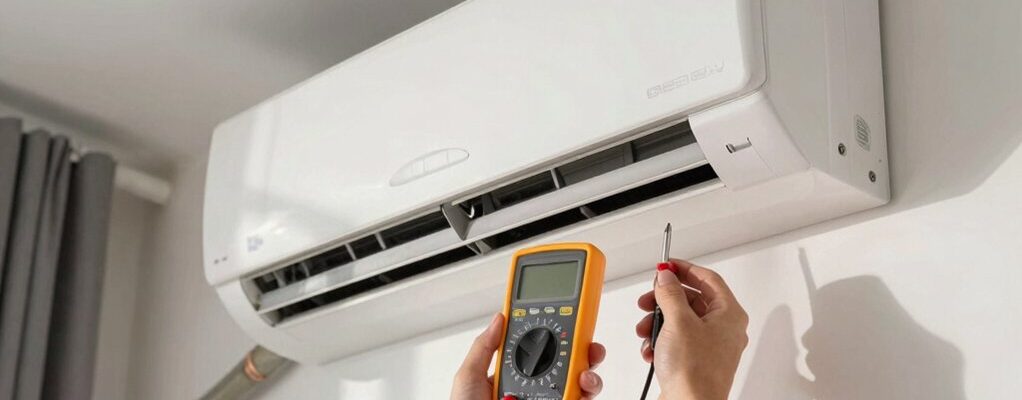
Last summer, a homeowner found their AC cycling on and off every few minutes after a filter clogged and airflow dropped. You’ll want a precise path to diagnose, from airflow and thermostat checks to electrical and refrigerant concerns, before you waste energy or wear the unit out. This guide lays out quick tests, safety steps, and what to inspect first to narrow down the cause and decide when professional help is needed.
Diagnosing Short Cycling: Signs and Quick Checks
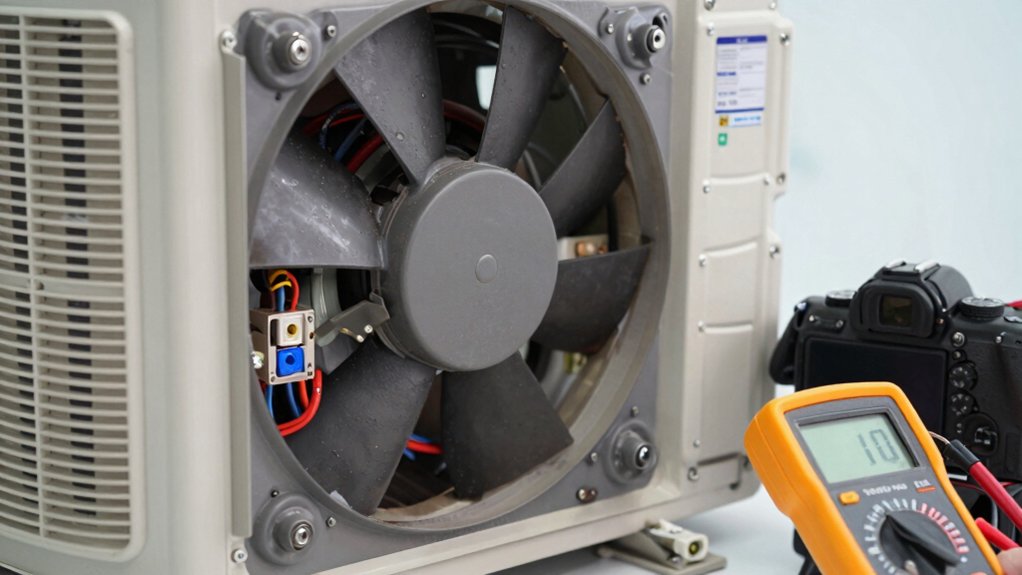
Short cycling happens when your AC turns on and off repeatedly before reaching the desired temperature, wasting energy and stressing the system. You’ll notice brief compressor starts, uneven cooling, and frequent thermostat pulls.
Begin with a quick check of air filters; a clog reduces airflow and triggers short cycles. Inspect outdoor unit clearance; debris or vegetation can overheat coils and trigger safety shutoffs. Verify thermostat placement and calibration; loose wiring or oversized settings cause premature cycling.
Listen for abnormal compressor noises or ice buildup on the evaporator coil, which indicate airflow or refrigerant issues. Measure voltage at the outdoor unit; low supply or unstable power prompts cycling.
Run a simple temperature delta test: compare supply air to setpoint, then note deviations. Document observations for technician reference and confirm corrected operation after service.
Understanding Why Your AC Short Cycles
Short cycling happens when your system starts up too often or runs briefly, hurting efficiency and comfort. We’ll cover causes, including cycling triggers, thermostat misreads, and air-flow or refrigerant issues.
Then, we’ll touch on how those faults shorten equipment life. Understanding these factors helps you pinpoint fixes without overworking the compressor or stressing the components.
Causes of Short Cycling
Several factors can trigger short cycling in an air conditioner, causing the system to start and stop frequently rather than run smoothly. Core causes include improper refrigerant charge, which causes pressure imbalance and rapid cycling as the compressor struggles.
Dirty or blocked outdoor coils reduce heat exchange, prompting the unit to shut down on overload and restart when temps recover. Inaccurate or faulty thermostat sensing can falsely indicate temperature changes, initiating unnecessary cycles.
Electrical issues, such as loose wiring or a failing capacitor, disrupt compressor timing and lead to intermittent operation. Oversized systems cool spaces quickly, then short-cycle to maintain setpoints, wasting efficiency.
Insufficient airflow from dirty filters or duct restrictions also triggers protective shutdowns. Address root causes with precise refrigerant service, cleaning, calibration, and component replacement as needed.
Common Thermostat Issues
Thermostat issues often trigger short cycling by misreading room temperature or delivering erratic signals to the HVAC system. You may experience early compressor shutdowns or unstable cycling due to incorrect sensor placement, dead batteries, or faulty wiring.
Check the thermostat’s location: drafts, sunlight, or heat sources can skew readings, causing premature turns on and off. Ensure the setpoint matches the actual room temp, and verify compatibility with your system’s heating and cooling stages.
Replace depleted batteries, calibrate if the unit supports it, and inspect wiring for loose connections or shorts.
Consider a modern, properly sized thermostat with accurate sensors and learning capabilities. If the device stores defaults or programs improperly, reset or reprogram to avoid repeated false readings.
Confirm it communicates correctly with the outdoor unit and indoor control board.
Impact on System Life
Short cycling isn’t just a nuisance; it accelerates wear on key components and reduces overall system life. Frequent on/off cycling stresses compressors, contactors, and relays, shortening their usable life and increasing heat exposure per cycle. Repeated start/stop cycles elevate motor current spikes, which raise electrical fatigue and risk of arcing.
Condenser and evaporator fans also endure abrupt duty swings, diminishing bearing life and efficiency. You’ll see lubricant breakdown in the compressor due to irregular lubrication cycles, leading to higher wear and potential seizure. Thermostat misreads or improper cycling settings cause short bursts that prevent proper lubrication and cool-down.
Long-term, this erodes refrigerant seals and reduces heat transfer efficiency, forcing the system to work harder. Correcting cycle timing preserves component integrity, reduces maintenance costs, and extends overall life.
Safety Preparations Before DIY Troubleshooting
You should wear appropriate PPE and gear before any troubleshooting to protect yourself from sharp edges, electrical shocks, and refrigerant exposure.
Next, power shutoff steps must be verified and locked out to prevent unexpected startups during work.
Finally, review emergency procedures so you know how to respond quickly if a hazardous situation arises.
PPE and Gear
Before you start troubleshooting, assemble essential PPE and gear to protect yourself from electrical and refrigerant hazards. You’ll need safe footwear with slip resistance, chemical-resistant gloves, and safety glasses or goggles. Use a face shield if you anticipate splashes or refrigerant release.
Wear a long-sleeve, flame-resistant shirt and durable, nonconductive pants to reduce exposure risk. Protect your ears with hearing protection in noisy environments. Have a dedicated work apron or coveralls to keep contaminants off your clothes.
Use insulated, nonconductive tools and a voltmeter rated for electrical work. Always keep a first-aid kit and fire extinguisher nearby.
Set aside a non-slip mat for footing stability and a rigid, chemical-resistant container for refrigerant handling residues. Store gear in a labeled, accessible area for quick access.
Power Shutoff Steps
Power shutoff is the first safety step before DIY troubleshooting. Before you touch the unit, locate the main electrical disconnect or service panel. Switch the AC power OFF, then confirm with a tester that no voltage remains at accessible conductors.
If you work near a disconnect box, open it and verify the handle is in the OFF position; recheck the lugs and wiring for signs of damage. Wear insulated gloves and avoid contact with grounded metal surfaces. Lockout or tagout the panel if others service the area.
Remove any jewelry and keep dry hands. If you must work inside the condenser or air handler, ensure the compressor is isolated from power and the low-voltage control circuit is de-energized. Proceed only after verification.
Emergency Procedures
Emergency procedures before DIY troubleshooting require you to verify safety and establish a clear plan. Before touching any components, ensure power is shut off at the main disconnect and check the unit’s external switch. Wear protective gear, confirm ventilation, and keep a dry, clear workspace to reduce shock risk.
Identify emergency contacts and have a fire extinguisher rated for electrical fires within reach. Note model specifics, refrigerant notes, and access panels you’ll open, avoiding unnecessary exposure.
If you detect burning smells, exposed wiring, or buzzing noises, stop immediately, unplug, and consult a qualified technician. Maintain a written checklist to confirm each step’s completion.
Document fault codes, capacitor labels, and temperature readings for accurate diagnostics. Return to troubleshooting only after ensuring all safety criteria are met.
Thermostat Troubles and Calibration Tips
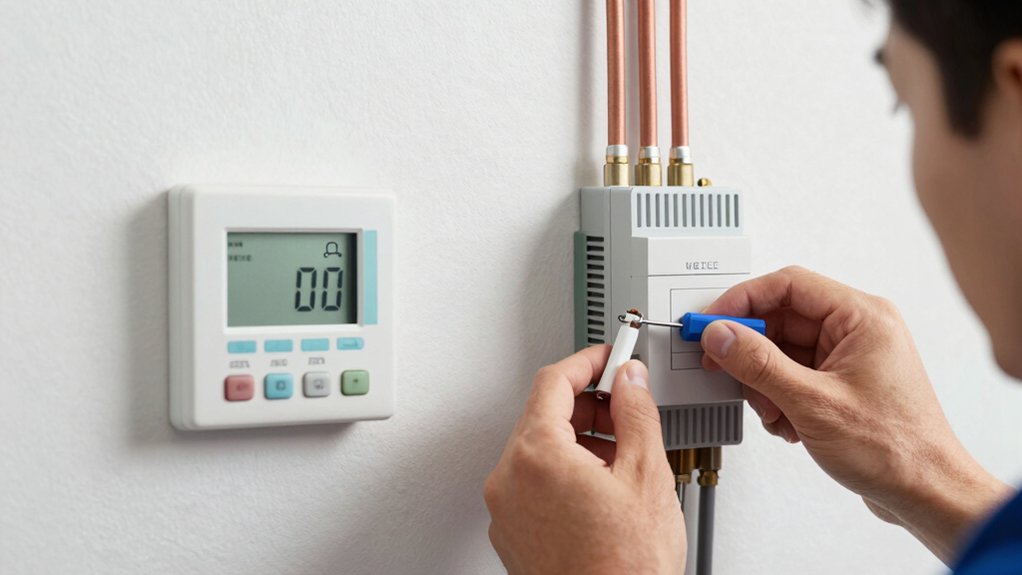
If your AC is short cycling, start with the thermostat, since an inaccurate or poorly calibrated reading can trigger frequent on/off cycles.
Check placement: avoid direct sun, drafts, or heat sources, and guarantee it remains at room temperature.
Verify the thermostat type and mode; set to cooling, not auto, and confirm the setpoint matches the room temperature.
Calibrate if possible: use a known thermometer to compare readings and adjust offset if supported.
Replace batteries if indicated, and inspect wiring for looseness or corrosion.
Update software or firmware if you have a smart thermostat, and perform a manual temperature sweep to verify response times.
If discrepancies persist, replace the thermostat or consult the manufacturer’s troubleshooting guide to prevent misreadings causing short cycles.
Air Filter and Airflow Troubleshooting
Air filter and airflow issues often trigger short cycling by restricting airflow and forcing the system to work harder. You should inspect, clean, or replace the filter regularly, matching the MERV rating to your system’s design. A clogged filter lowers supply pressure, reduces cooling capacity, and can cause rapid on/off cycling.
Check return air pathways for obstructions and ensure ducts are clear of debris, kinks, or collapsed sections. Inspect blower wheel clearance and verify it spins freely without rubbing. Measure static pressure to confirm proper airflow across the coil; excessive pressure indicates bottlenecks or undersized ducts.
During operation, listen for abnormal fan noise or uneven cooling zones, which signal airflow imbalances. After fixes, re-test cycle times and temperature delta to ensure stable, efficient performance.
Refrigerant and Compressor Issues to Watch For
Refrigerant and compressor issues can trigger short cycling when the system loses charge or the compressor struggles to maintain pressure. You should verify refrigerant levels only if you’re trained and equipped, since improper charging can worsen performance or cause freeze-thaw cycles.
Signs include frequent starts, longer runtime to achieve setpoint, and iced coils on the indoor unit. If you suspect a leak, halt operation and isolate the system to prevent further loss, then call a licensed technician for leak testing and proper recharging with the correct refrigerant type and quantity.
Compressor problems manifest as overheating, excessively high or low head pressure, or abnormal cycling noise. Internal valve or bearing wear can also cause short cycles; these require professional inspection and, if needed, component replacement.
Don’t bypass safety controls during diagnosis.
Electrical and Relay Inspections
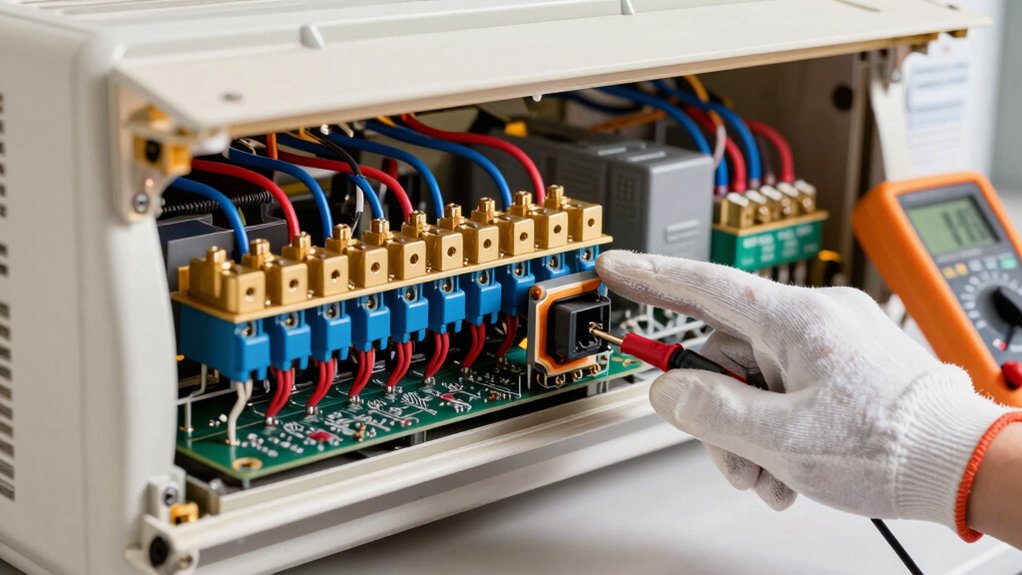
Begin with a visual and electrical inspection to confirm wiring, contactors, and relays are intact and seated properly; loose connections or burnt terminals are common sources of short cycling.
Inspect the contactor coil resistance and verify the contact gap is within spec. Look for pitting, burning, or corrosion on terminals and terminals’ screws; tighten or replace as needed.
Check the control board outputs and relay isolation to ensure clean switching without arcing.
Use a multimeter to verify voltage at the contactor coil matches the thermostat signal during demand; look for voltage drop that indicates a poor connection.
Inspect wiring insulation for wear, cracks, or insulation damage near coil energization.
Re-seat connectors securely and document any component replacements for reliability.
Maintenance Steps to Prevent Future Short Cycles
To prevent future short cycles, establish a routine maintenance plan that addresses common electrical wear, sensor accuracy, and airflow factors. Begin with a monthly check of disconnects, fuses, and contactors for signs of pitting, chattering, or overheating. Tighten connections to manufacturer torque specs to prevent resistance that triggers instability.
Verify thermostat sensors are calibrated and located away from heat sources or drafts, replacing if drift exceeds ±1°F. Clean or replace air filters at least every 30 days during active seasons to sustain proper airflow and coil temperature.
Inspect condensate drain for blockages, ensuring humidity control remains effective. Monitor refrigerant line insulation and enclosure seals to prevent heat gain.
Document maintenance activities, and schedule proactive service before peak demand periods to sustain reliable cycling prevention.
When to Call a Pro and What to Expect
If short cycling persists despite routine maintenance, it’s time to call a pro. A technician evaluates electrical connections, thermostat calibration, and refrigerant charge with calibrated tools, not guesses. They’ll inspect capacitor health, contactors, and relay boards for signs of wear or corrosion, replacing faulty parts as needed.
Expect a diagnostic, not a vague estimate: they’ll identify root causes—low refrigerant, refrigerant leaks, improper airflow, or oversized equipment—and outline precise corrective steps. You’ll receive a written repair plan, including part costs, labor, and expected timelines.
Scheduling typically requires access to outdoor unit and indoor air handler. After repairs, a professional retests system pressures, verifies superheat and subcooling, and confirms stable cycling.
If the issue recurs, request a detailed warranty review and a performance guarantee before finalizing work.