
You weigh size, scope, and finish. You weigh access, insulation, and layout. You weigh electricals, plumbing, and ventilation. You weigh permissions, costs, and contingencies. You’ll face seasonal price shifts and material-labour swings. You’ll need a solid plan to avoid surprises and stay compliant. But the real question is: how far will your budget stretch before the project begins to bite back? Keep going to map the path from shell to usable space.
What to Know Before Starting a UK Garage Conversion
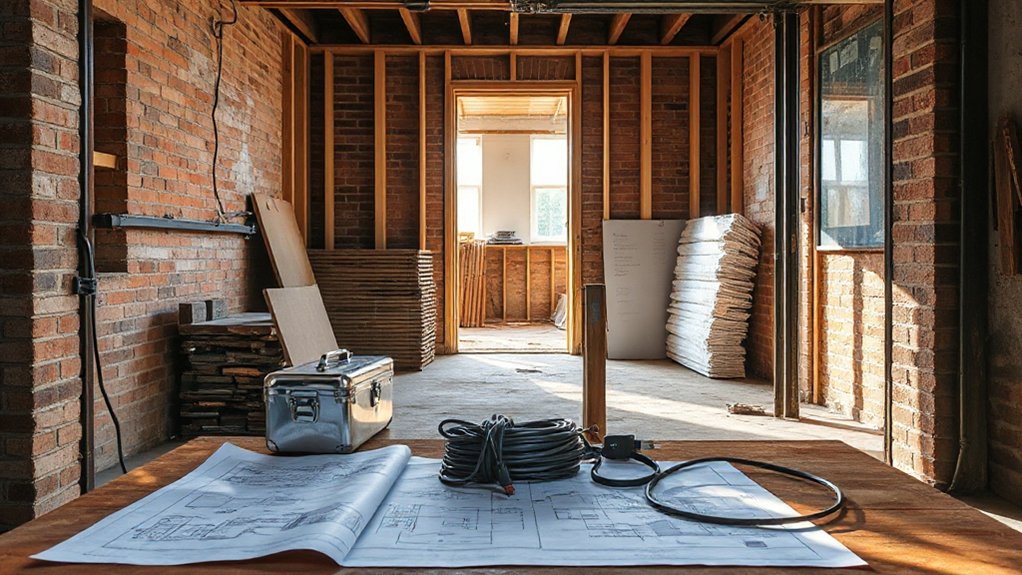
Before you start a UK garage conversion, know that planning, budget, and practical constraints will shape the project from day one. You’ll need to assess how your space meets current building codes and what historical regulations might limit changes to external appearance or internal layout.
Start by clarifying your objectives, then map constraints like insulation, ventilation, and access. Consider garage aesthetics early to prevent later clashes with style or retained features.
Evaluate structural condition, drainage, and electrical capacity; reorganizing utilities can drive costs and timelines. Obtain permission where required, and document any deviations from standard practice.
Keep stakeholders informed, especially if you share ownership or live in a listed property. Clear criteria help you avoid redesigns and keep the project focused.
How Big a Project Your Budget Should Cover
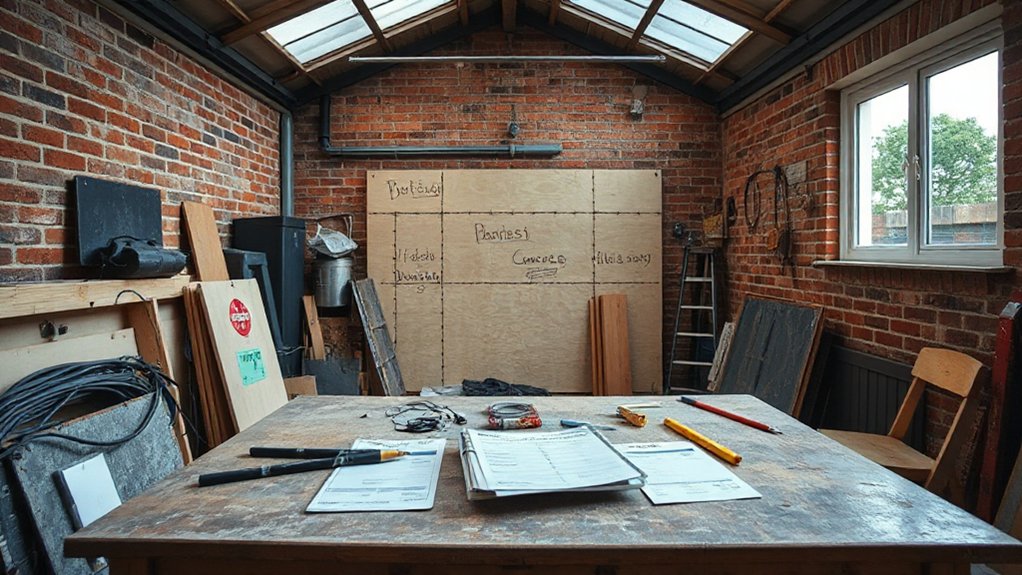
Determining how big a garage conversion project you can afford starts with a clear budget framework tied to your goals from the previous topic. You should map your target outcomes to realistic costs, distinguishing essentials from nice-to-haves.
Start with hard estimates for permits, foundations, electrical, plumbing, and finishes, then add a contingency of 10–20% for unknowns.
Align each cost with your preferred Garage layout to ensure the space serves daily use and resale value.
Consider storage solutions that minimize long-term expenses, like modular cabinets or built-ins, which can reduce clutter and save future modification costs.
Prioritize energy efficiency upgrades only if they fit the budget, preventing scope creep.
Finally, lock in a phased plan that allows you to test demand and adjust before committing to extensive structural work.
Shell Basics: Insulation, Walls, and Ceilings
You’ll want to weigh insulation materials costs, wall construction options, and ceiling insulation methods to set a solid shell budget.
Each choice affects heat retention, final costs, and build speed, so compare R-values, materials durability, and install complexity upfront.
This section kicks off a precise look at how shell decisions shape overall conversion cost and comfort.
Insulation Materials Costs
Insulation materials drive a large portion of shell costs, so choosing the right type hinges on climate, thickness, and the walls you’re sealing. You’ll balance upfront price against ongoing comfort and energy use, since performance matters more than the sticker cost.
Mineral wool and PIR board deliver high thermal resistance with compact profiles, while traditional fiberglass offers lower expense but lower moisture tolerance.
Evaluate long-term durability, installation ease, and airtightness potential to avoid gaps that spike heat loss.
Eco-friendly materials, such as recycled cellulose or responsibly sourced mineral wool, align with sustainable goals and can offset lifecycle costs if chosen thoughtfully.
Remember, thickness, vapor control, and local building rules shape material compatibility and overall project feasibility.
Prioritize proven performance over novelty for a stable shell.
Wall Construction Options
When choosing wall construction for a garage conversion, you’ll balance structural rigidity, thermal performance, and moisture control to create a durable shell. You’ll evaluate wall types by framing method, stud spacing, and sheathing, then align with local building regs and moisture barriers.
For insulation, select a continuous, well-sealed cavity fill to reduce thermal bridging, aiming for the target U-value without over-complicating install.
Drywall installation should prioritize flat, smooth finishes, with fire-rated options where required and careful detailing around penetrations.
Consider air tightness strategies, such as tape and seal joints, to minimize heat loss.
Ensure electrical and plumbing routes are planned before enclosing walls.
Finally, document warranties and compatibility with future upgrades to sustain long-term performance.
Ceiling Insulation Methods
Ceiling insulation in a garage conversion should minimize thermal bridging while maintaining structural clearance and moisture control. You should choose insulation materials that suit your ceiling type, access, and ventilation, aiming for a continuous barrier with minimal gaps.
Consider rigid foam boards for joist cavities, or mineral wool quilts if you need acoustic damping and fire resistance. For suspended ceilings, install high-density panels above the tiles to reduce heat loss without lowering headroom.
Reflective foil-faced boards can improve thermal performance in low-ceiling garages, but guarantee any radiant barrier is properly sealed. Check vapour control requirements to prevent condensation; use a breathable membrane where moisture risk is high.
Don’t compromise structural services or fixings when planning installation and finishes.
The Big-Ticket Trades: Electrics, Plumbing, and Ventilation
Upgrading a garage in the UK hinges on three major trades: electrics, plumbing, and ventilation. You’ll evaluate each system for safety, efficiency, and future use, then balance upfront costs against long-term reliability.
Start with electrics: plan circuits for heating, lighting, outlets, and data, and guarantee compliance with current regs. Opt for robust load calculations and energy-efficient fixtures to reduce running costs.
For plumbing, assess supply and waste routes, water pressure, and potential frost risk; consider a compact bathroom or utility sink if space allows.
Ventilation matters to prevent damp and mold; choose a balanced system with heat recovery where feasible.
Prioritize integration with storage solutions and consider how garage aesthetics will remain coherent with your planned use and workflow.
Permits and Rules That Affect Costs
Permits and rules drive both safety and cost, so you’ll want a clear map before you invest in a garage conversion. You’ll encounter permit requirements that confirm the project meets structural, electrical, and insulation standards, preventing compliance gaps that can stall work and inflate prices.
Local regulations determine boundary setbacks, fire safety, and minimum room dimensions, influencing build methods and material choices. Factor planning consent, building regulations, and potential party-wall implications into your timeline and budget, since delays carry carrying costs and interest.
Audits and inspections add discrete fees but reduce the risk of later remedial work. Engage early with your local authority or a qualified designer to identify required permissions, durations, and submission documents, ensuring your plan aligns with expectations and avoids costly revisions.
Hidden Costs and Price Swings to Plan For
Hidden costs can surprise your budget, from hidden fees in permits to unexpected supplier charges.
You should expect budget swings tied to material price volatility, labor rates, and timing gaps between planning and build start.
Hidden Fees Areas
Hidden fees and price swings can quietly derail your budget once a garage conversion project gets underway. You’ll encounter hidden fees that aren’t obvious at first glance, from permit add-ons to inspection surcharges, and you may see unexpected charges surface mid-renovation as site conditions change.
Budget for contingency, but stay disciplined: ask for itemized quotes, request ranges, and document any scope modifications in writing. Labour variations, disposal costs, and utility retracing can spike expenses if not forecasted.
Track timing impacts, as delayed delivery or seasonal price shifts influence cash flow. Use fixed-price agreements where feasible, and confirm inclusions and exclusions up front.
Budget Swing Factors
Budget swings can quietly disrupt your garage conversion budget, so it’s essential to anticipate hidden costs and price fluctuations as you plan. You’ll encounter unforeseen expenses from permit changes, utility reworks, and structural tweaks, so build a contingency into your estimate.
Materials can swing in price due to supplier demand, import costs, or Brexit-related delays, making early commitments risky. Compare quotes carefully and verify inclusions—don’t assume delivery, VAT, or wastage allowances are constant.
For design decisions, consider how Garage lighting impacts electrical layout and ongoing running costs, and how flooring options affect installation time and subfloor prep.
Track trends in labour rates and project timelines, then stress-test your budget against worst-case scenarios to avoid delays and compromise on safety or compliance.
Budgeting Framework With Real-World Examples
To budget a garage conversion effectively, start by defining the scope and setting clear priorities, then map costs to a realistic timeline and contingency.
In practice, begin with a detailed bill of quantities, separating mandatory works from desirable enhancements. Use firm unit rates from reputable suppliers and add a sensible contingency—typically 10–20% for UK projects.
Prioritize structural integrity, insulation, and ventilation, and plan for compliance costs like regulations and building notices.
Track recurring monthly costs for unused space, utilities, and insurance.
For real-world examples, compare two scenarios: a budget finish with minimal fit-out versus a mid-range upgrade including enhancements such as a new garage door replacement and improved flooring.
Also consider driveway resurfacing implications for access and drainage to avoid future discomfort or expense.
Frequently Asked Questions
How Long Does a Typical Garage Conversion Take From Start to Finish?
A typical garage conversion takes about 4 to 8 weeks from start to finish. You’ll handle garage insulation early on and obtain building permits, then complete insulation, electrical, and finishing touches before final checks and handover.
Can I Convert Only Part of a Garage and Still Gain Space?
Yes, you can convert part of a garage and still gain space. Like a tight suitcase, optimize layout with garage insulation and Parking space considerations, preserving parking area while adding usable room, improving efficiency without full-space overhaul.
What Are the Long-Term Running Costs After Conversion?
Your long-term running costs after conversion include higher energy efficiency, lowering heating bills, while insurance premiums may rise if the space’s use changes; monitor insulation, windows, and alarms to optimize savings and risk management.
Do Garages Require Flood Risk or Damp-Proofing Assessments?
Like a warning bell, you should know: yes, you need flood risk and damp proofing assessments. You’ll check flood risk levels, guarantee damp proofing measures are installed, and address any necessary mitigation before, during, and after conversion.
How Does VAT Affect Overall Conversion Costs and Refunds?
The VAT impact can alter your overall cost, but you may reclaim VAT on eligible materials and services, potentially securing conversion refunds. You’ll deduct input VAT, track exemptions, and consult an advisor to optimize timing and eligibility.
Conclusion
Here’s the conclusion in a tight, analytical style:
You’ll finish smarter by budgeting for the big-ticket trades while anchoring with a solid shell. A striking stat: 60–70% of conversion costs typically come from electrics, plumbing, insulation, and finishes, not the shell itself. Build a contingency of 10–20% to absorb surprises, and track seasonal price shifts. With clear permits, realistic timelines, and precise specs, you’ll minimize overruns and deliver a compliant, comfortable space that adds real UK home value.