Like a quiet ledger recording every footprint, your reclaimed wood floors tell a story with each step you take. You’ll want to sweep or dust regularly, then mop with a damp microfiber and a pH-neutral cleaner, applying in small sections along the grain and avoiding excess moisture. Wipe spills promptly and dry thoroughly to prevent damage, steering clear of harsh chemicals or steam. Stay curious about stains and finishes, and you’ll uncover the method that keeps their patina intact.
Key Takeaways
- Identify finish type and condition, test cleaners, and map work zones before cleaning.
- Dust daily with a dry microfiber cloth; limit moisture and wipe with the grain.
- Use pH-neutral, ammonia- and bleach-free cleaners; avoid acids and over-saturation.
- Treat stains with sparing vinegar solution or pH-neutral cleaner; avoid corrosive solvents.
- Prevent damage with felt pads, mats, controlled humidity, and routine professional inspections every 2–3 years.
Start Here: Your Step-by-Step Cleaning Plan for Reclaimed Wood Floors
To start, map out a simple cleaning routine: identify your floor’s finish and a few likely contaminants, then choose the right steps to remove dust, dirt, and spills without harming the wood.
You’ll assess surface wear, seal type, and moisture tolerance, then select a method for routine dusting, spot cleaning, and periodic damp cleaning.
Use a microfiber pad or soft cloth, and apply a minimal amount of solution—never saturate seams.
For dust, dry cleaning suffices; for stains, target the contaminant with a compatible, pH-neutral cleaner.
Avoid excessive moisture to prevent swelling.
Be aware of Cleaning myths that suggest harsh chemicals or wax buildup.
Opt for Eco friendly products when possible, and document results to refine your plan over time.
Maintain consistent intervals to protect long-term finish integrity.
What Counts as Reclaimed Wood Floors and Why Cleaning Matters
Reclaimed wood floors come from boards rescued or repurposed rather than newly milled, with factory finishes or wear that tells a story. You assess material by origin, age, and prior use to determine if it’s truly reclaimed.
Cleaning matters because these woods can react differently to moisture, finishes, and contaminants, affecting durability and appearance.
What Counts As Reclaimed
Reclaimed wood floors come from wood salvaged from older structures, mills, or timber sources and are distinguished by their age, provenance, and continued service in a new environment. You evaluate reclaimed by tracing origin, species, and prior use, not just appearance.
Reclaimed aesthetics matter, but consistency with current standards counts too: moisture content, milling quality, and finish compatibility. Look for boards that retain historic joins, nail holes, or patina without excessive surface damage.
Eco-friendly sourcing means documented provenance, certified salvaged materials, and minimal processing beyond necessary planing and de-nailing. Handling requirements align with contamination risks, such as lead paint or treatment residues, depending on era.
You should consider installation needs, such as acclimation, subfloor condition, and adhesive compatibility, ensuring long-lasting performance while preserving authentic character.
Why Cleaning Matters
Cleaning matters because reclaimed wood floors carry years of use and variability that can affect performance and finish longevity. You approach cleaning as a preventative step, not a cosmetic fix, to maintain structural integrity and color. Dirt and grit act as abrasives, accelerating wear on soft patches and seals, so timely removal is essential.
Choose methods compatible with the wood’s history and finish, emphasizing low moisture and minimal chemical impact. Historical preservation guides emphasize preserving patina while eliminating contaminants that degrade adhesives or bindings. Eco-friendly cleaning choices reduce volatile emissions and indoor pollution, supporting healthier environments without sacrificing results.
Routine maintenance includes dusting, damp mopping with a well-wrung cloth, and spot treatment for spills. Document findings to guide future restorations and guarantee lasting performance.
Assess Board Types and Finishes Before Cleaning
Before you clean, identify the board types and finishes on the reclaimed floor. You’ll assess grain pattern, species, and construction to guide cleaning choices.
Note wood grain direction and variability, as uneven grain can trap grime differently across boards. Identify finishes by look, wear, and test on a hidden area: water droplet behavior, luster, and sheen can reveal finish type and integrity.
Document whether the surface is sealed, waxed, oiled, or polyurethane-coated, and check for raised grain, loose inlays, or checkerboard repairs. This step prevents damage from inappropriate cleaners or moisture.
Understanding finish sheen helps you tailor products and agitation to avoid dulling or stripping. With board types confirmed, you can select safe cleaners and procedures for a durable result.
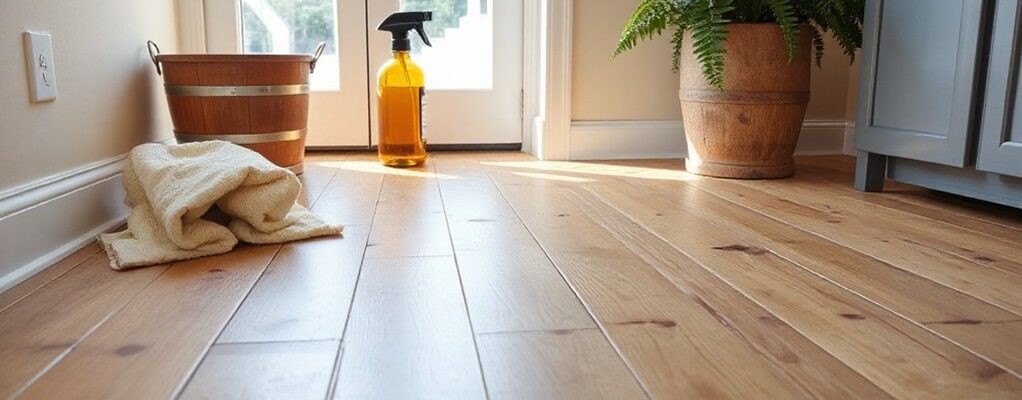
Tools, Safety Gear, and Prep for Reclaimed Floors
With the board types and finishes identified, you’ll prep properly by gathering the right tools, don safety gear, and outlining a controlled workflow. Assemble essential equipment: a vacuum with a soft brush, microfiber pads, a mild cleaner, pH-neutral wood-safe solvent, and a floor scrub pad.
Wear eye protection, ear protection, gloves, and a dust mask or respirator as needed. Map out a sequence—protect adjacent surfaces, ventilate the area, and test cleaners on a hidden spot.
Prioritize furniture arrangement to create clear work zones and minimize redeployment, and plan lighting optimization to reveal grain and hide flaws during cleaning.
Maintain steady, deliberate motions, avoid excessive moisture, and document any preexisting damage for future touchups. Follow this prep for predictable, safe results.
Dusting Basics: Daily Maintenance to Protect Patina
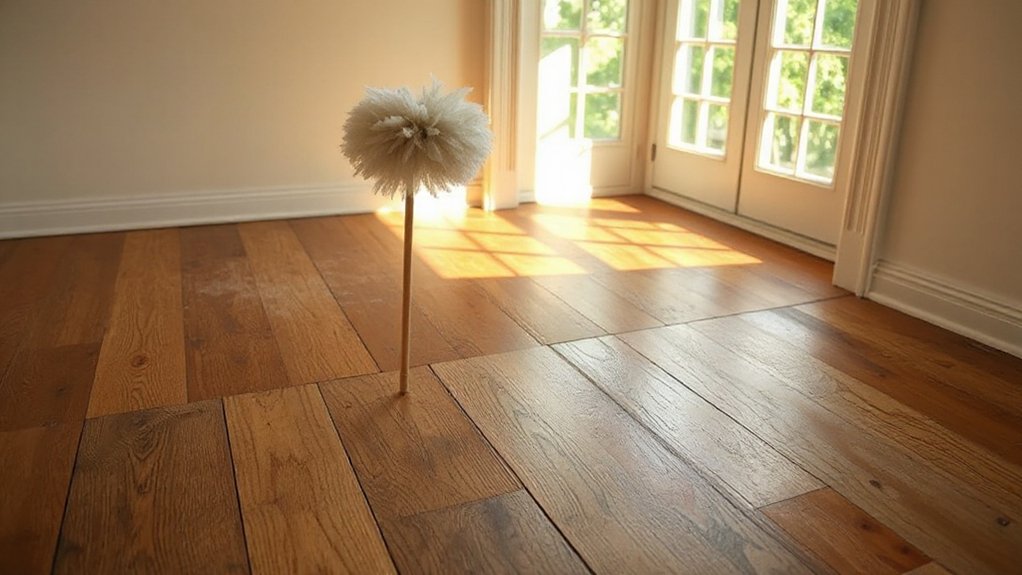
Dusting is your daily defense for reclaimed wood floors, and a simple routine keeps the finish intact and the patina even. Start each day with a dry microfiber cloth to trap dust without scratching.
Lightly dampen a cloth only if you encounter stubborn grit; wring it well to avoid moisture exposure. Work in small sections, moving with the grain to prevent residue buildup.
Avoid waxes or shellacs that mask patina and can attract more dust over time. Implement short, frequent sessions rather than long, infrequent cleanups to maintain even appearance.
Recognize cleaning myths: avoid ammonia or oil-based products that can alter finishes and reduce breathability. Favor eco friendly solutions, like plain water or mild, pH-balanced cleaners sparingly.
Consistency protects patina without overprocessing the surface.
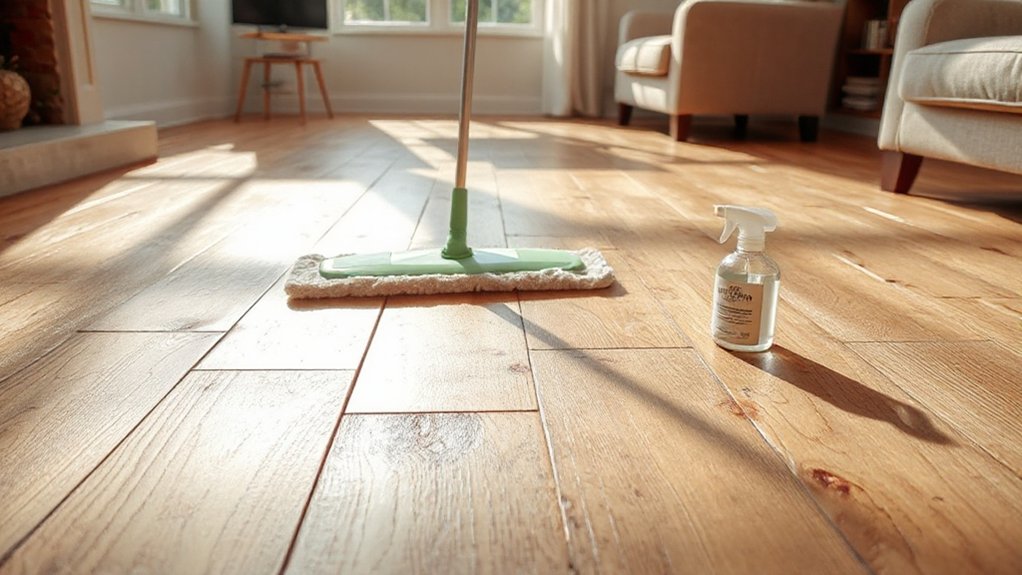
Gentle Sweeping Techniques That Prevent Scratches
Now that you’re keeping surfaces free of grit with daily dusting, gentle sweeping becomes the next step to prevent scratches. Use a soft-bristle broom or microfiber sweep to lift particles without grinding them into the finish. Sweep with long, even strokes following the grain to avoid gouges.
Work from the farthest corner toward the doorway, removing debris before it accumulates. Opt for a lightweight, closed broom head to minimize contact with edges and nails. After sweeping, inspect for remaining grit and spot-clean localized residue with a damp microfiber cloth, then dry the area.
Regular maintenance supports furniture polishing routines and mold prevention by reducing abrasive buildup that dulls luster and encourages moisture entrapment. Store sweeping tools clean and upright to preserve their effectiveness.
Vacuuming Without Damaging Loose Grains and Nail Heads
To vacuum reclaimed wood floors without harming loose grains or nail heads, use a canister vacuum with a brush attachment or a handheld unit set to a low suction level. Maintain steady, slow passes to prevent lifting or gouging. Avoid aggressive agitation that can dislodge loose grains and expose nail heads.
Keep the wand slightly above the surface, guiding along grain direction to reduce friction. Choose attachments with soft bristles and a narrow nozzle for tight joints, guaranteeing consistent suction across uneven revivals of reclaimed aesthetics.
Regularly empty the canister to prevent clogging and heat buildup, which can warp boards. Ascertain proper floor ventilation during cleaning to minimize moisture buildup and preserve finish integrity.
This approach sustains reclaimed aesthetics while protecting structural integrity.
Choosing Cleaners: What Works on Reclaimed Wood
Choosing cleaners for reclaimed wood hinges on preserving finish and board integrity while removing grime without causing harm. You’ll select options that won’t strip UV protection or leach sugars from soft grain. Start with neutral pH formulas, free of ammonia and bleach, and test on a hidden patch first.
Use a microfiber mop or diffusion pad to apply, avoiding saturating joints. For stubborn grime, a mild soap solution or product labeled eco friendly products can help without over-wetting. Read labels for wood-safe surfactants and low residue.
Be wary of Cleaning myths that suggest vinegar or lemon acids won’t affect finishes; frequent use can dull luster or raise grain. Prefer products designed for real wood, and document any noticeable changes after cleaning sessions.
Gentle Cleaners That Preserve the Finish
Gentle cleaning formulas use non-abrasive agents that lift dirt without scratching the finish. You’ll rely on light dilution, microfiber tools, and minimal moisture to preserve wood and avoid glossy patches.
This approach sets the baseline for preserving the finish while addressing the key points: gentle formulas, non-abrasive methods, and finish preservation.
Gentle Cleaning Formulas
Begin with a pH-neutral base: mix warm water with a capful of mild, nonabrasive soap, then add a teaspoon of white vinegar per gallon for mild deodorizing power.
Apply sparingly with a well-wrung microfiber mop, never soaking the surface. For stubborn spots, test a small area and use a soft cloth with a light soap solution rather than abrasive cleaners.
Eco-friendly solutions often rely on dilution and rinsing, reducing buildup.
Alternate cleaning methods by rotating formulas to prevent finish fatigue and guarantee even appearance over time.
Keep airflow and dry times consistent to avoid water intrusion.
Non-Abrasive Methods
When you clean reclaimed wood floors, non-abrasive cleaners soften dirt without dulling or scratching the finish; this approach preserves appearance while minimizing risk. Use a neutral pH cleaner, designed for wood, diluted per manufacturer instructions to avoid residue.
Apply with a microfiber mop or soft cloth, working in small sections along grain to lift grime without abrasion. Rinse only if directions require it, using a barely damp mop to prevent moisture buildup.
Avoid ammonia, bleach, and high-alkaline products—they can degrade coatings over time. For eco-friendly cleaning, opt for plant-based cleaners labeled safe for wood floors, ensuring compatibility with reclaimed wood’s finish.
Maintain routine by sweeping between cleanings and promptly addressing spills to prevent staining or water spotting. This method balances cleanliness with finish preservation and durability.
Preserving Wood Finish
You apply gentle cleaners to avoid stripping oils or dulling the surface. Use a microfiber pad or soft cloth and work in the grain, avoiding excess moisture. Dilute according to the product label, then rinse with a barely damp pad to remove residue.
Avoid ammonia, bleach, or wax-based products, as they can alter finish sheen over time.
For stubborn spots, test in an inconspicuous area first, then lightly buff with a clean cloth.
Maintain an even appearance by cleaning in the direction of the wood grain and drying promptly.
Regular, minimal maintenance preserves wood grain clarity and finish sheen without compromising protective layers.
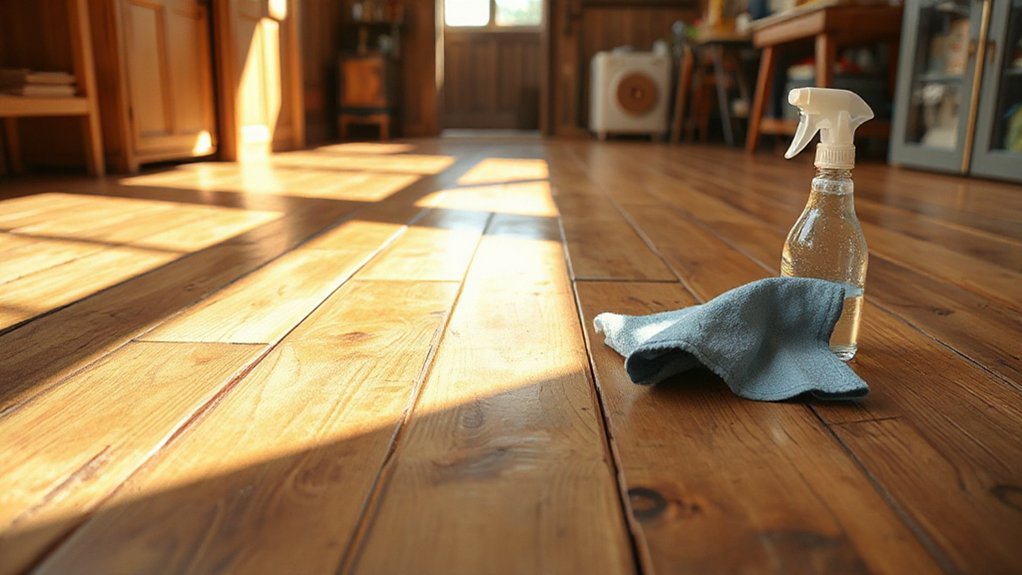
Water Use: How Much Is Safe for Your Floors
Water exposure must be controlled to protect reclaimed wood floors. You’ll want to limit moisture to minimize swelling, cupping, and finish damage. Use minimally damp methods rather than soaking, and avoid steam or harsh spray bottles.
For routine cleaning, apply a well-wrung microfiber pad and wipe in the direction of grain, allowing any residual moisture to evaporate before moving on. When mopping, opt for a dampened cloth or mop with a solution that’s only mildly acidic or alkaline, never acidic concentrate directly on the wood.
Keep puddles from forming and promptly dry spills. Choose Eco friendly solutions and DIY cleaning tips that are proven to be pH-balanced and non-alkaline.
Regularly re-evaluate humidity and ventilation to prevent long-term water exposure.
Spot-Cleaning Grimy Spots Without Refinishing
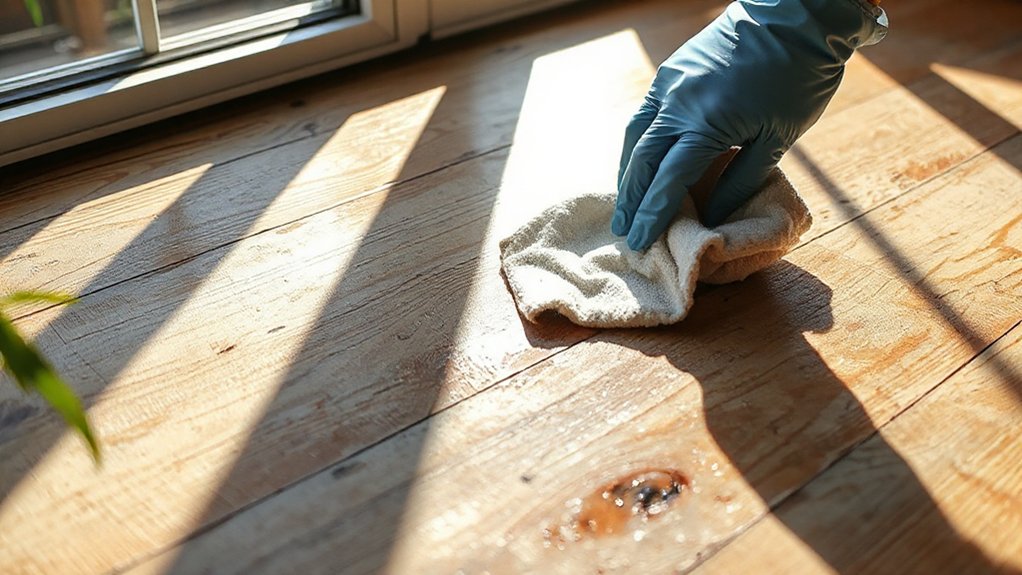
For light grime, mix a 1:10 vinegar solution or use a pH-neutral cleaner, apply sparingly, and wipe with a microfiber cloth, drying immediately to prevent streaks.
For stubborn stains, employ a soft-bristled brush with minimal moisture and a small amount of eco-friendly cleaning agent, working along the grain.
Avoid corrosive solvents and excessive moisture that can swell boards.
After treatment, buff with a dry pad to restore luster.
Document results for DIY restoration, monitor for recurring spots, and adjust future cleaning to maintain the existing finish.
Filling Gaps and Accommodating Seasonal Movement
Gaps in reclaimed wood floors accommodate seasonal movement and should be addressed with methods that preserve the floor’s integrity. You assess gaps for timing and extent, then choose fixes that don’t lock the boards.
For small separations, use a lightweight filler that matches wood grain and dries flexible, so natural movement remains visible—avoid hard epoxy that can crack. If you notice seasonal gaps, apply a color-mintable, waxed filler or a reversible caulk in a matching tone, ensuring a consistent finish sheen.
Sand lightly only where necessary to blend filler with surrounding grain without altering texture. Maintain an even appearance by applying a thin, uniform topcoat after filling.
Monitor moisture levels and recheck gaps after seasonal cycles to sustain longevity and overall wood grain continuity.
Safely Handling Exposed Nails and Fasteners
You should start with Exposed Nail Inspection to identify any protrusions or loose fasteners before cleaning.
Use Safe Handling Techniques to protect your hands and prevent surface damage, and document any nails that require attention.
Consider Preventive Removal Methods to plan for securing or replacing fasteners during maintenance, so you minimize future safety risks.
Exposed Nail Inspection
Before you begin cleaning, inspect the floor for exposed nails and fasteners. You’ll perform a focused Nail inspection to identify high-priority protrusions and loose hardware. Mark any areas where fasteners sit proud or rusty, and note surrounding grain patterns for context.
Use a magnet or flashlight to locate recessed or countersunk nails, then verify their depth with a thin blade gauge. Record findings concisely to guide remediation later, avoiding over-interpretation.
During inspection, consider Grain assessment to gauge how removal or resetting could affect finish integrity. Don’t attempt aggressive extraction on fragile boards; single, carefully sunk fasteners may be reset if necessary.
Prioritize safety: wear eye protection, keep hands clear of tools, and document locations for follow-up work. End with a clear action plan.
Safe Handling Techniques
When handling exposed nails and fasteners, start with containment: wear eye protection and cut-resistant gloves, guarantee the work area is well lit, and keep tools organized to prevent slips.
You proceed by examining for loose hardware, removing obvious protrusions with pliers, and securing nearby boards to reduce movement.
Use a magnetic wand or a magnetized apron to collect stray fasteners as you sweep; don’t jerk or twist materials that could detach hidden fasteners.
Document locations and replace damaged nails only after evaluating the timber’s condition, avoiding excessive force that could splinter reclaimed wood.
Maintain environmental awareness: minimize waste, dispose of fasteners responsibly, and recycle metal where possible.
Understanding Environmental impact and Historical significance helps you respect the material’s provenance while preventing injury and preserving floor integrity.
Preventive Removal Methods
Preserve safety by establishing a proactive plan to remove exposed nails and fasteners before work begins. You assess floorboards and fastener types, then choose appropriate tools: pliers, nail puller, pry bar, and a magnetic wand for retrieval. Wear eye protection and cut-resistant gloves to prevent punctures and splinters.
Mark protruding heads with a small sticker for easy spotting during cleaning. If screws or fasteners are stubborn, apply minimal penetrating lubricant and allow it to sit briefly, then reattempt extraction to avoid board damage.
Remove any debris immediately to prevent scratches during sweeping and mopping. After extraction, inspect for hidden hazards and repair with matching plug or filler.
For Eco friendly cleaning, use low-VOC finishes and DIY maintenance techniques to minimize environmental impact.
After Sealing or Oil Finishes: Cleaning Guidelines

After sealing or applying oil finishes, cleaning requires care to protect the coating and maintain gloss. Start with dry dusting using a microfiber pad to remove loose soil without abrading the surface.
For routine cleaning, mix a pH-neutral cleaner in water at a weak concentration, then damp-wipe with a well-wrung cloth; avoid soaking joints. Never use steam, alkaline, or solvent cleaners on sealed surfaces.
Wipe spills promptly to prevent tracking and staining. For mopped areas, follow with a quick dry pass to eliminate moisture lingering in grain recesses.
Protect the finish by rotating cleaning tools and using eco-friendly finishes compatible products. When sourcing materials, consider Reclaimed wood sourcing origins and guarantee cleaners won’t compromise existing coatings.
Regular inspections detect wear, guiding periodic refinishing if needed.
High-Traffic Areas: Targeted Care Strategies
Targeted care in high-traffic zones relies on focused scrub techniques to lift embedded dirt without harming the finish. You’ll apply controlled, short-interval scrubs and use compatible cleaners to protect durability.
Then, monitor wear to adjust frequency. Pair these targeted scrubs with durable finish maintenance to extend life where traffic is highest.
Targeted Scrub Techniques
High-traffic areas on reclaimed wood floors require focused scrubbing to lift embedded dirt without dulling the finish. You select a soft-bristle scrub pad and a pH-neutral cleaner designed for sealed wood, avoiding ammonia and acidic solutions that can damage finish layers.
Work in small, defined sections, applying light to moderate pressure in a circular pattern to prevent gouging. Rinse promptly with clean water to prevent residue buildup, then dry the surface thoroughly.
For stubborn grime, alternate between a gentle scrubbing motion and a brief, controlled static wipe to reduce friction heat. Monitor chemical reactions between cleaner components and finishes; if you notice dulling, switch to a milder formulation.
Consider Environmental impact by choosing biodegradable cleaners and minimizing rinse water waste.
Durable Finish Maintenance
Schedule periodic light screen-and-recoat sessions when sheen begins to fade, applying a compatible finish that matches your reclaimed aesthetics. Avoid over-wetting boards; use a damp, not soaking, cloth on edges and joints.
Protect high-traffic zones with area rugs and felt pads under furniture to reduce micro-scratching and accelerated wear. Choose environmentally friendly finishes when reapplying to preserve durability and maintain a natural look that aligns with reclaimed aesthetics.
Regular inspection ensures adhesion and uniform gloss.
Preventive Care to Extend Life and Patina
Preventive care is essential to extend the life of reclaimed wood floors and preserve their patina. You implement a routine that minimizes damage from traffic and spills. Apply felt pads to furniture legs and use door mats to trap grit before it reaches surfaces.
Establish a controlled traffic pattern to reduce wear concentration and rotate high-traffic zones periodically. Use a quality dust mop daily and damp-wipe with a barely damp microfiber cloth weekly, avoiding excess moisture that warps boards.
Maintain humidity within recommended levels to prevent seasonal dimensional changes. Schedule professional inspection every 2–3 years to assess fasteners, seams, and finish integrity.
This approach supports reclaimed aesthetics and Patina preservation, delivering durable performance without sacrificing authentic character.
Seasonal Cleaning Routines and Humidity Considerations
In dry months, run dehumidifiers or increase air circulation to prevent cracking and gaps. In humid periods, use desiccants and guarantee flooring isn’t exposed to excessive moisture.
Establish a quarterly check for gaps, splinters, and light surface wear, and adjust cleaning intervals accordingly.
Humidity control becomes part of your routine: aim for a stable indoor RH around 40–60%, avoiding sharp swings that stress joints.
Use a soft microfiber pad and a neutral cleaner, applying sparingly and wiping excess.
Document seasonal adjustments to anticipate maintenance windows and minimize disruption to occupancy.
Maintain awareness of moisture sources, promptly addressing leaks or spills.
Troubleshooting: Dull Finish, Water Marks, and Residue
Dull finishes, water marks, and residue typically signal finish breakdown or improper cleaning, and they’re solvable with targeted steps. You’ll first identify whether the issue is surface residue or embedded damage by testing a small area with a mild cleaner, then wipe with a clean cloth and water.
If dullness persists, inspect the finish sheen across light angles to confirm evenness; uneven sheen often indicates wear patches. For water marks, apply a gentle wax/finish remover, rinse, and restore with a compatible recoating or polishing product.
Confirm wood grain remains visible by avoiding abrasive tools that scratch the surface. Reapply a compatible sealant in thin, uniform coats, following manufacturer directions.
Document results, and maintain with controlled humidity and routine gentle cleaning to prevent recurrence.
When to Call a Professional for Restoration or Refinishing
You should consider calling a pro when signs of structural wear or deep-seated damage appear, not just surface issues.
Look for uneven sheen, major scratches, warped planks, or persistent moisture problems that resist DIY fixes.
If warranties or original finishes require specialized equipment or finishing materials, engage a restoration professional to prevent further harm.
When To Hire Help
If you’re unsure whether your reclaimed wood floors need professional help, start with a quick, honest assessment of damage and finish. You’ll evaluate deep scratches, warp, cupping, and evident finish wear, noting moisture damage, delamination, and unusual odors.
If any issues exceed cosmetic concerns, or mismatched boards dominate the surface, consider a pro. For restoration or refinishing, you’ll balance cost against value to preserve historical preservation and maintain structural integrity.
Professionals bring climate-controlled sanding, dust containment, and precise profile restoration that DIY can’t reliably match. Seek specialists who use eco-friendly products and low-VOC finishes to minimize environmental impact.
In cases of complex veneer concerns, severe water intrusion, or uneven subfloors, hire skilled technicians to prevent further damage and guarantee durable results.
Signs Restoration Needed
Signs you’ll want a restoration pro often show up quickly: deep gouges, cupping, or warped planks that won’t respond to sanding, finish wear that exposes raw wood across large areas, and visible moisture damage or mold growth.
When you spot heavy color variation that won’t even out after refinishing, that’s a red flag. If edges and corners lift or you hear hollow spots under the surface, structural integrity could be compromised.
For uneven wear that leaves high spots or sunken sections, sanding alone won’t restore flatness. Consider restoration if you see persistent edge checking, splits, or rot risk.
A pro will assess wood grain behavior, confirm substrate stability, and select restoration methods that preserve patina while achieving uniform color and a durable finish.
Frequently Asked Questions
How Often Should Reclaimed Wood Floors Be Re-Sealed After Cleaning?
Re-seal reclaimed wood floors every 1–3 years, depending on traffic and finish wear. For wood restoration and floor maintenance, reassess annually; reapply when sheen fades or depth of color dulls, ensuring proper adhesion and protection.
Can Humidity Affect Cleaning Methods for Reclaimed Floors?
Humidity can affect cleaning methods, you’ll notice slower drying and potential swelling. In response, adjust your humidity-aware cleaning techniques: use damp mops, not soaking, and tailor frequency to humidity impact while preserving finish and stability.
Are Vinegar-Based Cleaners Safe for All Finishes on Reclaimed Wood?
Vinegar-based cleaners aren’t safe for all finishes, so you should test first. They can trigger chemical reactions and affect finish compatibility; use pH-neutral, finish-specific products to preserve sheen and prevent discoloration on reclaimed wood.
Should I Remove Pet Stains Before Routine Cleaning?
Yes—start by removing pet stains before routine cleaning. If you spot them, blot, treat with a pH-neutral cleaner, then rinse. Coincidentally, delaying can fade finishes; address Pet stain removal promptly to protect your floor during Routine cleaning.
Is Steam Cleaning Ever Appropriate for Reclaimed Wood Floors?
Steam cleaning isn’t recommended for reclaimed wood floors; it risks moisture damage. If you must, use low heat and short sessions, monitor closely. Steam cleaning safety matters, but prioritize Reclaimed wood preservation by avoiding excessive moisture and warping.
Conclusion
You’ve got practical steps to keep reclaimed wood floors looking pristine. With regular dusting, minimal moisture, and pH-neutral cleaners, you preserve patina instead of chasing perfection. Treat spills promptly and dry thoroughly to prevent damage. Think of your floor as a ledger: small, careful entries protect its history. When in doubt, a professional can restore or refinish without erasing character. Stay consistent, respect the finish, and your floors will tell a lasting, well-worn story.