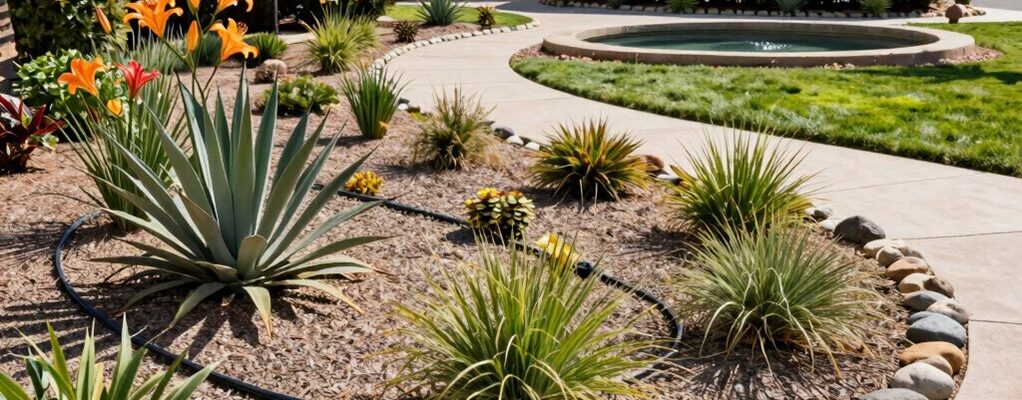
Start by sizing your plan to your climate and water supply, then select drought-tolerant, native plants suited to your zone. Zone your landscape for tailored irrigation, grouping high- and low-water needs, and plan robust mulch to cut evaporation. Prioritize soil health with tests, amendments, and organic matter, while designing microclimates and windbreaks for durability. Install a hidden drip or micro-spray system with mulch and ground covers for sustainability. If you keep going, you’ll uncover more practical, design-focused steps.
Assess Your Climate and Water Resources
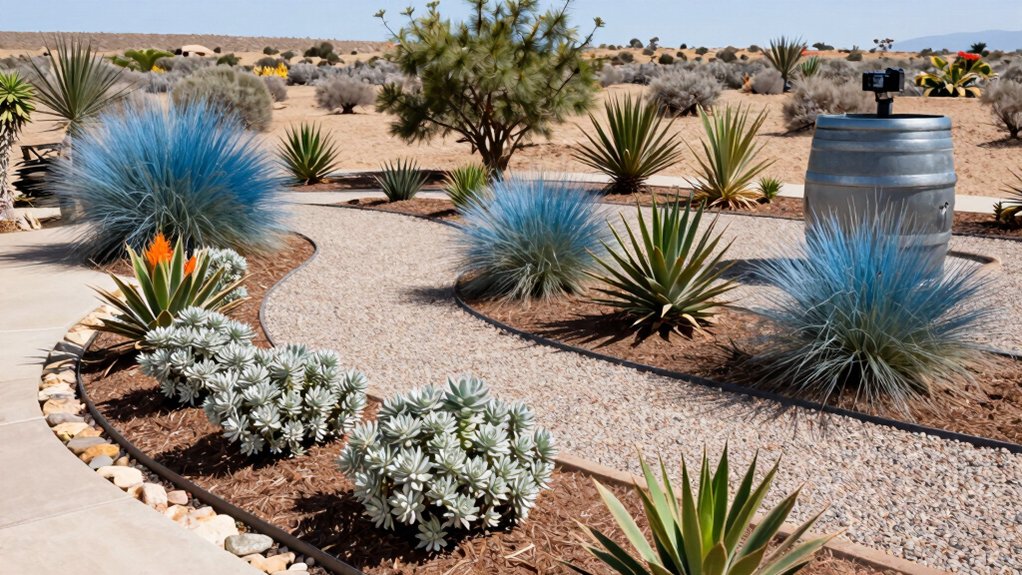
Assess your local climate and water resources to determine baseline irrigation needs. You’ll quantify typical precipitation, evapotranspiration, and seasonal demand to size your system.
Identify hardiness zones, frost dates, and heat thresholds that affect plant selection and irrigation timing.
Map water supply variability, including drought periods, groundwater limits, and irrigation window constraints.
Evaluate available water quality, noting salinity, mineral content, and pH that influence emitter choice and soil compatibility.
Determine legal or utility-driven restrictions on outdoor use, monthly allocation caps, and seasonal quotas.
Establish a baseline with a 12-month water balance, then translate results into a design that minimizes waste.
Prioritize efficient delivery methods, such as drip or micro-sprinklers, and align with mulch and plant layout plans.
Analyze Soil Quality and Amendments
Soil quality sets the foundation for xeriscaping success: test texture, structure, and nutrient status to guide amendments and irrigation efficiency. You’ll sample representative locations, avoiding extreme sun or shade, and record moisture patterns.
Analyze texture to determine drainage and water-holding capacity; loams offer versatility, sands drain fast, clays retain moisture but compact.
Assess structure for porosity and root access, noting compaction and aggregation.
Measure pH and nutrient levels to tailor amendments without excess.
Apply targeted organic matter to improve structure, drainage, and microbial activity; use slow-release fertilizers only if needed, matching plant needs.
Consider salinity where irrigation water is reused or sourced variably.
Plan amendments that support drought tolerance, mulch integration, and consistent infiltration, ensuring soil supports shallow-rooted xeric species and reduces irrigation demand.
Define Your Water-Wise Goals and Priorities
Define your water-saving objectives upfront by identifying which landscape uses the most water, where drought risk is highest, and which plants you’ll prioritize for low irrigation.
You’ll map irrigation zones to match soil capacity, sun exposure, and microclimates, ensuring consistent moisture targets with minimal runoff.
Establish measurable goals, such as reducing potable water use by a defined percentage or trimming irrigation run times to fit evapotranspiration rates.
Prioritize areas with high visitation or functional value—entrances, pathways, and lawn conversions—while preserving aesthetic integrity.
Align budget, maintenance capacity, and seasonal schedules with these targets, creating a scalable plan that informs system sizing, controller programming, and mulching depth.
Document baselines, milestones, and review intervals to keep your xeriscape design efficient and resilient.
Choose Drought-Tolerant Plants for Your Zone
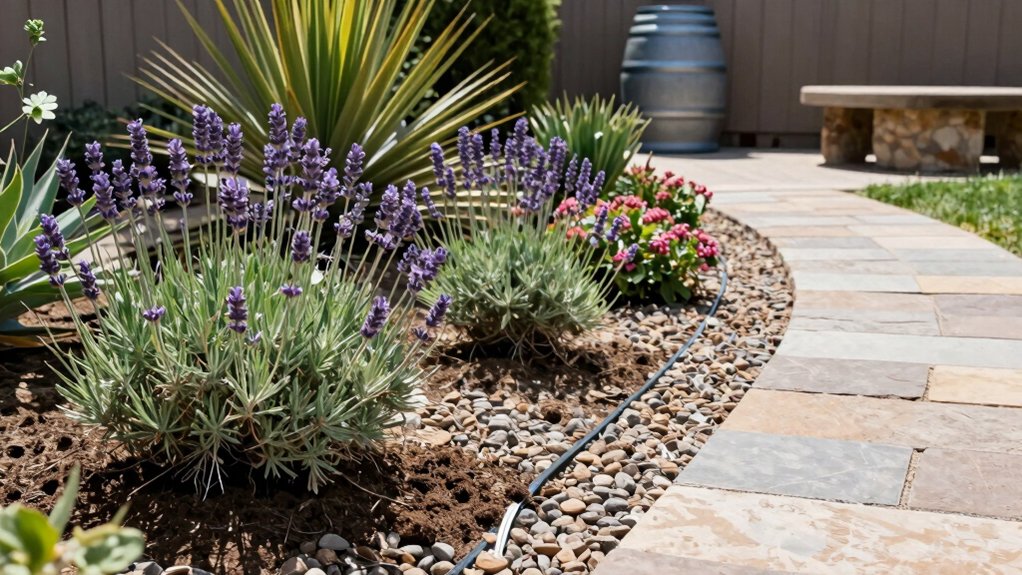
Choosing drought-tolerant plants for your zone starts with aligning species traits to your irrigation plan and local climate. You’ll evaluate native and adaptive species for water use, root depth, and salinity tolerance, then map selections to each microclimate in your landscape.
Prioritize low-toxicity, low-maintenance varieties that pair with design goals like texture, color, and form. Focus on plants with established drought resilience, seasonal interest, and compatible growth rates to minimize pruning.
Group selections by water needs, avoiding mixed zones that complicate irrigation timing. Consider soil type, drainage, and sun exposure, then match cultivars to each bed’s hydrology.
Document optimized palettes, ensuring progression between drought-tolerant species and functional hardscape. Revisit choices as conditions shift, updating plant heights and spacing for long-term sustainability.
Plan Efficient Irrigation and Water-Smart Techniques
Plan your irrigation around exact needs with smart scheduling, matching watering to weather, soil, and plant demand.
Combine drought-tolerant planting with efficient emitters and mulched beds to minimize losses and maximize rooting.
Use water-saving techniques like zone-based controls and rainwater reuse to design a resilient, low-wuss system.
Smart Irrigation Scheduling
Smart irrigation scheduling uses local weather data, soil moisture, and plant needs to deliver water only when and where it’s required. You design a system that responds to real-time conditions, minimizing waste while maintaining healthy growth.
Employ a soil sensor network to read volumetric water content and temperature, calibrating thresholds to plant types and rooting depth. Integrate weather forecasts to pre-empt evapotranspiration spikes, adjusting run times and cycles accordingly.
Use zoned controllers for microclimates, grouping plants by water demand and sun exposure. Favor multiple short cycles over a single long one to reduce surface runoff and improve infiltration.
Prioritize efficiency metrics: water savings, uniform distribution, and fault alerts. Document schedules, perform seasonal retuning, and validate performance with periodic soil checks and system diagnostics.
Drought-Tolerant Planting
Drought-tolerant planting pairs with efficient irrigation by selecting species that thrive with limited water and by tailoring delivery to actual needs. You design with precision, grouping plants by water use and sun exposure to minimize waste.
Choose locally adapted, low-maintenance species and stagger bloom cycles to reduce soil evaporation. Implement mulch depths that stabilize soil temperature and reduce moisture loss without complicating access for maintenance.
Use soil amendments to improve water retention where appropriate, and consider root depth to align irrigation with plant demand. Favor drip or micro-spray systems that deliver water directly to root zones, reducing evaporation.
Schedule brief, infrequent irrigation after establishment, and monitor soil moisture to adapt to seasonal shifts. This approach aligns aesthetics with stringent water-use targets.
Water-Saving Techniques
Efficient irrigation starts with precise zoning and scheduling that match each plant’s water needs and sun exposure. You’ll map plant types to microclimates, then implement a timed, soil-moisture–aware system.
Start with drip emitters or soaker hoses close to roots, reducing evaporation and runoff. Use a controller with weather data or soil probes to adjust watering windows, targeting early morning or late evening to minimize evaporation.
Group beds by sun exposure and soil type, tailoring duration and frequency accordingly. Employ mulch to maintain soil moisture and suppress weeds.
Pressure regulation and filtration prevent nozzle clogging, preserving efficiency. Periodically audit for leaks, overspray, and misaligned emitters.
Document seasonal adjustments and maintain components; you’ll achieve steady soil moisture, healthier plants, and lower water bills.
Design a Practical, Low-M Maintenance Layout
A practical, low-maintenance layout centers on clear zoning, accessible paths, and efficient irrigation. You define zones by sun exposure, plant needs, and maintenance cadence, then map them to compact circulation routes that minimize trip hazards.
Prioritize durable materials for edges, borders, and hardscape that tolerate weather changes without frequent repairs. Use a simple palette of drought-tolerant species arranged by water needs, ensuring visual cohesion and seasonal interest without crowding.
Position irrigation terminals at zone hubs, employing pressure regulators and smart controllers to reduce run time. Group high-maintenance elements near service access points to shorten maintenance windows.
Design sightlines for asymmetrical balance and low wind resistance, reducing structural strain. Document planting densities, irrigation schedules, and access clearances for consistent execution.
Use Mulch, Ground Covers, and Soil Health Practices
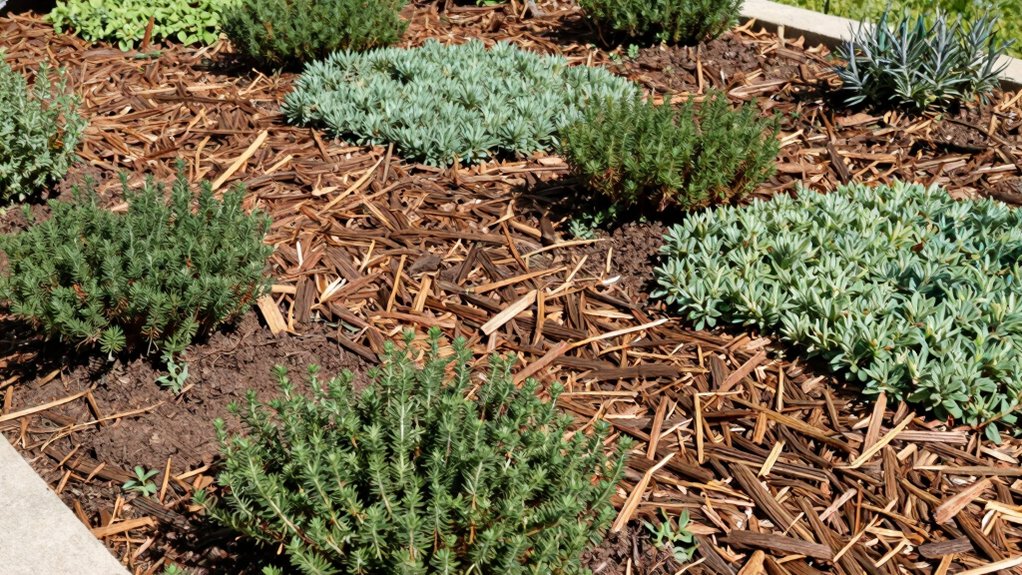
Mulch locally reduces evaporation, conserves moisture, and moderates soil temperature for durable plantings.
Ground covers provide erosion control, weed suppression, and complementary textures that support a low-maintenance design.
Prioritize soil health practices—balanced organic matter, appropriate microbial activity, and soil structure—to sustain long-term xeriscape performance.
Mulch Benefits Locally
Mulch dampens soil temperature swings, preserves moisture, and suppresses weeds, making it a practical, locally adaptable component of xeriscaping.
You’ll select mulch types based on climate, soil texture, and mulch longevity, prioritizing materials that decompose gracefully to enrich the root zone. Choose particle size to balance air movement and capillary rise, avoiding smothering effects on shallow roots.
Apply a uniform layer that covers soil to a depth of three to four inches, reducing erosion and crusting. In hot, dry locales, organic mulches improve soil structure while inorganic options resist decomposition but provide long-term coverage.
Pair mulch with native ground covers to stabilize soil, minimize irrigation needs, and maintain a reciprocally beneficial microclimate around plant crowns. Regular inspection ensures decomposed zones are replenished without creating moisture stagnation.
Ground Covers Essentials
Ground covers play a pivotal role in xeriscaping by reducing evaporation, stabilizing soil, and moderating microclimates around roots. You select ground covers that establish quickly, require minimal inputs, and pair with mulch to conserve moisture.
Prioritize drought-tolerant species with deep root systems and appropriate growth forms for your site slopes and sun exposure. Use a layered approach: place a thin mulch, then plant cover species in a tight grid to suppress weeds and hasten ground cover density.
Align choices with soil texture and drainage; sand favors sprawling natives, while loamy soils support a broader palette. Schedule installation in cool, mild windows to minimize transplant shock.
Monitor establishment, irrigate sparingly, and replace failed plugs promptly to maintain soil cover continuity.
Soil Health Practices
Soil health hinges on a trio of practices—mulching, ground covers, and targeted soil amendments—that together conserve moisture, suppress weeds, and foster beneficial soil biology.
You’ll implement a layered approach: apply coarse mulch to reduce evaporation, then establish living ground covers to stabilize soil and improve structure. Choose drought-tolerant species with low maintenance, spaced to permit air and water movement.
Pair mulch with targeted amendments—compost, biochar, or gypsum as needed—based on soil tests to adjust pH, texture, and nutrient availability.
Avoid overmulching; don’t bury stems, and maintain a shallow mulch depth to prevent rot.
Monitor soil moisture and biology with practical cues: earthworm activity, crumb texture, and consistent infiltration after irrigation.
This creates a resilient root zone primed for xeriscape plantings.
Maintain and Adapt Your Xeriscape Over Time
To keep a xeriscape working long-term, monitor plant performance and water use regularly, and adjust as conditions shift. Start with a baseline audit of species health, growth form, and soil moisture. Track irrigation cycles, soil depth moisture, and weather changes; log dates, rainfall, and irrigation efficiency.
Prioritize drought-tolerant species and remove underperformers to reduce maintenance and resource strain. Reassess mulch depth and coverage seasonally to preserve soil structure and weed suppression. Integrate passive design tactics like microclimates, windbreaks, and sun exposure maps to optimize energy in the landscape.
Update plant palettes every few years to reflect soil evolution, new cultivars, and shifting climates. Maintain documentation, revise schedules, and align irrigation controllers with seasonal ET values for consistent performance.
Frequently Asked Questions
What Are the Upfront Costs of Starting Xeriscaping?
Upfront costs vary, you’ll spend on site assessment, soil prep, drought-tolerant plants, mulch, irrigation, and labor. Budget roughly a few hundred to several thousand dollars, depending on area size, materials quality, and professional guidance you select.
How Long Does It Take to See Results?
Expect to see results within weeks to a few months. For example, you’ll notice deeper soil moisture, trimmed irrigation needs, and a thriving native bed after your first season. Your design-driven tweaks accelerate, stabilize, and optimize drought performance.
Can Xeriscapes Attract Wildlife or Pests?
Yes, xeriscapes can attract wildlife, but they also deter pests with native plants and proper spacing; design for airflow, soil health, and water features to balance beneficial visits while minimizing pest habitats and competition. Monitor and adjust accordingly.
Are Native Plants Always Best for Xeriscaping?
Native plants aren’t always best; choose locals that thrive in your soil, sun, and water. You’ll design resilient, low‑input beds, prioritizing drought tolerance, not novelty, and you’ll follow seasonal patterns, like whispers guiding thoughtful, practical landscaping decisions.
How Do I Maintain Irrigation Efficiency Year-Round?
You maintain irrigation efficiency year-round by scheduling sensors and controllers for seasonality, using drip or micro-sprinklers, and grouping plants by water needs; regularly calibrate timers, check emitters, and promptly fix leaks to minimize evaporation and runoff.
Conclusion
You’ve mapped climate, soil, and goals; now, pause for the miracle of efficiency. Xeriscaping isn’t a magic wand—it’s a disciplined design brief with fewer weeds and more water saved. Embrace drought-tolerant choices, smart irrigation, and mulch like a pro, or watch your budget evaporate with every thirsty plant. If your plan looks great on paper but not in practice, you’ve engineered a sculpture, not a landscape. Congrats, you’ve designed a sustainable, stubbornly practical garden—humorfully inevitable.