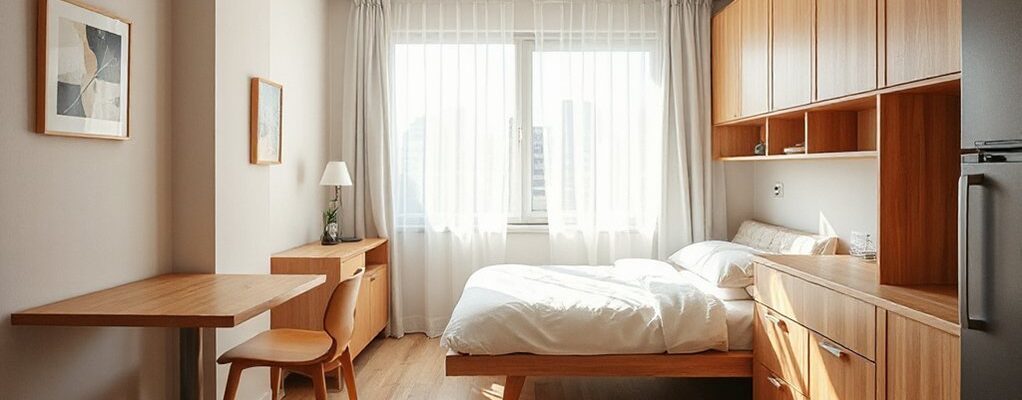
Smart layout tweaks can transform a compact home into a truly liveable space. You’ll plan room-by-room flow, choose multi-purpose furniture, and hide clutter with smart storage. Think movable screens, flexible zones, and lighting that widens every inch. Your goal is balance—style meets function without crowding. Curious how a tiny loft map, raised sleeping areas, and clever color cues come together to feel expansive? Start with a practical plan, then see what works best in your space.
Key Takeaways
- Maximize flow with open plan zones: use screens and rugs to create distinct areas without walls, preserving sightlines and natural light.
- Optimize vertical space: raise sleeping areas, loft storage, and under-eave storage to keep primary floors uncluttered.
- Choose multi-functional furniture: sofa beds, fold-down desks, nesting tables, and storage ottomans to adapt for guests and work.
- Plan for smart storage: hidden under-bed and stair-step bins, concealed niches, and lift-top ottomans to reduce visible clutter.
- Enhance lighting and perception: layered lighting, mirrors, and consistent color temperature to expand and unify compact spaces.
Plan a Room-By-Room Layout for Small Spaces
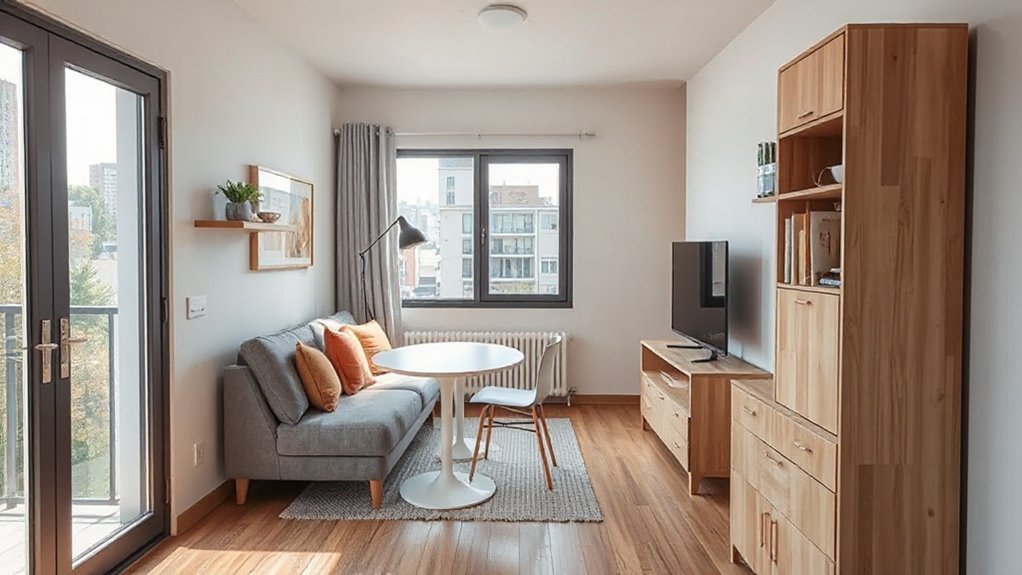
To plan a room-by-room layout for small spaces, start by measuring each room’s dimensions and noting door swings, windows, and outlets. You’ll map flow first, then place core zones to minimize corridors and maximize usable area.
Use open plan design principles to blur boundaries between living, dining, and kitchen zones when possible, keeping sightlines clear and traffic unobstructed.
Prioritize vertical storage and wall-mounted essentials to reclaim floor space. Consider outdoor integration: position doors or large windows to invite natural light and create a visual extension into patios or balconies.
Align furniture with door arcs and switch points, leaving clear, reachable pathways. Test scale with templates or tape, then revise for flexibility, ensuring every object serves multiple functions and supports quick reconfiguration.
Choose Multi-Purpose Furniture for Compact Homes
Ever considered how one piece can do double duty in a tight home? Choose multi-purpose furniture that blends form with function. Start with a sofa bed that stays stylish by day and folds into a comfortable guest spot by night.
Look for nesting tables, which slide apart for hosting, then tuck away when not needed. A storage ottoman doubles as seating and a discreet bin for blankets or toys, reducing clutter while staying accessible.
A dining table with integrated leaves or a wall-mounted version expands for guests and saves floor space otherwise. Opt for modular units you can rearrange as needs shift.
These space saving solutions keep rooms flexible, practical, and visually calm, so you gain usable square footage without sacrificing comfort.
Hidden Storage That Keeps Clutter Away
Hidden storage isn’t an afterthought—it’s a design tool that keeps clutter out of sight and out of mind. You’ll leverage hidden compartments and concealed storage to reclaim surface area, streamlining daily routines without sacrificing style.
Think drawers under stairs, bed bases with pullouts, and lift-up coffee tables that reveal bins. Your goal is purposeful concealment that remains accessible, not hidden for good. Use these ideas to sculpt a calmer, more functional space.
- Under-bed pullouts for off-season items
- Stair-step bins with touch-latch lids
- Concealed wall niches for slim storage
- Lift-top ottomans with interior compartments
- Fold-down desks with integrated cubbies
Improve Traffic Flow to Eliminate Bottlenecks
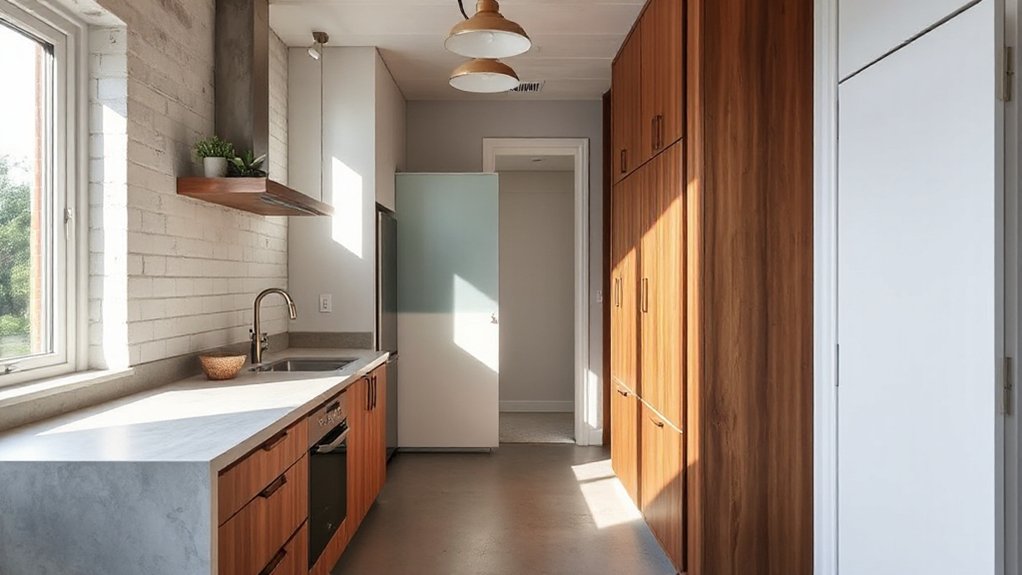
Start by optimizing corridor flow so foot traffic moves smoothly and evenly, avoiding pinch points.
Minimize door clashes by staggering entryways and using swing paths that don’t interrupt main paths.
Channel traffic efficiently with clear zones and signage that guide movement without slowing you down.
Optimize Corridor Flow
Corridors usually bottleneck at junctions where foot traffic intersects with doors, stairs, and turns, so start by mapping peak paths and dwell times to spot the chokepoints.
You then reconfigure flow with clear sightlines, hinged doors set to swing away from main paths, and gradual progressions that reduce abrupt stops.
Use rugs and lighting to cue movement, keeping cables concealed.
Prioritize storage off the corridor to minimize tangles and friction, and choose compact furniture that leaves at least 36 inches of clearance.
Custom window treatments and Acoustic optimization help maintain comfort without crowding, dampening echoes that can slow navigation.
- Map peak times and adjust doors and furniture accordingly
- Create visual cues with lighting and color
- Narrow storage off the main path
- Use low-profile furnishings for clearance
- Apply acoustic optimization where chatter slows flow
Minimize Door Clashes
Have you mapped the door swing patterns where people converge, then locked in on the clashes? In tight spaces, you spot the bottlenecks before they form. Focus on door placement to direct traffic naturally rather than forcing detours. Position entrances to flow toward open margins—avoid sweeping arcs that collide in hallways or near stairs.
Consider hinge mechanisms that reduce sweep impact; pocket or saloon-style doors can free passage without full openings. For shared routes, favor doors that swing away from main gathering zones and pair them with clear sightlines so people don’t pause for pivots.
Use consistent clearance: at least three feet of unobstructed width in primary corridors. Test layouts with real movements, adjust angles, and document improvements for future adjustments.
Channel Traffic Efficiently
Ever notice where people slow to a trickle? You can channel traffic efficiently by mapping routes, reducing intersections, and prioritizing sightlines. Start with clear, logical pathways that guide movement from entry to core zones, avoiding dead ends.
Use Smart lighting to cue flows at different times, brightening main corridors and dimming secondary ones to subtly steer pace. Align furniture and appliances to create uninterrupted sightlines, minimizing surprises that cause hesitation.
Choose Sustainable materials that resist wear and slip hazard, ensuring lasting clarity in busy spots. Regularly test patterns during peak hours and adjust angles, heights, and thresholds to keep momentum.
Address bottlenecks proactively rather than reactively, so daily life stays smooth.
- Define primary corridors with consistent lighting cues.
- Resolve cross-path conflicts with gentle bends and open sightlines.
- Elevate micro-movements using tactile floor feedback.
- Zone storage to prevent overflow that blocks passages.
- Schedule periodic recalibration of flow as routines shift.
Lighting That Opens Up Small Rooms
Wondering how light can make a cramped room feel twice as big? You can open space with smart lighting choices that emphasize flow and clarity.
Use vertical fixtures to draw the eye upward, creating perceived height without crowding floor space. Favor white or light-backed shades and lamps with adjustable brightness to control ambient glow without harsh glare.
Position lighting to complement natural light: place mirrors opposite windows and choose fixtures that bounce daylight deeper into corners. Avoid heavy shadows by layering light—ambient, task, and accent—so every zone feels connected, not isolated.
Select compact, glare-free bulbs and dimmers for flexibility. Maintain consistent color temperature to prevent visual jarring, keeping surfaces bright and cohesive while preserving the room’s openness.
Color, Texture, and Visual Cues That Create Perceived Space
Color perception tricks, texture depth cues, and visual continuity techniques work together to make spaces feel larger. You’ll experiment with light/dark contrasts, varying textures, and seamless edge shifts to guide the eye and expand perceived area.
Start with a clear plan: use color gradients, subtle textures, and consistent lines to create depth without clutter.
Color Perception Tricks
- Contrast edges with lighter trims to push walls back
- Use monochrome schemes to stretch narrow rooms
- Introduce matte walls with glossy accents for depth
- Employ warm accents to reclaim coziness in tight spaces
- Balance saturation to avoid visual fatigue while preserving focus
Texture Depth Cues
Choose a dominant wall color, then introduce a lighter or darker companion tone on one feature wall to create depth through contrast. Integrate material layering—a rough-textured plaster paired with a smooth ceiling and a wood or stone base—so surfaces read as separate planes.
In zones with limited floor area, stagger textures at different heights: a rug with a dense pile, a matte paint on cabinetry, and a satin backsplash. Subtle gloss on accents can catch light, while avoiding glare. Keep changes clean to prevent visual clutter.
Visual Continuity Techniques
Visual continuity guides the eye through a space by tying colors, textures, and cues into a seamless read. You create flow by aligning key elements, so nothing clashes or fights for attention. Favor a clear focal point and let color harmony do the heavy lifting, guiding movement without shouting.
Use restrained textures that echo across surfaces, reinforcing depth without adding clutter. Visual cues like baseboard alignment, door swing, and consistent hardware reinforce connectivity between zones.
Keep scale proportional to space, so transition feels natural rather than abrupt.
- Establish a single focal point and repeat its color subtly in adjacent zones
- Match color temperature across walls, textiles, and furnishings
- Use repeated textures to connect surfaces
- Align architectural details for uninterrupted sightlines
- Choose cohesive hardware and trim to unify finishes
Create Flexible Zones With Screens, Rugs, and Shelving
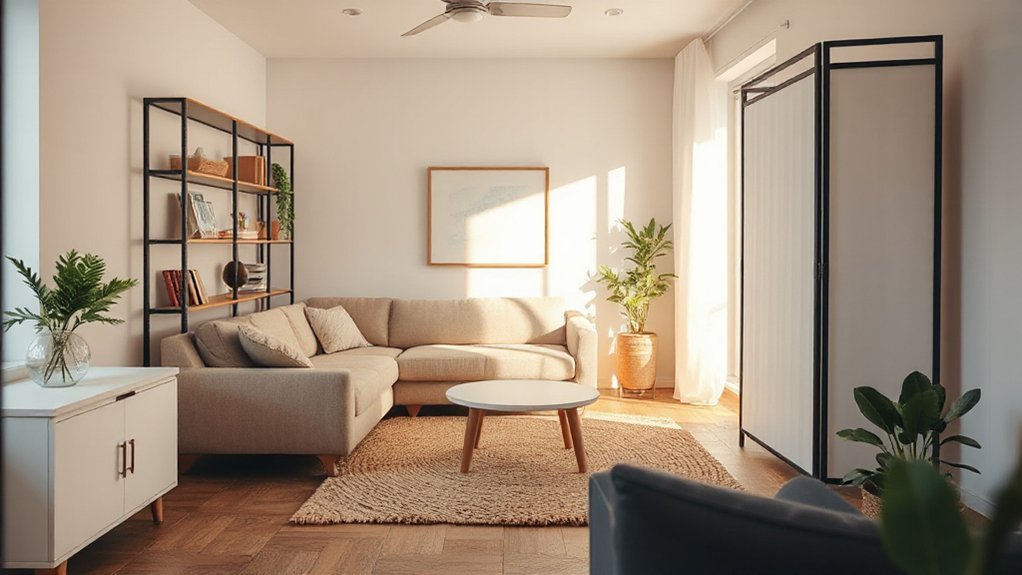
Screens, rugs, and shelving can flexibly carve distinct zones without walls. You shape living areas by layering elements that don’t demand construction, so traffic flows smoothly and privacy feels negotiable.
Use portable rugs to anchor distinct functions—work, lounging, dining—while remaining easy to reassign as your days shift. Screens and shelving act as visual dividers without settling on permanence, letting light travel and sightlines stay open.
Choose lightweight, tall screens to create focused nooks; low, open shelving partitions give storage and subtle separation without heaviness.
Embrace flexible furniture that can stack, fold, or transpose for gatherings or solo routines. Movable partitions excel here, letting you reconfigure zones in minutes, maximizing adaptability without clutter.
Budget Upgrades With Big Impact
Curious how to elevate a space without blowing your budget? You can apply practical tweaks that feel transformative, not ornamental. By focusing on affordable upgrades and proven space enhancing techniques, you maximize impact without overhauling structure.
Start with lighting, swapping to layered, warm sources to widen perception. Use mirrors to bounce natural light and create depth. Declutter strategically, keeping only essentials to reveal the layout’s potential.
Update hardware and small finishes for a fresh, cohesive look.
- Update hardware (handles, pulls) for immediate modernity
- Reframe lighting with layered sources and dimmers
- Add mirrors to amplify light and depth
- Refresh textiles and hardware finishes for cohesion
- Reassess storage; conceal clutter with smart organizers
Case Study: A Tiny Loft Plan That Maximizes Function
From a compact footprint to a full-functioning home, this tiny loft plan proves you don’t need square footage to win space. You map every inch with purpose: a raised sleeping shelf frees floor area, and a galley kitchen tucks into a narrow wall, leaving room for a flexible desk nook.
Loft insulation keeps warmth consistent without bulk, so you can extend living hours without battles with drafty corners. Ceiling height is your ally, not an obstacle—sloped profiles above let you store under eaves and hover lighting to define zones.
The wardrobe runs along the stair spine, and a fold-down workstation doubles as a dining surface. Practicality meets design, delivering comfort, light, and honest function in a deliberately compact plan.
Frequently Asked Questions
How Can Compact Homes Stay Functional With Pets or Children?
You can keep compact homes functional with pets or children by prioritizing durable, easy-to-clean surfaces and smart storage.
Use pet proof furniture and stain-resistant fabrics, plus scratch guards on corners.
Implement child friendly storage that’s accessible yet organized, like labeled bins at low heights and vertical totes.
Create zones for play, feeding, and downtime, and keep gates or open pathways.
Regularly refresh toys and wipes; delegate quick cleanup habits to everyone.
What Are Budget-Friendly Tech Integrations for Small Spaces?
Budget-friendly tech integrations for small spaces let you stay organized and efficient. You’ll love smart storage solutions with modular shelves and hidden compartments, plus compact charging hubs that reduce clutter.
Embrace tech automation for lighting scenes, climate, and window coverings so you never waste space or energy. Choose sensors and smart plugs that fit your budget, and opt for multi-use devices.
You’ll streamline daily routines, stay organized, and maximize livability without overspending.
Which Non-Obvious Materials Boost Perceived Space Cost-Effectively?
Irony first: you’ll pretend these pricey tricks shrink your space, when smart choices actually expand it.
For non-obvious materials, pick hidden storage panels and reflective surfaces to boost perceived space cost-effectively. You’ll line shelves with glossy laminates, install mirrored backs on cabinets, and tuck ottomans with secret compartments.
You’ll notice brighter, airier rooms, fewer clutter vibes, and smarter organization, all without blowing your budget.
Practical, precise, and creatively efficient, you’ve got this.
How to Plan Outdoor-Adjacent Spaces for Indoor-Outdoor Living?
You plan outdoor-adjacent spaces by pairing tasks with keen shifts, creating seamless indoor-outdoor flow. Prioritize zones near entry points, shade, and wind breaks, then align furniture to sightlines from living areas.
Incorporate landscaping routines that cue privacy without blocking light, like layered hedges and trellises. Use movable screens to modulate spillover and crossings.
For privacy solutions, plant tall grasses or bamboo on the perimeter and install retractable glass walls to blur the boundaries.
What Are Low-Maintenance, Space-Saving Cleaning Strategies?
You can trust that low-maintenance, space-saving cleaning works when you pair robot vacuuming with smart routines. Start by setting a consistent schedule and letting the robot map your home.
Light magnetic cleaning: use magnetic strips on metal surfaces to guide dust removal and keep cords out of the way.
Keep clutter minimal, empty bins regularly, and choose washable, compact tools for quick touch-ups.
You’ll notice less effort, more efficiency, and a tidier footprint.
Conclusion
In a tiny space, smart layout tweaks turn limitation into livability. Plan room-by-room, pick multi-purpose furniture, and hide clutter with clever storage. Smooth traffic flows erase bottlenecks, while lighting and color reveal openness you can feel. Use screens, rugs, and shelving to carve flexible zones without walls. Budget upgrades with big impact; small changes compound into real comfort. Think of your home as a sailboat—every choice trims waste, guiding you toward calm, usable space.