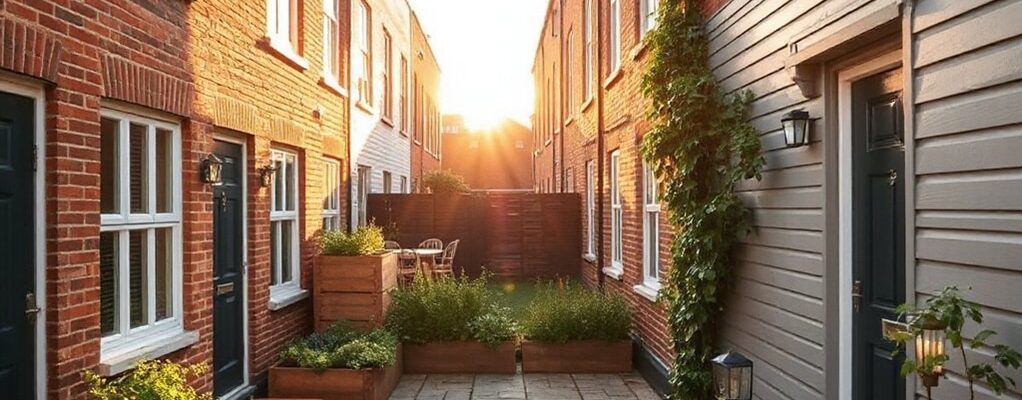
Terraced houses are basically begging for a makeover that feels bigger than the footprint allows. You’ll get smarter layouts, more light, and better flow with open-plan tweaks, light-first room sequencing, and kitchen reshuffles that fit a narrow corridor. But the real payoff comes when you balance practical upgrades—windows, insulation, and privacy with outdoor zones and durable materials—without sacrificing historic charm. Curious how to start and what to expect from permits to budget?
Key Takeaways
- Open-plan extensions to maximize usable space without widening the footprint, maintaining a single axis and consistent ceiling heights.
- Enhanced natural light through tall glazed doors, skylights, and large-format tiles to brighten corridors and rooms.
- Reconfigured circulation with phased sightlines, built-in storage, and multi-use nooks to reduce clutter.
- Energy efficiency updates: high-performance windows, insulation, solar panels, and weather seals for long-term savings.
- Respect for heritage and materials: blend modern upgrades with original features using cohesive palettes and neighborhood-appropriate textures.
Terraced Homes: Why Smart Renovations Matter
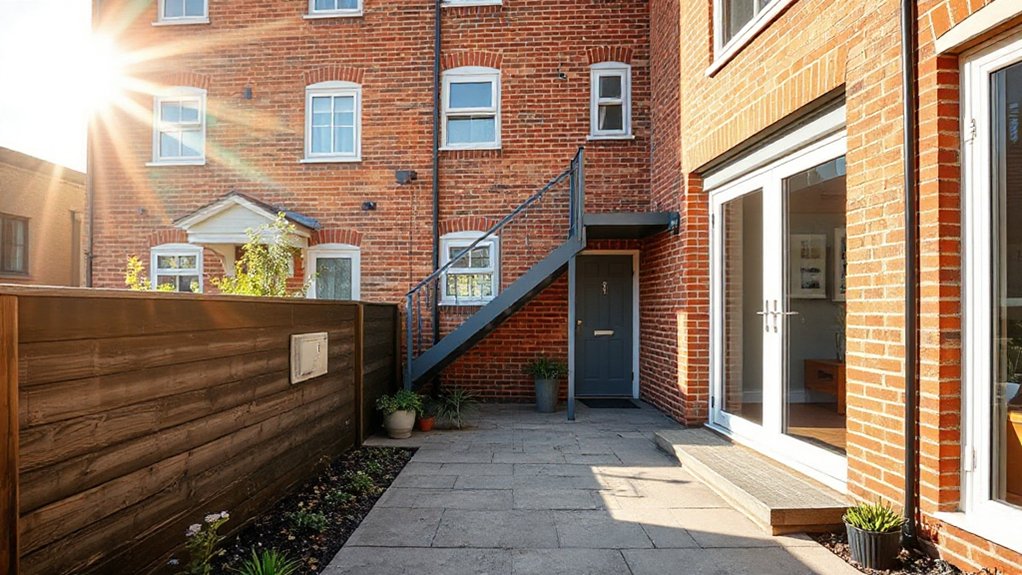
Terraced homes can feel cramped, but smart renovations prove you don’t need a bigger footprint to make a space feel open and functional. You’ll gain value by focusing on flow, light, and targeted storage, not sheer volume.
Prioritize structural checks and compliant updates to preserve safety and efficiency. When you plan, think about historical preservation and how design details respect era-specific character while improving usability.
You can keep original cornices, stairlines, and sash windows if you pair them with modern insulation and glazing options. Neighborhood character matters too: choose materials and colors that blend with surrounding homes.
Practical fixes like reconfiguring circulation, upgrading mechanicals, and maximizing natural light create a sense of airiness. Smart renovations protect heritage, enhance comfort, and sustain resale appeal without overhauling the footprint.
Open-Plan Extensions for Narrow Terraced Footprints
Open-plan extensions can transform a narrow terraced footprint by maximizing usable space without widening the house. You’ll want a flow-driven layout that keeps circulation clear from front to back, so rooms feel connected yet defined.
Consider the structural implications early, balancing open areas with essential supports to maintain stability and flexibility.
Narrow Footprint Dynamics
When space is tight, an open-plan extension on a narrow terraced footprint can dramatically improve flow and light, so you gain a central living zone without sacrificing exterior width. You focus on maximizing usable surface by aligning rooms along a single axis, using parallel walls and consistent ceiling heights to avoid cramped feels.
Think in steps: extend shallow, keep fixtures compact, and choose integrated storage to reduce clutter. Materials should reflect the terrace’s rhythm: slim profiles, light tones, and glazing that ties indoors to the street without overwhelming the facade.
Consider historical significance and cultural context when selecting finishes or brick reveals, ensuring the addition respects the terrace’s story. Prioritize structural soundness, ventilation, and flexible zones to adapt to changing needs.
Flow-Driven Layouts
To create flow-driven layouts in narrow terraced footprints, start by prioritizing a single, continuous axis that links entry, living, and dining areas with minimal interruptions. You’ll benefit from open sightlines, pocket doors when needed, and unified flooring to reduce breaks in the progression.
Use furniture placement to reinforce the axis: place sofas and seating along a clear path, and avoid clutter that disrupts movement. Consider integrated storage and concealed wiring to maintain clean surfaces.
In garden landscaping, extend outdoor sightlines with glazing and a slim door to blur inside-outside transitions.
For interior decor, choose a cohesive color palette and consistent materials to support continuity. Keep scales modest, and plan lighting that guides the eye along the axis, creating a sense of spaciousness without sacrificing comfort.
Structural Considerations
Structural considerations for open-plan extensions in narrow terraced footprints demand careful planning of load paths, party walls, and roof geometry. You’ll assess how removing internal partitions affects support from adjacent homes, so you know where to reinforce.
Start with foundation stability, ensuring the ground is evenly loaded and the footings won’t settle differently along the line.
Next, identify load bearing walls and how their removal or adjustment changes vertical and lateral forces. Use temporary supports during demolition and design continuous beams or RSJs where needed.
Consider roof structure continuity across the new span and any party-wall compliance under building regs.
Detail airtight, load-distributing floor joists to prevent squeaks and movement.
Plan for retention of services and sound insulation without compromising stability.
Light-First Layouts for End-to-End Terraces
Have you ever wished for a brighter, more fluid end-to-end terrace? Light-first layouts prioritize natural lighting and sightlines to create a cohesive flow from front to back.
Start with open, uninterrupted corridors and minimal partitions that don’t trap daylight in hallways. Use tall, glazed doors or skylights where possible to bring in daylight from both ends, widening the sense of space.
Place primary daily zones—living and dining—along the longest axis to harness natural lighting throughout the day, establishing a clear spatial hierarchy.
Consider consistent ceiling heights and aligned window positions to avoid visual breaks.
Choose light-reflecting finishes and restrained color palettes to amplify brightness.
Finally, guarantee passive ventilation channels work with the layout for comfort and energy efficiency.
Kitchen Upgrades That Fit a Narrow Corridor
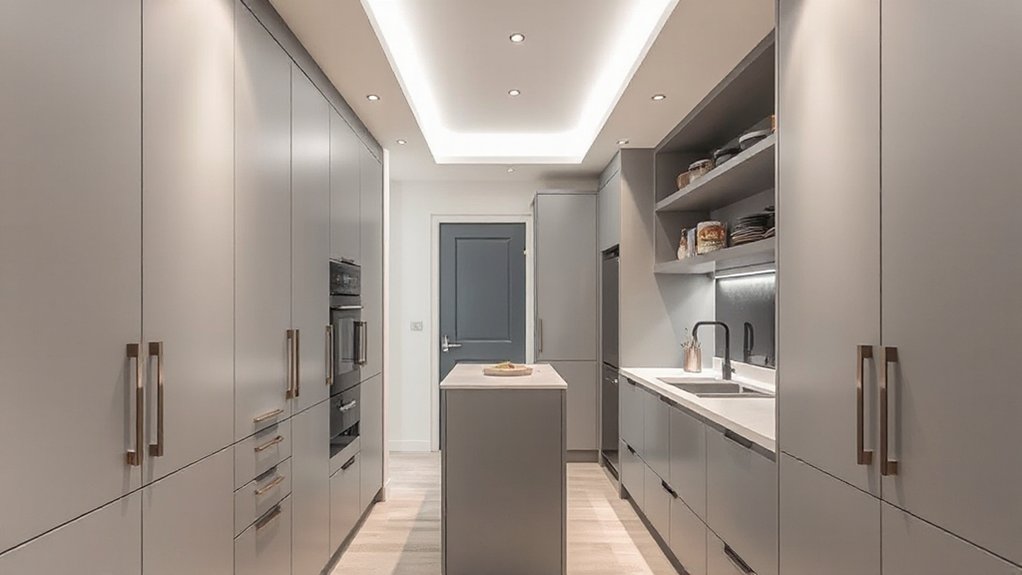
If your kitchen is a narrow corridor, focus on a straight or L-shaped layout that keeps your workflow tight and efficient. Prioritize maximizing workspace and storage without crowding the path.
Choose light materials and reflective surfaces to boost perceived space. Small tweaks—slim cabinets, under-cabinet lighting, and compact appliances—can dramatically improve usability in tight spaces.
Narrow Kitchen Layouts
A narrow kitchen can feel cramped, but smart design makes it far more usable. You’ll maximize every inch with a galley or L-shaped layout that keeps movement fluid. Opt for tall cabinets to store efficiently, and choose wall-mounted rails for utensils to free counter space. Use a single, uninterrupted run for appliances to minimize bending and reaching.
Color psychology matters—lighter tones with a cohesive backsplash reflect light and open the room visually. An accent color can highlight zones without clutter. Prioritize integrated appliances and shallow drawers for everyday tools.
Acoustic insulation helps reduce noise from dishwashing and cooking, making the space feel calmer. Finish with bright, reflective surfaces and under-cabinet lighting to enhance visibility, safety, and focus.
Maximize Workflow Space
In a narrow kitchen, workflow isn’t just about layout—it’s about uninterrupted movement from zone to zone. You’ll maximize efficiency by aligning prep, cooking, and cleanup in a single, continuous line, with the sink and hob close enough for easy transfer.
Choose tall, slim storage to keep counters clear, and implement Smart storage solutions like pull-out shelves, corner lazy Susans, and labeled bins to minimize rummaging time.
Prioritize a triad: prep near the fridge, cook near the oven, and wash near the sink, with a clear path between zones.
Use wall-mounted hooks for utensils and a magnetic strip for knives to reclaim counter real estate.
Plan for workflow optimization with closed cabinetry to reduce visual clutter and ease cleaning between uses.
Light for Small Corridors
Lighting a narrow kitchen corridor can feel tricky, but smart choices make it feel brighter and more spacious. Start with a bright base: light, reflective cabinets and countertops bounce light without crowding the space.
Opt for open shelving near the ends to avoid visual blocks and keep air moving. Use a thin, elongated lighting plan that runs along the ceiling or under cabinets to provide steady corridor illumination without glare.
Prioritize natural lighting where possible: a glass door, frosted panels, or a sky light can dramatically improve mood and function.
Choose neutral tones and matte finishes to reduce hotspots. Incorporate a mirror or mirrored backsplash to amplify light.
Finally, guarantee uniform lighting levels to prevent shadows and support efficient, safe cooking.
Spa-Style Bathrooms in Tiny Terraces
With small terraced spaces, you can still create a spa-style bathroom that feels calm and expansive by prioritizing compact, high-impact elements.
In tiny terraces, choose a frameless shower with clear glass to visually enlarge the room and add a rain-shower head for a luxurious feel.
Install wall-hung or compact vanities to free floor space, and pair them with backlit mirrors for brightness without bulk.
Use a light, cohesive palette and large-format tiles to minimize grout lines and echo a spa vibe.
Introduce texture with natural stone, wood, or pebble mats sparingly.
Integrate hidden storage behind doors or in recessed niches to maintain calm.
Finally, guarantee adequate ventilation to keep moisture at bay in spa bathrooms on tiny terraces.
Clever Storage Solutions for End-to-End Homes
Think about hidden storage hacks that blend with your layout, from under-stair drawers to wall-mounted options. Use space-savvy cabinetry and built-ins that maximize odd nooks, so every inch serves a purpose.
Consider multi-use nook solutions that let you store, work, or sit without clutter.
Hidden Storage Hacks
Hidden storage can transform cramped spaces into usable room, especially in end-to-end homes where every inch counts. You’ll spot quick win ideas that don’t clutter your decor.
Start with low-profile benches in the hallway that lift to reveal hidden compartments for boots, umbrellas, or seasonal gear. In living areas, choose coffee tables or ottomans with concealed compartments to tuck chargers, remotes, and games out of sight.
Under-stair nooks become practical hideaways for books, bikes, or cleaning supplies, while drawers built into window seats maximize natural light without sacrificing seating.
Use wall niches in bedrooms for vacuum storage or linens, keeping surfaces clean and open. Look for hidden compartments in beds or cabinets to maintain a tidy, streamlined look throughout your end-to-end home.
Space-Savvy Cabinetry
End-to-end homes benefit from cabinetry that makes every inch count, not just what you store but how you access it. Space-savvy cabinets maximize narrow or irregular spaces with vertical stacking, pull-out shelves, and corner carousels that keep essentials within reach.
Choose shallow depth in kitchens to reduce clutter, paired with tall, full-height units to utilize ceiling space. Integrate multi-functional furniture where possible—bench seating with hidden bins, breakfast bars that swing open, and fold-away desks that blend with cabinetry.
In bathrooms, install recessed niches and medicine cabinets with adjustable shelves. For laundry and entry areas, use modular stacks and wall-mounted systems to free floor space.
Opt for compact appliances that fit in tight footprints without sacrificing performance.
Multi-Use Nook Solutions
Could a small nook do big work? Yes. Multi-use spaces make end-to-end homes feel larger without expanding footprint.
Think compact bench-seat storage that pulls out for daily seating yet hides tools, toys, or mailing clutter. Nook solutions should prioritize accessibility, so keep doors and drawers easy to open, with shallow shelves for documents and charging hubs.
Fold-down desks or wall-mounted tables convert a corner into a workstation in seconds, then disappear when not in use.
Vertical storage matters; use tall, slim units to reclaim floor space while keeping essentials within reach. Integrate lighting and power where you pause, so tasks flow smoothly.
Choose durable finishes and maintainable hardware to sustain the multi-use appeal over time.
Safer, Smarter Stairs and Landings
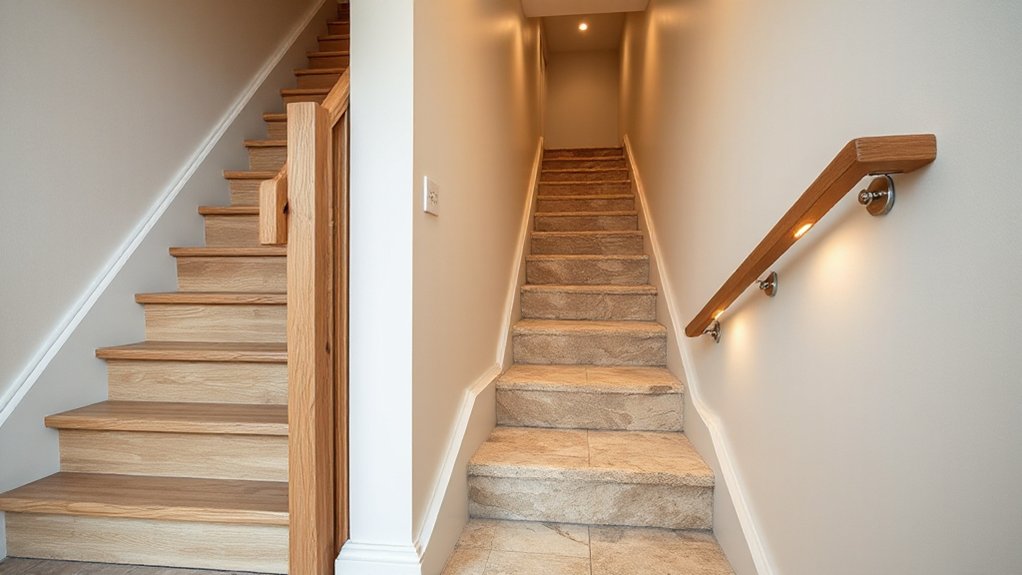
Improving stairs and landings isn’t just about looks—it also boosts safety and daily usability. You’ll want solid, well-lit steps with even rise and run, and a firm handrail on at least one side. Check for loose risers and squeaks, repairing them to prevent trips.
Choose non-slip treads and contrasting nosings to aid visibility, especially for guests or kids. For landing design, create a clear, unobstructed passage with adequate width and a landing pad at the top and bottom. Add tactile indicators if needed and guarantee adequate lighting, including motion-triggered options.
Consider a shallow, extra-wide landing to reduce crowding and provide a resting spot. Finally, keep clutter off stairs and use storage beneath landings to maintain a tidy, safer flow.
Floorplan Tricks: Nooks, Alcoves, and Flow
Nooks can guide your traffic and create natural zones, helping rooms feel more connected without crowding.
Alcoves maximize storage and display space, turning awkward gaps into purposeful corners.
Nooks For Seamless Flow
To create seamless flow in a terraced layout, use nooks and alcoves to guide movement and define zones without breaking sightlines. You can position a slim built-in bench or shelf between dining and living areas, creating a subtle boundary that stays open.
Think about aligning furniture along natural sightlines so you don’t interrupt the line of sight from front door to the back wall. Nooks and crannies work best when they’re simple, unobtrusive, and multipurpose—think a compact reading nook or display ledge that doubles as a pass-through.
Keep finishes cohesive with the surrounding decor to maintain rhythm. Use cozy corners to invite seating without crowding, ensuring every room reads as connected rather than compartmentalized. This approach maintains flow while adding functional, tactile character.
Alcoves To Maximize Space
Alcoves can reclaim floor space by creating purpose without enlarging the footprint. In terraced homes, you can carve nooks into hallways or under stairs to house storage, shelves, or a compact workspace. Choose shallow depths and vertical storage to keep paths clear, then frame openings with trim that feels intentional rather than makeshift.
Decorative alcoves add character while preserving flow, so place them along primary sightlines or near entryways to cue function at a glance. For living areas, use alcoves for seating bays or media setups that tuck equipment without bulk.
Consider alcove lighting to emphasize depth and mood, avoiding glare. Pair with modular furniture and consistent finishes to keep the space feeling cohesive, bright, and efficient.
Exterior Curb Appeal Makeovers for Terraced Homes
Even small changes can dramatically boost curb appeal for terraced homes, and start with the exterior you see first. You’ll invigorate the front facade by trimming overgrown greenery, painting or renewing front doors, and repairing cracked masonry to create a clean, cohesive first impression.
Consider simple, durable accents like a new mailbox, house numbers, and a welcoming doormat to signal care without overwhelming the doorway.
Garden landscaping matters: add seasonal potted plants, keep window boxes tidy, and define a clear path with edging.
Exterior lighting is essential for safety and ambiance; install warm LED sconces by the entry and a low-voltage path light to guide visitors.
Finish with a tidy, clutter-free porch to maximize impact.
Energy Efficiency Upgrades for Terraced Rows
If you’re upgrading a terraced row for better energy efficiency, start with the basics: seal air leaks, improve insulation, and upgrade with efficient windows. Air-tight living spaces prevent drafts and reduce heating demand, so tackle gaps around doors, windows, and shared walls first.
Upgrade insulation where it counts—attics, external walls, and floor junctions—to curb heat loss without bulking up the home.
Choose high-performance, energy-rated windows to minimize heat transfer and condensation.
Consider solar panels to offset daytime usage and reduce long-term bills, especially on your roof’s exposure.
Pair solar with insulation upgrades for a balanced system that keeps warmth in and cooling needs down.
Finally, draft-proof electrical boxes and pipe penetrations to close remaining gaps efficiently.
Lightweight, Non-Structural Extensions for Terraced Homes
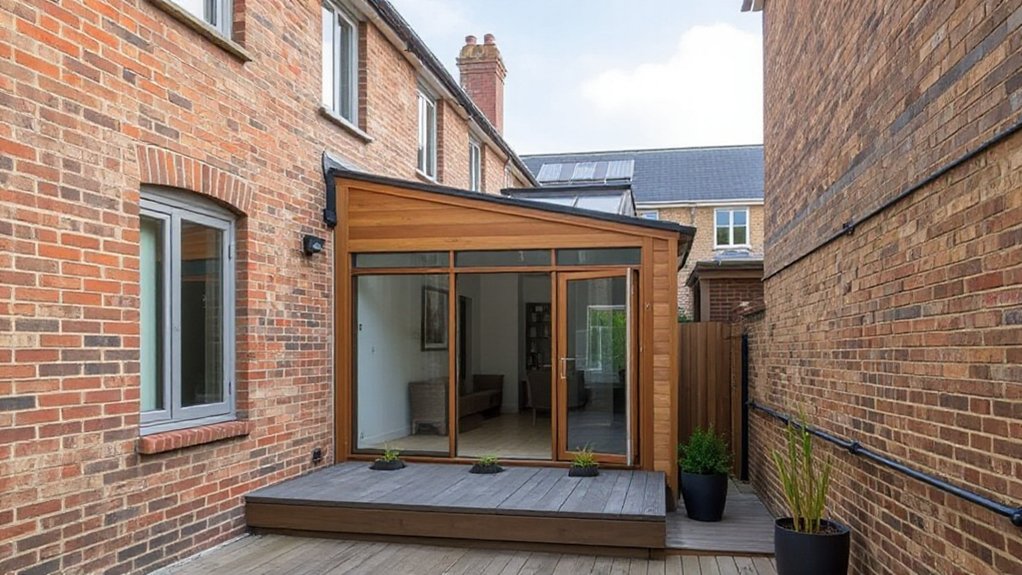
Lightweight, non-structural extensions offer terraced homeowners a practical way to gain extra space without major upheaval. You’ll typically add a single-storey rear or side panelled room that relies on lightweight frameworks and slim profiles, minimizing load on the existing structure.
Choose modern materials like insulated timber or aluminum-aluminium composites to keep weight low while boosting energy performance. The design should maximize daylight with large glazed panels and a flat or low-pitched roof for a clean silhouette.
Consider pre-fabricated components to speed up installation and reduce disruption. Guarantee proper foundations are simple, shallow, and compatible with your neighbor’s boundary line.
Plan for robust weather seals, thermal breaks, and discreet drainage to prevent future problems. This approach delivers space-saving practicality without a costly rebuild.
Smart Home Tweaks to Boost End-to-End Liveability
Smart home tweaks can make terraced living more comfortable and seamless without major renovations. You’ll gain end-to-end liveability by pairing simple devices with practical routines.
Start with Smart lighting to automate zones, dimming bulbs for evenings and bright task lighting in kitchens or hallways. Program schedules that mirror your day, so lights switch on as you enter rooms and soften when you leave.
Add voice control to common scenes—pair lights, blinds, and thermostats for effortless commands. Choose wireless hubs that integrate sensors for occupancy and energy insight, helping you reduce waste without extra wiring.
Keep setups modular so you can expand later. Prioritize reliability, privacy, and easy app access, ensuring you’re in control without complexity or disruption.
Outdoor Courtyards, Paving, and Privacy
Outdoor courtyards extend your terraced home’s living space, so start by outlining a simple layout: define seating, dining, and cooking zones, then connect them with easy pathways.
You’ll want durable materials that withstand weather and foot traffic, plus a cohesive color palette that ties indoor and outdoor areas together.
Use a mix of hardscape and softscape to control sightlines and privacy: consider tall planters, lattice screens, or evergreen hedges to screen neighboring views without closing you off.
Plan smart storage for cushions and tools to keep the area tidy.
Integrate practical outdoor decor and functional lighting, prioritizing courtyard lighting that highlights pathways and seating zones after dark.
Choose permeable paving to manage rainwater and reduce runoff.
Feasibility, Permits, and Budget Benchmarks
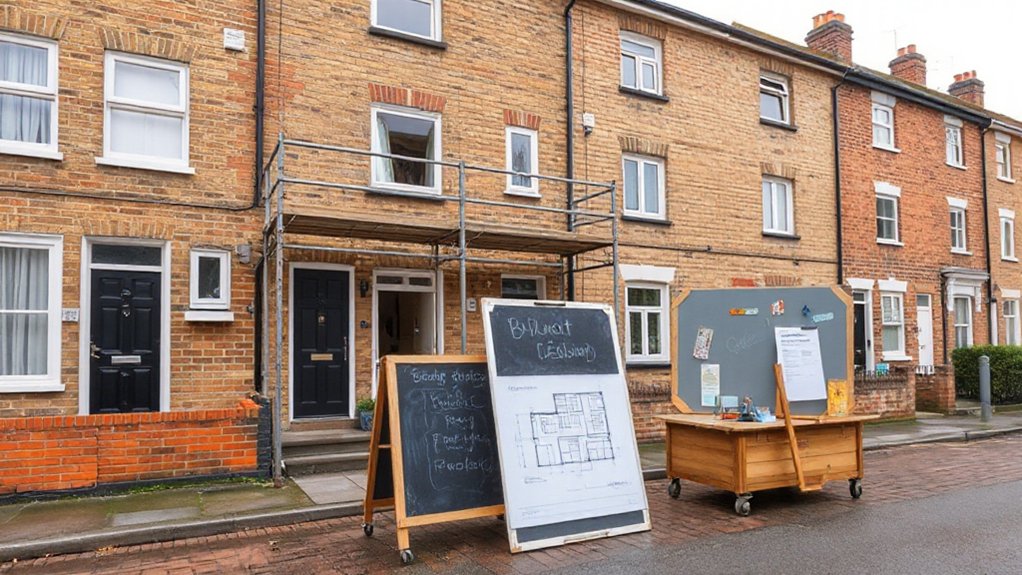
You assess feasibility by outlining what changes you can legally and practically make to your terraced home, given space, structure, and neighbor constraints. Check building codes for structural, electrical, and plumbing limits, and identify any required renovation permits before you start.
Create a realistic budget that covers design, trades, materials, contingency, and potential professional fees.
Prioritize critical constraints—load bearing, party-wall rights, and fire-safety requirements—to avoid rework.
Schedule permissions early, then align timelines with permit processing and contractor availability.
Document decisions, keep receipts, and adjust as you refine scope.
Clear feasibility and budgeting prevent costly delays and guide smarter renovation choices.
Case Study: Renovation Wins in Terraced Streets
In this case study, we’ll show how real terraced-street renovations turned tight constraints into practical wins. You’ll see a narrow-through-plot home gain flexible living space by shifting vertical access and reconfiguring the hallway layout.
A compact kitchen island becomes a social hub without narrowing circulation, while integrated storage keeps rooms uncluttered. Exterior decisions leverage historic preservation principles, preserving key facades while updating windows, doors, and stair details to improve daylight and curb appeal.
Landscaping design plays a quiet but essential role: a slender courtyard, planters, and step-lighting extend usable outdoor time without crowding the footprint. We highlight modular furniture, under-stair storage, and multi-functional zones that adapt to changing needs, proving that disciplined design can transform tight streets into comfortable, efficient homes.
Maintenance Paths: Keeping Your Terrace Fresh
Regular maintenance keeps your terrace looking fresh and functioning well year after year. Start with a clean slate: sweep debris, wash surfaces, and inspect for cracks or loose tiles.
Schedule seasonal checks to prevent wear from weather, and seal or repaint wood and metal elements as needed.
Create clear drainage paths, removing standing water to deter mould and stains.
Involve simple landscape design tweaks, like edging beds and choosing low-maintenance plants that resist pests.
Use durable, non-slip finishes for safety, especially in wet months.
For pest control, seal gaps around doors and windows, trim vegetation away from the house, and monitor for signs of infestation.
Tidy, resilient paths reduce damage and maintenance time, keeping your terrace inviting year-round.
Frequently Asked Questions
How Much Space Should a Terraced Renovation Cost on Average?
You’ll typically spend about £10,000–£35,000 for a terraced renovation, depending on scope. Plan for interior lighting upgrades and exterior landscaping, as these drive costs; you’ll see better mood, curb appeal, and energy efficiency with smart, efficient choices.
Which Renovations Preserve Historic Terrace Integrity Best?
Preserve historic integrity by focusing on sympathetic, non-invasive upgrades that respect original details; prioritize structural integrity, avoid over-cladding, and use reversible methods. Historic preservation guides you; when you strengthen framing, you protect legacy and guarantee durability.
Are There Legal Height Restrictions for Extensions on Terraces?
Yes, there are height limits, and you must check building permits and zoning regulations first. You’ll need to confirm permitted extension height with your local authority, verify compliance, and factor potential variances into your planning.
How Long Does a Typical Terraced Renovation Take?
A typical terraced renovation takes several weeks to a few months, depending on scope. You’ll plan carefully, secure permits, and coordinate trades. Garden landscaping and interior remodeling can run concurrently, but expect weather and access to influence timelines. Stay flexible.
What Are Common Hidden Costs in Terrace Projects?
Ever wondered what sneaks up in terrace projects? Expect hidden expenses like permit fees, disposal, and access issues. You’ll need accurate cost estimation, contingency funds, and clear contractor scopes to avoid overruns and keep your budget intact.
Conclusion
Let me spell it out for you: renovating a terraced house isn’t glamorous, it’s stubbornly practical. You’ll squeeze in open-plan vibes, chase more light, and pretend a tiny kitchen can handle a feast. You’ll juggle permits, budgets, and stubborn walls like a pro—ironically, the more you cut, the more you gain. So yes, you’ll love your brighter, smarter home, even if you mutter about coffee being a throne in a hallway. Rely on solid plans, not vibes.