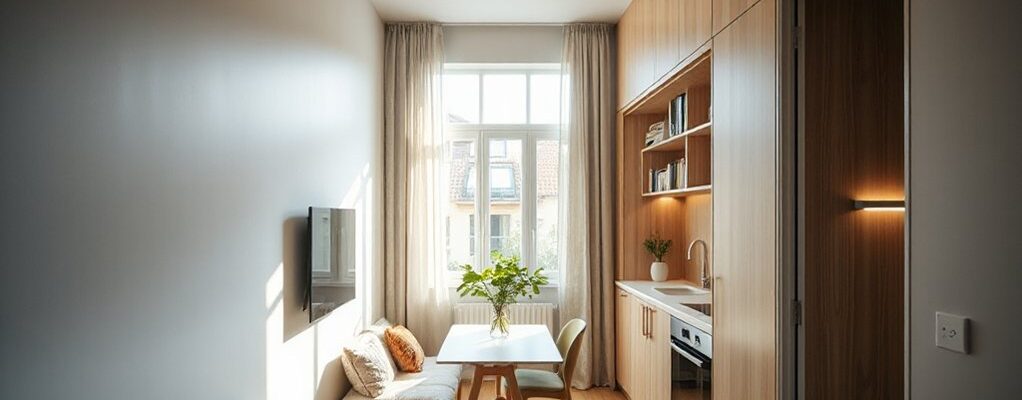
You’ll transform a small apartment by smartly planning space, choosing multi-task furniture, and adding hidden storage that doesn’t shout for attention. Prioritize open sightlines, layered lighting, and textured surfaces to keep things airy. Map zones, test layouts with tape, and declutter so every inch earns its keep. It’s a disciplined approach that pays off in real, usable upgrades, with room to personalize. The key idea waits just beyond the threshold of your current setup.
Key Takeaways
- Plan a zoned layout first, using furniture placement, color, and lighting to define living, cooking, and work areas.
- Prioritize multi-functional, space-saving pieces (wall beds, foldables, built-in storage) to maximize floor area.
- Increase perceived space with vertical storage, hidden compartments, mirrors, and layered lighting.
- Use light colors, subtle textures, and restrained patterns to create depth without clutter.
- Personalize affordably with curated decor, upcycled pieces, and cohesive finishes for a polished look.
What Makes Small Spaces Feel Workable
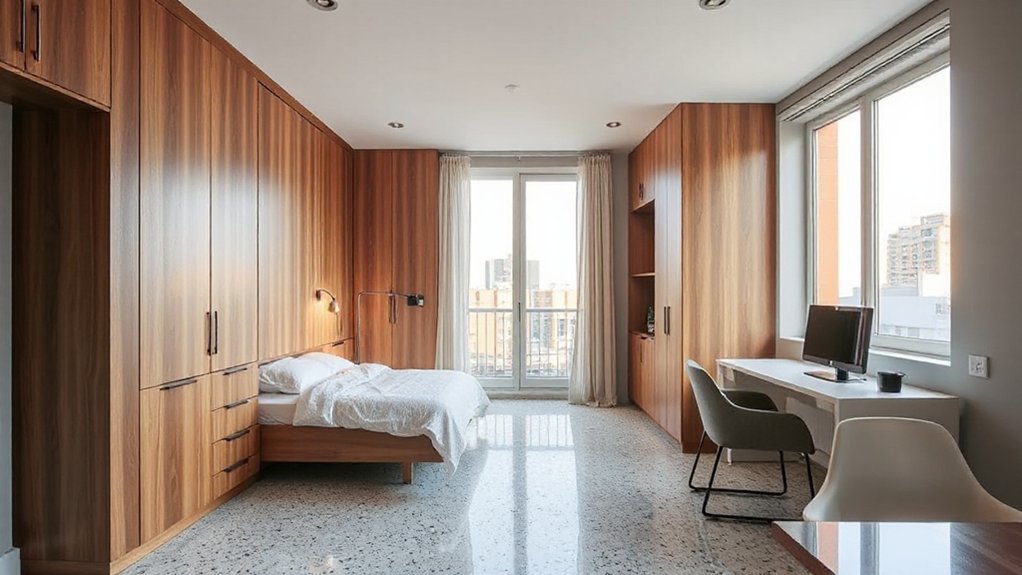
Smart small spaces feel workable when every inch earns its keep. You’re designing with intention, not clutter. You optimize furniture placement to create clear paths, sightlines, and zones, so movement feels effortless rather than cramped.
Natural lighting becomes a sculptor, not a backdrop; large windows, sheer coverings, and well‑placed mirrors multiply brightness without adding bulk. You choose multi‑functional pieces that tuck away, freeing floor area for flow.
Color and texture stay restrained, so light and shape define the room, not busy patterns. Elevate ceilings with vertical storage and floating surfaces, pulling the eye upward.
Each choice reinforces a simple rule: every element earns its keep. With precise arrangement, you experience calm, clarity, and the practical beauty of a space that breathes.
Start With a Smart, Space-Saving Layout Plan
To begin, map your space layout before picking furniture. Start with a clean grid: define zones for living, eating, and work, then test sightlines and traffic flow.
Prioritize vertical space with slim storage walls and a foldable desk to keep floors open. Place a compact sofa or chairs so you can navigate around a central hub of activity without crowding.
Use colors and textures to guide the eye—color harmony creates calm, cohesive zones that feel larger, while mirrors or glass surfaces reflect light and add depth.
Layer lighting as you plan: a bright ambient base, task lighting at desks, and warm accents near seating to soften edges.
Keep furniture minimal, proportional, and easy to rearrange as needs shift.
Multi-Task Furniture That Saves Square Footage
When space is tight, multi-task furniture becomes a strategic tool: pieces that serve more than one function widen your possibilities without expanding your footprint. You’ll choose modular seating that converts to a guest bed, a coffee table that folds into a workspace, and wall beds that reveal storage shelves.
Opt for tabletops with built-in charging, hidden compartments, and responsive hinges that protect edges. Select desks that double as room dividers, so you maintain flow without clutter.
Integrate smart technology for climate, lighting, and power, controlled from a single panel. Urban gardening benefits from compact, integrated planters that slide out for care without consuming floor space.
These thoughtful, adaptable elements create room for daily routines and personal expression while preserving openness.
Clever Storage Ideas You Can Implement Today
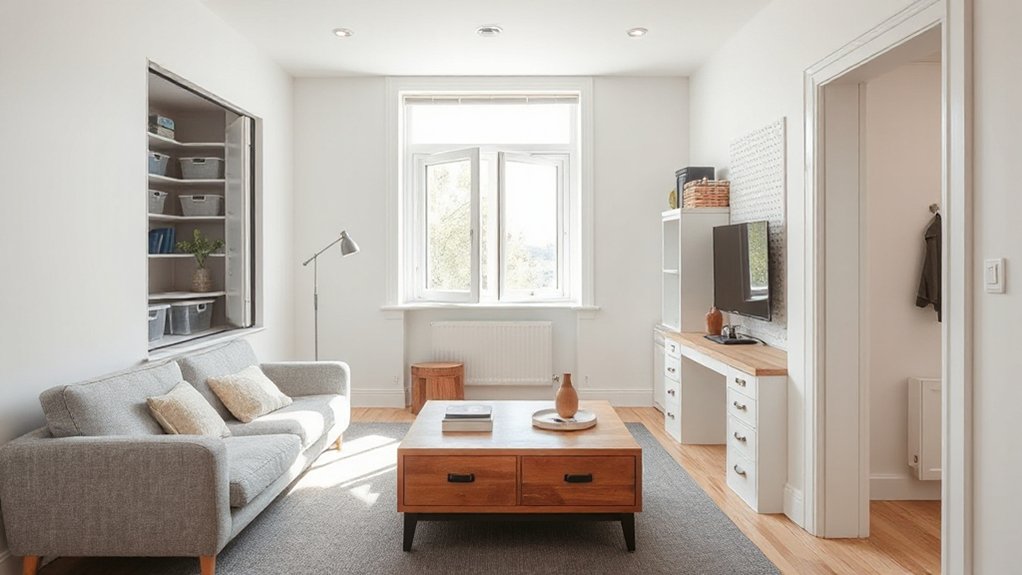
You can maximize every inch with hidden storage that blends seamlessly into your decor. Tap into vertical space for shelves and hanging organizers, so floor area stays open.
Choose multi-functional furniture that hides essentials and adapts to your routines.
Hidden Storage Hacks
Hidden storage isn’t just clever—it’s essential. You’ll gain space with hidden compartments folded into everyday surfaces, so clutter never interrupts your flow.
Start with a bed frame that hides drawers or a hollow ottoman that serves as seating and storage. In kitchens, choose counters with toe-kick drawers and appliances tucked behind cabinet fronts to conceal bulk.
Look for secret nooks in the corners of desks, stairs, or alcoves; these micro-reserves keep essentials out of sight yet instantly reachable.
In bathrooms, consider lidded bins inside vanity doors and medicine cabinets that slide on rails.
When you redefine interfaces, every edge becomes a potential organizer. Subtlety matters: quality mechanisms, soft-close runs, and uniform finishes guarantee these hacks feel like built-in design.
Vertical Space Maximization
Vertical space isn’t just leftovers on the wall—it’s usable square footage waiting to pay off. You’ll redesign your footprint by stacking purpose, not clutter.
Start with vertical gardening where shelves extend upward, growing herbs and greens in tight zones without sacrificing floor area. Install wall-mounted planters and modular planters that snap into rails, keeping weight balanced and accessible.
Use ceiling lighting to draw eyes upward, selecting slim, adjustable fixtures that illuminate tasks below while highlighting greenery.
Add peg rails, magnetic strips, and hanging baskets to keep daily items within reach yet out of the way. Choose transparent bins and color-coding to reduce visual noise.
Prioritize clean lines, consistent finishes, and deliberate gaps to create calm, functional height without crowding the room.
Multi-Functional Furniture Choices
When space is tight, choose furniture that serves more than one purpose and tucks away when not in use. Multi-functional pieces maximize square footage without sacrificing style. Look for hidden storage under benches, ottomans with lift lids, and coffee tables that convert to desks.
Opt for modular seating you can rearrange for guests or quiet corners, prioritizing ergonomic seating to support posture during long tasks. A wall bed with a built-in wardrobe or a slim console that doubles as a desk keeps floors clear.
Color psychology informs your choices: calm neutrals with high-contrast accents feel organized, while warm tones invite coziness around compact dining zones. Prioritize clean lines, durable finishes, and predictable mechanisms to avoid clutter and maintain aesthetic clarity.
Color, Light, and Texture Tricks to Make a Space Feel Bigger
Color perception tricks show how cool, light hues can visually expand walls, while brighter accents pull the eye outward. As you balance reflections and matte surfaces, light seems to travel farther and space feels more airy.
Texture depth—layered fabrics, subtle sheens, and tactile contrasts—adds dimension without crowding the room.
Color Perception Play
Even simple adjustments to color, light, and texture can make a space feel larger, brighter, and more cohesive. You test color perception by pairing soft neutrals with selective accents, letting hues recede where you want airiness and pop where you crave focus.
Use high-contrast trim to frame doors or alcoves, guiding the eye and extending perceived boundaries. Texture matters: a matte wall alongside a glossy surface creates depth without crowding.
Install lighting that flatters without flattening: a cool wash for scale, warm accents for warmth, all while eliminating harsh shadows.
Visual illusions come from proportional relationships—repeat a dominant color in small doses, mirror shapes, and stagger vertical elements. The result is calmer, more expansive space achieved through deliberate color perception play.
Light Reflects Space
Light can do the heavy lifting: it expands, reveals, and harmonizes space when tuned with texture and color. You’ll harness natural illumination to brighten nooks without crowding them, letting color and material choices guide perception.
Use tall, unobtrusive mirrors or reflective surfaces to bounce daylight across walls, creating continuity from room to room. Let light wash ceilings and floors with a soft glow to elongate shallow zones.
Keep surfaces understated; gloss finishes should serve purpose, not spectacle. In practice, place light sources where they read as part of architecture, not as add-ons.
Subtle contrasts between warm and cool tones enhance depth without narrowing lines. The aim is clarity, airiness, and cohesion, so every reflective element contributes to a unified, brighter space.
Texture Depth Tricks
Texture depth isn’t about piling on details; it’s about orchestrating color, light, and texture to broaden perception. You sculpt a room by balancing tonal contrasts, not by clutter.
Start with textural contrast: pair smooth surfaces with subtle roughness to create visual rhythm without heaviness. Introduce tactile layering through fabrics, rugs, and wall treatments that invite touch yet stay restrained.
Use light to reveal texture; matte walls soften, while selective gloss on trim catches daylight moments. Keep color confident but restrained, letting light do the widening work.
Layer pattern sparingly on furnishings, so the eye travels rather than stops. Avoid busy repeats; aim for coherence.
The result is a space that feels larger, unified, and tactilely rich—without sacrificing clarity or calm.
Zone the Space Without Walls or Clutter
To zone the space without walls or clutter, start with a clear rhythm: designate key zones—living, cooking, and work—using furniture placement, color, and lighting rather than partitions.
You create flow by choosing a unifying palette and repeating shapes across zones. Keep surfaces clear and use open concept sightlines to maintain openness while guiding movement.
Introduce decorative accents that define character without crowding the air: a sculptural lamp, a slim console, or a framed textile near the couch signals progression.
Elevate zones with lighting layers—pendant over the dining area, task light at the desk, ambient glow for the living nook.
This approach feels intentional, modern, and breathable, maximizing space without walls or clutter.
Budget-Friendly Decor Ideas That Express Your Style
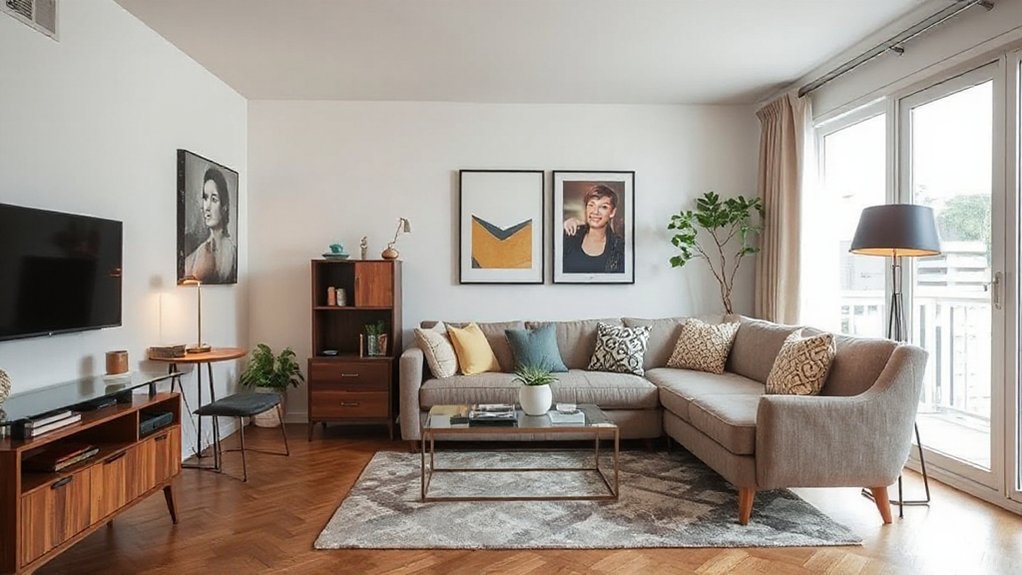
Spruce up your space without breaking the bank by curating decor that mirrors your style. You don’t need lavish pieces to make a statement—curation beats accumulation.
Begin with a few vintage accents: a retro lamp, a weathered mirror, or a midcentury chair refreshed with fresh upholstery. Layer texture through textiles you already own or inexpensive finds, like knit throws and woven cushions, to add warmth without crowding.
Create focal points with artistic displays: a small gallery wall, a sculptural vase, or a shelf of collected trinkets arranged by color or shape. Swap out generic decor for pieces that tell your story, and embrace thrifted or DIY items to maintain restraint.
Keep lines clean, colors cohesive, and space breathable to achieve a polished, personal vibe.
Design Swaps That Boost Function in Small Spaces
Small-space living benefits from deliberate swaps that prioritize function over form. You choose compact, multi-use furniture that folds away or stacks neatly, freeing floor space for daily tasks. Swap bulky pieces for streamlined silhouettes with built-in storage; your surfaces stay clear, your sightlines stay open.
Color psychology informs your palette: cool neutrals expand rooms, while strategic accent tones guide attention to key zones without crowding them. Move essential items to reachable zones, pinning frequently used tools near how you move through the day.
Lighting design becomes a tool, not a mood, by layering ambient, task, and accent layers to reduce cluttered shadows. Clear labeling and modular organizers keep workflows seamless, transforming cramped areas into intentional, efficient micro-hubs.
Lighting Tricks for Open, Airy Vibes
Lighting isn’t an afterthought here—it’s the framework that keeps a compact home feeling expansive. You shape space with light by layering sources, not relying on a single fixture.
Start with ambient glow: a soft wash from ceiling fixtures or hidden coves makes walls feel farther apart and rooms more breathable.
Add task lighting where you read, cook, or craft, so glare and search-time diminish. Dimmer controls give you instant mood shifts without clutter.
Choose fixtures with clean lines and warm tones to preserve cohesion across rooms.
Mirror and light-colored surfaces reflect more without extra lamps.
Avoid heavy pendant clusters; opt for slim profiles that vanish into ceilings.
Balance daylight with strategic placement, letting windows carry the primary brightness and making evenings feel open.
Small-Kitchen and Laundry Optimizations
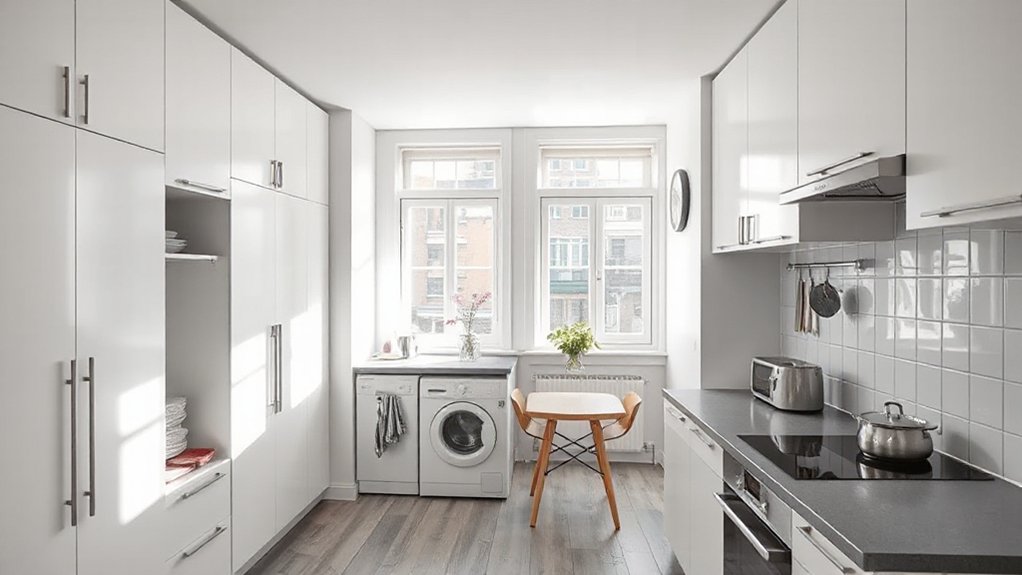
Think compact laundry zones can live right beside a compact kitchen, with stacking machines and folding counters that tuck away when not in use.
Optimize vertical kitchen storage by shelves, hooks, and magnetic organizers to free counter space for prep and meals.
Create multi-purpose surfaces that serve as prep, work, and service areas, so every inch earns its keep.
Compact Laundry Zones
Ever wondered how a compact laundry zone can quietly elevate a small kitchen? You design a smart workspace where appliances tuck neatly into cabinetry, using folding surfaces that double as prep counters.
Choose a compact washing unit that fits your footprint, paired with a shallow sink and a pull-out drying rack to keep daily tasks flowing without congestion.
Integrate labeled zones for sorting, washing, and folding, so workflows stay predictable and efficient.
Keep power and plumbing discreet, with recessed outlets and hidden hoses behind a panel.
Use vertical storage for detergents and lint traps, reducing clutter.
Opt for a clean, neutral palette and matte finishes to reflect light.
This approach delivers practical elegance, embodying Smart laundry principles in a restrained, purposeful footprint.
Vertical Kitchen Storage
Vertical storage isn’t just vertical; it transforms a small kitchen by reclaiming wall real estate for slim, accessible shelves, pull-out trays, and stackable bins. You align every inch with intent, creating a workflow that minimizes reaching and bending.
Put seldom-used items up high, daily staples at eye level, and utensils in magnetic strips or labeled bins for instant sightlines. Pull-out pantry drawers disappear into the column, turning dead space into usable depth.
Integrate Smart appliances with discreet timers and reactive lighting to guide each task, reducing clutter and waste. Choose ergonomic seating for a compact dining nook, ensuring comfort without encroaching on prep zones.
This approach keeps surfaces clear, speeds routines, and elevates the kitchen’s quiet, precise efficiency.
Multi-Purpose Surfaces
Integrate Smart appliances that communicate with your schedule, turning on a washer mid-day and running a compact dishwasher overnight without waking the apartment.
Allocate vertical space with slim shelves for detergents and microfiber cloths, keeping clutter off the work surface. Use modular, compact furniture that slides between modes—prep, wash, dry—with little effort.
This approach preserves flow, enhances light, and sustains a calm, organized kitchen-laundry hub.
Work-From-Home Corners That Don’t Crowd
Need a quiet, efficient corner? You carve out a dedicated zone that vanishes clutter and noise. Choose a slim desk or wall-mounted shelf, paired with a compact chair that suits your posture. Keep electronics tethered to one outlet with a simple power strip so cords stay invisible.
Use vertical space for storage: a narrow floating shelf, a corkboard, and a peg rail for timers, headphones, and notebooks. Lighting should be task-focused yet warm; a dimmable lamp prevents glare.
Establish co working etiquette: respect shared times, minimize interruptions, and tidy after sessions. Add ergonomic accessories—an adjustable monitor stand, a footrest, and an external keyboard—to support long hours without strain.
This corner blends function, style, and calm for efficient, focused work.
Real-World Before-and-After Case Studies
Real-world before-and-after cases show how smart design reshapes small spaces. You’ll notice how tiny kitchens gain counter depth with pocket doors, or how a studio consolidates zones without closing it off.
In living areas, built-ins replace clutter, and multi-use furniture preserves floor area while defining function. You’ll feel calmer when feng shui principles guide layout, balancing positive flow with visual lightness.
Acoustic treatment—smart paneling and rugs—muffles echoes in open plans, making conversations intimate and spaces feel larger. With careful color, you’ll create contrast that expands perception, not busyness.
Storage becomes seamless, doors vanish into walls, and lighting layers sculpt ambience. These case studies prove restraint yields resonance, translating restraint into livable, elegant efficiency.
DIY Projects That Stretch Your Budget
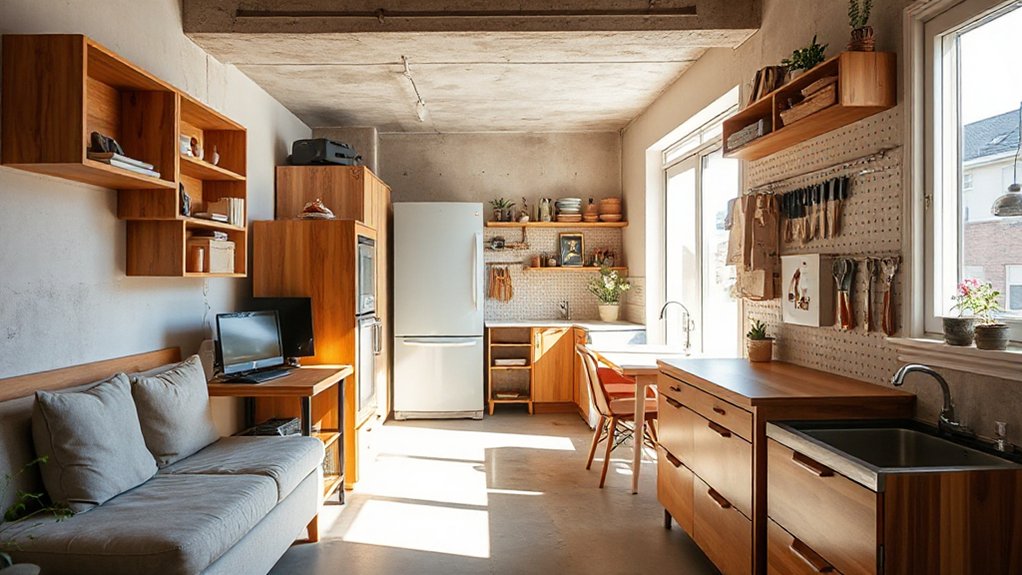
You’ll explore budget-friendly materials that look elevated without breaking the bank. Space-saving solutions and clever layouts let you do more with less, from multi-functional furniture to smart storage tricks.
Creative upcycling ideas spark personality while trimming costs, turning everyday finds into stylish, practical upgrades.
Budget-Friendly Materials
Smart, budget-friendly materials can transform small spaces without sacrificing style. You’ll choose versatile, durable options that look intentional rather than frugal. Start with plywood and MDF for shelving and built-ins, then pair with matte paints and tactful hardware to elevate detail without overspending.
Consider durable laminates for counter fronts and backsplash accents; you’ll gain longevity with a clean, cohesive look. When selecting textiles, opt for outdoor-rated fabrics that resist wear while maintaining softness.
For lighting, prioritize Smart lighting and Mood lighting to sculpt atmosphere without bulk fixtures. Durable, lightweight metals and powder-coated steel keep things visual lightweight yet sturdy.
Reuse window coverings and repurpose cabinet hardware for unique character. Maintain restraint: quality over quantity sustains the space’s refined, calm aesthetic.
Space-Saving Solutions
Small spaces demand clever layouts and multi-use pieces that save room without sacrificing style. You’ll design compact zones with foldable furniture, wall-mounted storage, and perimeter lighting to keep sightlines open.
Choose pieces that perform double duty: a bench with hidden bins, a dining table that doubles as a desk, and a bed with integrated drawers. Prioritize verticality—shelves, hooks, and magnetic strips free floor space while adding personality.
For Outdoor integration, balance indoor-outdoor flow with a folding door, a slim balcony table, and planters that blur boundaries without clutter.
Acoustic privacy matters; use soft textiles, strategic area rugs, and cork or fabric panels to dampen noise between rooms.
Keep hardware minimal, finishes cohesive, and maintenance effortless for ongoing practicality.
Creative Upcycling Ideas
Creative upcycling turns limited materials into standout pieces, letting you customize your space without breaking the bank. You transform everyday finds into focal points, using simplicity and restraint to guide design.
Start with vintage accessories; a refurbished lamp, a carved tray, or a forgotten vase instantly adds character without a large outlay. Upcycle furniture by sanding, repainting, or re-finishing to fit your palette, then pair it with multifunctional storage to keep surfaces clean.
Add artistic murals to create depth and personality in small zones, choosing bold accents or subtle textures that echo your theme. Use modular textiles: cushions, throws, and curtains that you rotate seasonally for fresh energy.
Finish with cohesion: repeat color, texture, and line to unify disparate pieces.
Quick Checklist to Transform Your Space Now
A quick checklist can jump-start a transformation: start by decluttering each zone, keeping only what serves function or joy, then measure and map the space to reveal flow. You’ll identify every surface’s purpose, free up visual weight, and define zones with clear boundaries.
Prioritize storage that vanishes from sight, so rooms breathe. Move to lighting: layer it, dimmers included, to control mood and scale. Select a restrained palette and repeat accents to unify the apartment.
For outdoor passages, plan garden planning considerations and integrate outdoor furniture where it extends daily living, not just decor. Test layouts with tape before committing, then introduce a single statement piece per area to anchor rhythm.
Finally, refine details—hardware, textiles, greenery—to finish with calm, cohesive balance.
Frequently Asked Questions
How Long Does a Full Smart-Design Upgrade Typically Take?
A full smart-design upgrade typically takes 2–6 weeks, depending on scope. You tackle smart lighting installs first, then automate storage, wiring runs, and system integrations, coordinating with contractors. You’ll appreciate cohesive aesthetics, faster daily routines, and fewer cluttered spaces.
What Is the Upfront Cost Range for Smart Space Changes?
Upfront, your upfront costs range roughly from a few thousand to tens of thousands, depending on scope. You’ll invest in Smart lighting and Automated climate upgrades, balancing mid-range fixtures with premium systems for a polished, cohesive space.
Which Design Mistakes Should Be Avoided in Small Spaces?
Avoid clutter, scale furniture wisely, and don’t block traffic. Focus on furniture arrangement that maximizes flow, choose cohesive color schemes, and leverage multifunctional pieces. You’ll keep spaces airy, cohesive, and visually balanced while avoiding cramped, mismatched clutter.
Can Renters Implement Lasting Smart Solutions Without Remodeling?
Yes—you can, instantly transforming your rental with barely-there changes. You’ll love smart lighting and modular furniture, delivering colossal vibes without remodeling; it’s lightning-fast, super-elegant, and remarkably renter-friendly.
How Do I Prioritize Upgrades for Maximum Impact?
Prioritize upgrades by impact: choose color schemes that expand perception and furniture placement that improve flow. You’ll notice space feels larger, brighter, and calmer, so start with lighting, then test adaptable, multipurpose pieces.
Conclusion
You’ll squeeze a palace from a shoebox. With one clever layout, your furniture dances in perfect harmony, every inch breathing room. Foldaways vanish clutter, while hidden nooks flirt with your stuff like secret garden alcoves. Layered light multiplies space, color widens horizons, and texture adds depth you swear you could plunge into. Work-from-home corners glide into corner-to-corner flow. In days, you’ll live like a designer’s dream—organized, airy, and wildly, impossibly stylish.