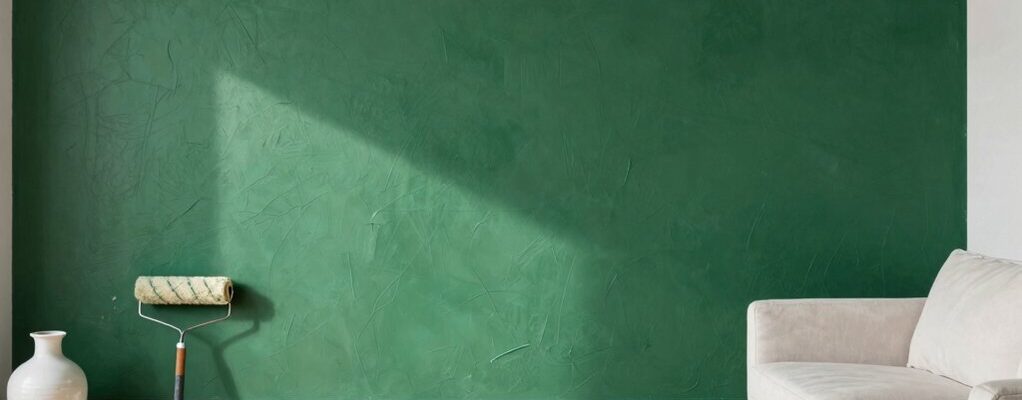
To paint an accent wall, start by selecting a wall with strong lines and good sightlines, then choose a color and finish that reflect the room’s mood. Prep the surface: clean, repair cracks, mask edges, and lay down drop cloths. Use a high-quality angled brush for edges and a 9-inch roller for flat areas, applying a first coat then a second for depth. Finish with clean lines and test under lighting—you’ll uncover more nuances as you continue.
Planning Your Accent Wall
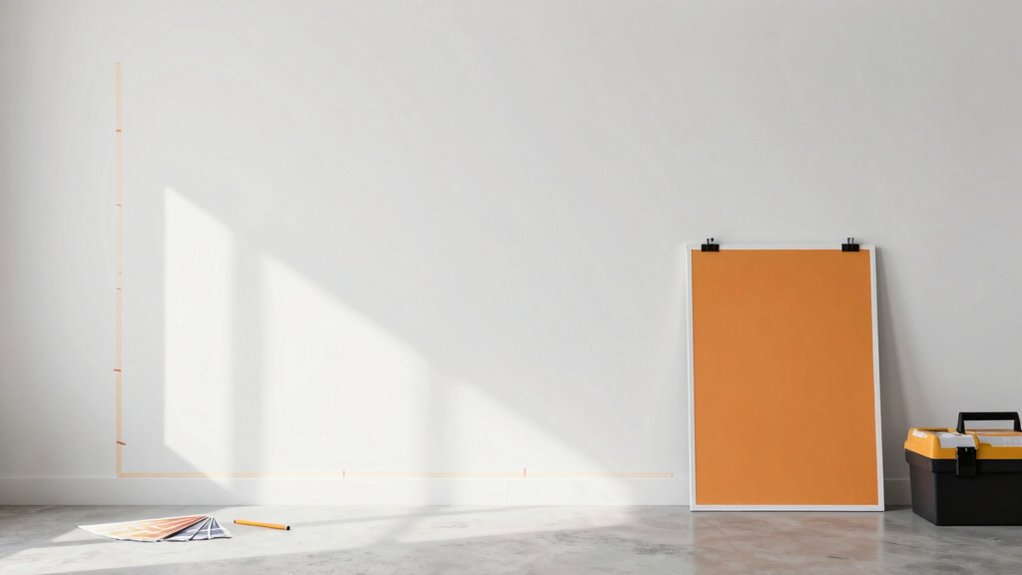
Before you pick paint swatches, define the purpose of your accent wall. Start by identifying one design goal: highlight architecture, frame artwork, or create a focal point in the room.
Then choose a target area that naturally draws attention—behind the sofa, a fireplace, or an entry wall.
Consider how the wall relates to adjacent colors; your accent should complement, not clash with, the rest of the palette.
Assess lighting conditions, since morning sunlight and artificial lighting shift tones.
Decide on a mood: bold and dramatic or calm and refined.
Set practical constraints: ceiling height, wall size, and maintenance needs.
Sketch a quick plan or sample layout to visualize balance, ensuring the accent wall supports furniture placement and traffic flow.
Choosing the Right Wall
Start by selecting walls with strong architectural lines or open sightlines, as these maximize impact without clutter. Consider how wall selection influences color impact, light interaction cues, and the surrounding decor to guarantee balance.
Keep your choice consistent with the space’s flow, natural light, and focal points to guide future design decisions.
Wall Selection Tips
Choosing the right wall sets the tone for your accent, so start by considering traffic flow, focal points, and natural lighting. Start with a wall that’s visible from the main entry or common activity areas, but avoid high-traffic doorways that create nonstop wear. Pick a surface with clean, smooth texture and ample size to showcase depth without feeling crowded.
Assess alignment with furnishings and architectural features; symmetry often yields calm impact, while asymmetry can energize a space. Verify the wall isn’t overwhelmed by glare from windows or reflections, which can wash out color. Test swatches in multiple lighting moments to confirm hue accuracy.
If you’re unsure, select a wall that’s slightly recessed or framed, preserving balance with existing accents. This approach delivers cohesive, purposeful contrast.
Color Impact Factors
Color Impact Factors: The wall you pick should amplify hue choices by harnessing light, texture, and surrounding elements. You evaluate contrast, saturation, and scale to guarantee the accent reads clearly without overpowering the room.
Consider room function and furniture placement; a wall behind seating may benefit from deeper, moderated tones, while one near entry could carry a brighter, focal hue.
Texture matters: a matte finish recedes, a satin sheens catches subtle reflections, and subtle patterns add dimension without chaos.
Align the color with existing architectural features—trim, molding, or built-ins—to create cohesion.
Test swatches under different daylight and lamp temperatures, observing how color shifts.
Finally, guarantee the chosen shade supports your overall design narrative and enhances perceived space.
Light Interaction Cues
Selecting the wall that will serve as your accent hinges on how light interacts with the surface; a wall that catches warm daylight or lamp glow can amplify color depth without overwhelming the room. You’ll want to assess natural versus artificial lighting across the day and choose a surface that behaves predictably under both.
Consider direction: north-facing walls often appear cooler, while south-facing ones gain warmth; east or west light shifts with time. Matte finishes minimize glare, while slight sheen can enhance perception of color.
Position the accent where it won’t compete with focal furniture or artwork, yet remains visually accessible. Test swatches at different times, observing hue shift, brightness, and contrast with adjacent walls.
Finalize with a balanced palette that retains harmony under varied light.
Selecting Color and Finish
Color choices set the mood, so consider color psychology as you pick hues that support your space’s function and lighting. Explore finishes and sheens to balance durability with the room’s texture. Then aim for palette harmony across walls, furniture, and accents.
Use these guides—Color Psychology Picks, Finishes and Sheens, Palette Harmony Tips—to shape a cohesive, design-forward statement.
Color Psychology Picks
When choosing finishes for an accent wall, consider how color psychology influences mood and perception: cooler tones feel calmer and recede, while warm hues energize a space and draw attention. You’ll select color families that align with function: tranquil blues for bedrooms, poised grays for living areas, grounding greens for workspaces.
For perceptual impact, pair mid-tones with a crisp white or charcoal trim to sharpen edges without overpowering the room. Matte or eggshell sheens reduce glare, encouraging a softer, cohesive feel; satin offers subtle depth for high-traffic walls.
Contrast can sharpen focal points, but avoid high-contrast schemes that strain the eye. Test samples at different times of day to confirm perceived warmth, saturation, and balance with existing furnishings and lighting.
Finishes and Sheens
Finishes and sheens shape the wall’s presence as much as the color itself, guiding mood, durability, and upkeep in high-traffic spaces. When you choose a finish, you’re balancing light reflection with resilience.
Matte or flat walls minimize glare and imperfections, delivering a refined backdrop for bold accents, but they can be tougher to clean.
Satin and eggshell offer moderate sheen, easier maintenance, and a friendly balance between depth and practicality.
Semi-gloss or gloss finishes maximize durability and wipeability, ideal for kitchens or bathrooms but can highlight surface flaws.
Consider room function, lighting, and traffic to select the right level of sheen. Test swatches under actual lighting, then finalize with a quality topcoat for even color and long-lasting performance.
Avoid overcoating; consistency matters.
Palette Harmony Tips
To achieve palette harmony, start by pairing your accent wall with a cohesive color story across adjacent surfaces, then select a finish that supports both mood and practicality. Choose a primary wall color that ties into trim, cabinetry, and textiles, then pull in 1–2 supporting hues for balance.
Use color temperature to guide contrast: cool tones recede, warm tones advance, helping rhythm without crowding. When picking finishes, apply a matte or eggshell on large planes for sophistication and easier cleaning, reserving satin for high-traffic details or accents.
Test swatches in ambient light to confirm cohesion at different times of day. Consider undertones—gray, beige, or taupe universes—so every element reads intentional. Finally, make certain your chosen finishes reflect the room’s usage and maintenance expectations.
Gathering Tools and Materials
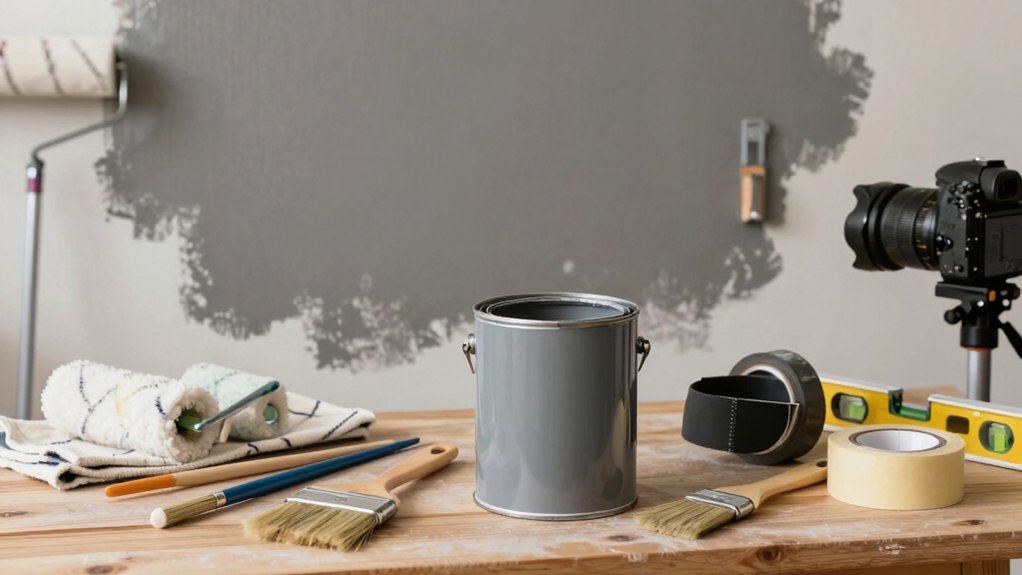
Gather the right tools and materials before you start, so the painting process goes smoothly from the first stroke. You’ll want a painter’s tape; a high-quality angled brush for edges; and a roller kit with a short nap for smooth walls. Choose a compatible tray, liner, and a refill set to minimize interruptions. Pick drop cloths or old sheets to protect flooring and furniture, plus a damp rag for quick cleanups.
Select a premium primer if the surface is porous or stained, and a durable, low-odor enamel or matte finish in your chosen color. Include a leveling compound if repairs are needed, plus a sanding block and 220-grit paper. Finally, keep a utility knife, step ladder, and spare roller covers within easy reach.
Preparing the Space and Surface
Before you apply any color, clear the room, protect floors and furniture, and guarantee surfaces are clean and dry.
You’ll assess the wall’s condition, noting an existing finish, cracks, or irregularities. Lightly dust the area, then wipe with a damp cloth to remove residue that could hinder adhesion.
If you spot chalky paint or peeling, address it with a scraper and patching compound, then sand smooth once dry.
Choose the right primer for your surface and confirm it’s compatible with your planned color.
Mask off adjacent walls, trim, and hardware with painter’s tape, and lay drop cloths to catch dust and drips.
Set up your lighting to reveal surface texture accurately, preventing surprises after painting.
Finally, plan a steady work rhythm to optimize coverage and edge control.
Prepping the Wall for Paint
Prepping the wall for paint starts with a clean, dry surface. Begin by removing any dust, dirt, or oils using a damp cloth, then let it air dry.
Inspect for imperfections — small cracks, nail holes, or peeling paint — and fill them with a lightweight spackling compound. Smooth seams with a putty knife, wipe away excess once set, and sand lightly for an even finish.
Lightly sand glossy areas to increase adhesion, then wipe again to remove sanding dust. Protect adjacent surfaces with painter’s tape and cover floors with a drop cloth.
If you’re repainting a previously painted wall, consider a light deglossing wipe to improve grip. Finally, assure humidity and temperature stay within recommended ranges to optimize drying and finish quality.
Applying Paint for Clean Lines
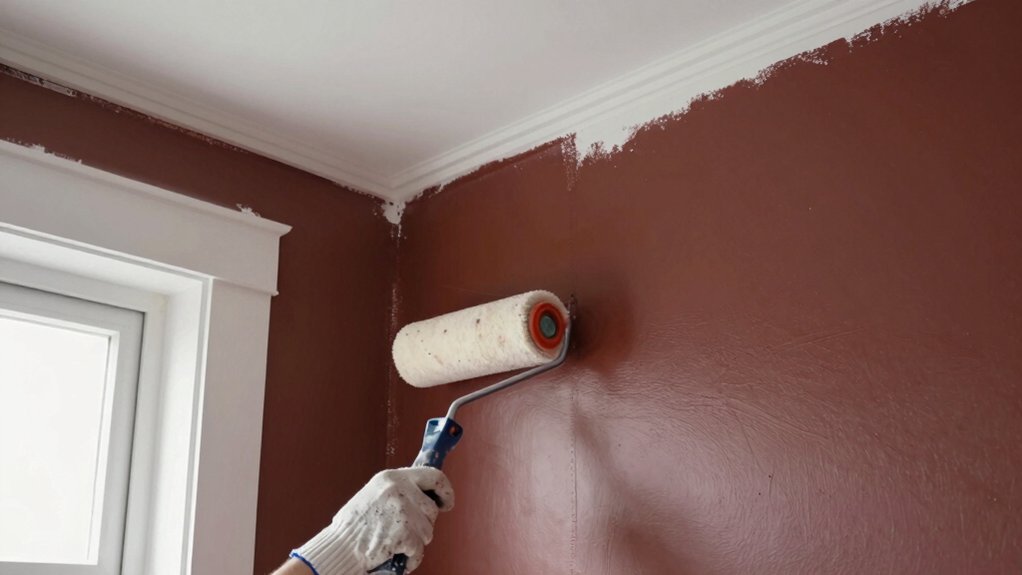
After prepping the wall, you’re ready to lay down clean, crisp lines. Start with a high-quality angled brush for corners and a 9-inch roller for flat sections. Pour paint into a tray, load the roller evenly, and roll in a W pattern to distribute evenly, then fill in gaps with smooth vertical passes.
Use painter’s tape along edge profiles to protect adjacent surfaces, pressing firmly to seal. Maintain a steady, barely-apparent pressure to prevent splatter; avoid heavy coats that peel at the edges.
Apply a second, lighter coat if needed, waiting for the first to dry to the touch. Remove tape slowly at a sharp angle to reveal razor-sharp edges and a polished, design-forward finish.
Finishing Touches and Maintenance
Finishing touches tie the look together and guarantee longevity. After your paint dries, inspect for missed spots and touch them with a fine brush for seamless color. Protect the finish with a clear top coat if you’ll scrub or wipe the wall regularly, following product directions.
Clean edges using a steady hand and a tiny amount of paint to keep lines sharp. Re-evaluate lighting and contrast at different times of day; adjust accessories to maintain balance and cohesion.
Maintain your accent wall by wiping with a damp microfiber cloth, avoiding harsh chemicals that could dull the hue. Address nicks or chips promptly with matching touch-up paint to prevent flaking.
Finally, document the color, finish, and method for future refreshes.
Frequently Asked Questions
How Long Does an Accent Wall Take to Dry Fully?
An accent wall typically dries to the touch in 1–2 hours and fully cures in 24–72 hours, depending on primer, paint type, humidity, and ventilation. You’ll know it’s ready when you don’t feel tacky or smell solvents.
Can You Paint Over Wallpaper on the Accent Wall?
Yes, but you’ll need to prep: seal wallpaper seams, apply a primer, and choose a high-adhesion paint. If you skip steps, you’ll repeat the scene like a broken motif—refined finish fading, panels peeling, color washed out.
Will Primer Affect Color Brightness or Finish?
Primer can affect brightness and finish. You’ll get truer color with a uniform base, avoid sheen inconsistencies, and improve adhesion. If the surface is textured, primer helps even out tone before you apply the final coat.
Is It Safer to Use Low-Voc or Zero-Voc Paints?
Yes, use low-VOC paints for safer indoor air quality; zero-VOC is even better, but verify label accuracy. You’ll still get durable color, less odor, and easier cleanup, aligning with professional, design-focused, contemporary spaces.
Should You Paint Behind the Furniture or Move It?
Move the furniture first, then paint behind it to avoid drips and rework. Measure clearance, protect floors, and plan access. You’ll keep the space clean, finish edges neatly, and minimize disruption during the project.
Conclusion
Grabbing a fresh, well-chosen accent wall can elevate a room with minimal upheaval. If you’ve followed steps for planning, prepping, and precise painting, you’ve set the stage for a clean, confident result. Don’t overlook the subtle details—edge control, finish, and lighting—that quietly shape perception. Consider the wall’s impact as a gentle nudge, not a shout, and enjoy the lasting polish it brings to your design. After all, elegance often whispers rather than demands attention.