Yes—you can safely paint old radiators with a heat‑resistant enamel or ceramic finish. Start by letting the radiator cool, cleaning off dust and grease, and lightly sanding glossy spots. Use a rust‑inhibiting primer if needed, then apply thin, even coats of the appropriate paint, letting each coat dry fully. Protect nearby surfaces and follow the manufacturer’s curing times for a durable finish. With the right prep, you’ll get a smooth, lasting look—and you’ll pick up practical tips as you go.
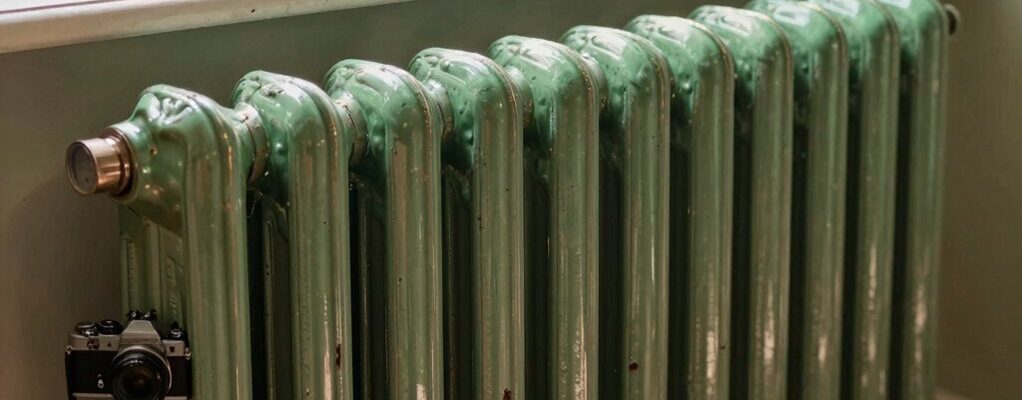
Can You Safely Paint an Old Radiator? Quick Safety Check
You can safely paint an old radiator, but start with a quick safety check. Before you touch metal, verify the system is cool and depressurized, and turn off the power if it’s electric. Open nearby windows for ventilation, and lay down drop cloths to catch drips.
Inspect for rust, flaking paint, or leaks, and repair as needed to prevent future complications. Use painter’s tape to protect valves and surrounding surfaces.
Choose low-VOC, heat-resistant paint appropriate for radiator surfaces, and apply with even, light coats. Allow full drying between layers, and follow the manufacturer’s instructions for curing heat.
In short, prioritize radiator safety and proper painting techniques to achieve durable, clean results without compromising performance.
What You’ll Need for a Heat-Resistant Radiator Makeover
To tackle a heat-resistant radiator makeover, gather the right materials and tools upfront so you can work efficiently and avoid rework.
You’ll need high-heat enamel or ceramic-based paint designed for radiators, plus appropriate primers for metal surfaces. Have rust inhibitors on hand if you spot corrosion.
Safety gear matters: gloves, goggles, and a respirator or mask for fumes.
Prepare tools: brushes, foam rollers, a spray gun if you prefer a smooth finish, sandpaper, tack cloth, painter’s tape, and drop cloths.
Consider color options that hold up under heat and frequent touch, and plan a finish that won’t dull or peel.
Budget considerations matter, so compare reputable brands and approximate total costs before you buy.
Choose materials that deliver durable adhesion, wipeability, and easy maintenance.
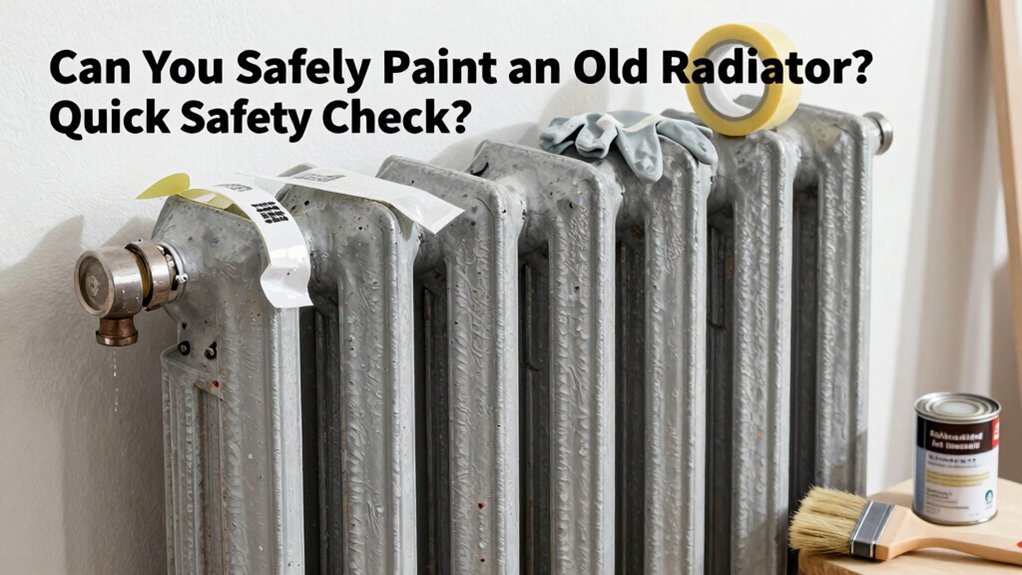
Prep Your Radiator: Cleaning, Handling, and Priming
Cleaning is the vital first step, so you clamp down on dust, grime, and old paint before you even think about priming.
Handle the radiator with care—disconnect power, wear gloves, and keep all solvents away from finished surfaces.
Then you’ll prime with purpose, ensuring a clean surface that holds the new coat reliably.
Cleaning Crucial Step
Before you begin priming, give the radiator a thorough cleaning to remove dust, oil, and old paint that could trap grime and hinder adhesion. Start with a vacuum to remove loose dust, then wipe every surface with a damp cloth and a mild degreaser. Rinse with a clean, damp cloth to prevent residue. Dry thoroughly, avoiding water pooling in fins.
Lightly scuff glossy areas with fine sandpaper to improve paint adhesion, then wipe away dust. Protect nearby floors and walls with drop cloths, and ventilate the area to maintain safe air. Use painter’s tape to seal edges where needed.
Remember radiator safety: power off, disconnect if possible, and make sure complete dryness before primer. This step guarantees consistent color and corrosion resistance.
Safe Handling Basics
Power down the system, unplug the radiator, and verify it’s cool before you touch it. Safe handling basics start with clean, dry hands and steady footing. Remove any loose dust with a soft brush, then wipe surfaces with a damp cloth and let them dry.
Protect nearby finishes and yourself from fumes by using minimal airflow and a reusable mask if needed. When moving or lifting, bend your knees, keep the load close, and ask for help for heavy radiators. Handle valves gently to avoid leaks.
Consider decorative finishes and how they’ll react to prep steps, and note insulation considerations for temperature stability after painting. Store solvents upright in a ventilated area, tightly capped, away from heat.
Choose Heat-Resistant Paint and Primer for Radiators
Choose a durable finish and guarantee the primer you select promotes heat resistance, so your radiator coats last. Start with a high-temp, ceramic or enamel base that sticks well to metal and resists chipping.
Prepare properly and apply in thin, even coats for a reliable, long-lasting result.
Choose Durable Finish
Selecting a durable finish is essential for radiators, because heat and frequent temperature swings demand a paint and primer combo engineered to withstand high temperatures without fading or peeling. You want a finish that resists scorching temperatures, avoids cracking, and stays glossy or matte as needed.
Look for heat-rated topcoats paired with compatible primers to prevent adhesion issues and blistering over time. Choose products labeled for radiators or appliances, and confirm they tolerate continuous heat exposure.
When considering radiator aesthetics, think beyond durability and toward finish sheen and texture that suit your space. Also evaluate paint color options that harmonize with your decor while maintaining heat resistance.
In practice, prioritize brand credibility, proper application, and clear coverage to guarantee long-lasting performance.
Prep For Heat Resistance
To guarantee heat resistance, start by selecting a paint and primer pair specifically rated for radiators or appliances and designed to tolerate continuous high temperatures. You’ll want products labeled for radiant heat, not generic wall coatings, to assure sustained adhesion and finish. Plan for adequate curing time and ventilation, and avoid basement or enclosed spaces during application.
- Choose a compatible heat-rated primer to maximize film integrity
- Look for labels mentioning appliance or radiator use
- Verify temperature tolerance exceeds your boiler’s max
- Consider gloss level for easier cleaning and glare control
- Ensure proper surface prep to prevent peeling
Radiator insulation and temperature regulation should guide your choices, keeping the heat where you want it and the finish durable.
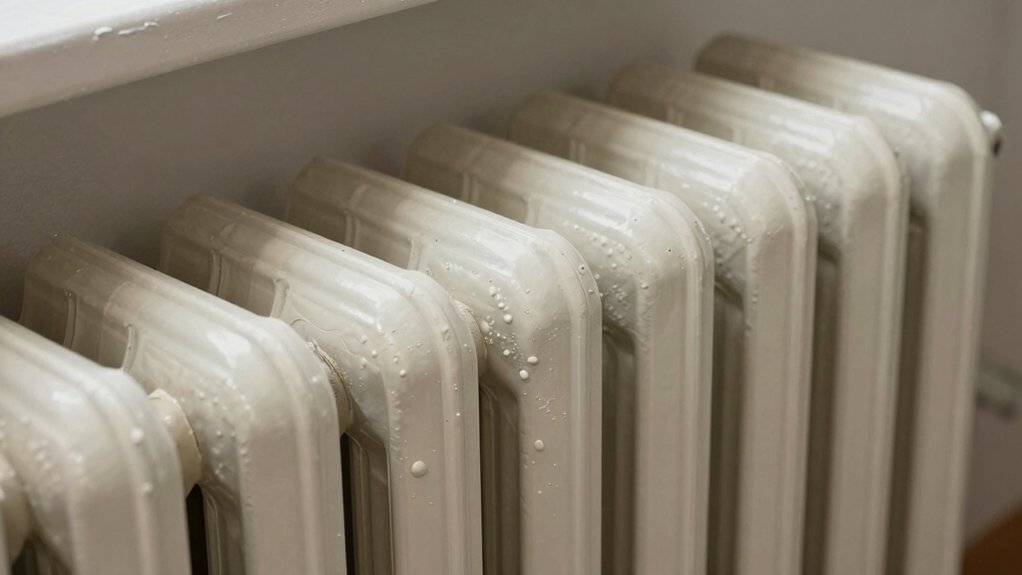
Paint It Right: Step-by-Step Process for Even Coverage
Wooden or metal radiators can look brand-new with the right steps. Start with a clean surface by wiping away dust and grease, then mask surrounding areas.
Apply a guiding primer to improve adhesion, especially on bare metal or repaired spots. Use thin, even coats of high-heat enamel, allowing each coat to dry fully before the next. Maintain steady, smooth strokes and avoid overloading the brush to prevent drips.
Lightly sand between coats for uniform film buildup, then finish with a durable topcoat suitable for heat exposure. Consider radiator color options that complement room decor, or explore decorative radiator designs for impact.
For even coverage, keep consistent distance and speed, and don’t rush the final cure. Patience guarantees a flawless, long-lasting finish.
Common Pitfalls When Painting Radiators (Dust, Runs, Curing) and How to Avoid Them
Dust and drips are the most common headaches when painting radiators, but they’re avoidable with a plan. You’ll minimize issues by prepping surfaces, choosing the right products, and timing coats.
- Dust control: wipe with a tack cloth, seal nearby vents, and cover floors.
- Runs prevention: thin, even coats; validate surface dryness between passes.
- Curing awareness: avoid handling until fully cured; heed manufacturer guidance.
- Color options: test small areas first and pick a finish that hides imperfections.
- Budget considerations: compare primer, paint, and tools to prevent mid-project swaps.
With a practical approach, you’ll reduce mess, improve adhesion, and end with a smoother result that meets your color options and budget considerations.
Finishing, Curing Time, and Long-Term Radiator Maintenance
Finishing isn’t the end—it’s the start of a durable, easy-to-maintain radiator finish. After you apply and cure, you’ll want a predictable path to long-term looks and performance. Allow proper curing time per product instructions; rushing can trap solvents and weaken adhesion.
Maintain a stable environment during curing and avoid sudden temperature swings. Once cured, inspect for thin spots and recoat only where needed to preserve gloss and color consistency.
For long-term upkeep, dust gently and wipe with a damp cloth—never abrasive cleaners that can dull finish gloss.
For color matching, keep a small test area as your reference; replace or touch up sections to maintain uniform hue. Regular checks prevent fading, chipping, and fading, ensuring the finish remains smooth and true.
Frequently Asked Questions
Will Painting Affect Radiator Heat Output or Efficiency?
Painting can slightly reduce heat transfer if you use thick coats, but choosing a high-temp, light-colored finish minimizes loss. It doesn’t damage efficiency; guarantee proper curing. Watch paint durability to maintain performance, and avoid insulating coatings.
Can I Paint Over Existing Decals or Logos on the Radiator?
Can you paint over existing decals or logos on a radiator? Yes, but: remove or cover decorative decals and logo elimination before painting to guarantee even coverage; clean, sand lightly, prime, and apply heat-resistant paint for best durability.
Is It Safe to Use Spray Paint on Radiators Indoors?
Yes, you should avoid spray painting radiators indoors due to fumes and fire risk. For radiator safety, use proper primers and high-heat paint, ventilate well, and follow manufacturer guidelines for indoor painting.
How Long Does Drying Time Vary With Room Temperature?
Temperature effects shorten or extend drying duration—warmer speeds up, cooler slows down. You’ll notice faster curing in a sunny room and slower in a chilly one, so plan around your thermostat for ideal results and patience.
Do I Need to Insulate Before Painting or After Finishing?
Yes, insulate after finishing the painting process, then seal exposed areas later. Timing matters: wait for paint to cure, then add insulation if needed. Plan insulation timing around your project to avoid rework and maintain finish integrity.
Conclusion
You’ve learned the steps, but the payoff isn’t immediate. As you wipe the dust away and watch the first coat dry, a quiet tension builds—will the heat cling to the color, will the finish stay smooth? Stay vigilant about curing times, vents, and heat exposure. When you finally reveal the radiator’s new sheen, you’ll feel the payoff: durability, style, and a project that stood up to the room’s heat and bustle. The next season, you’ll notice the difference.