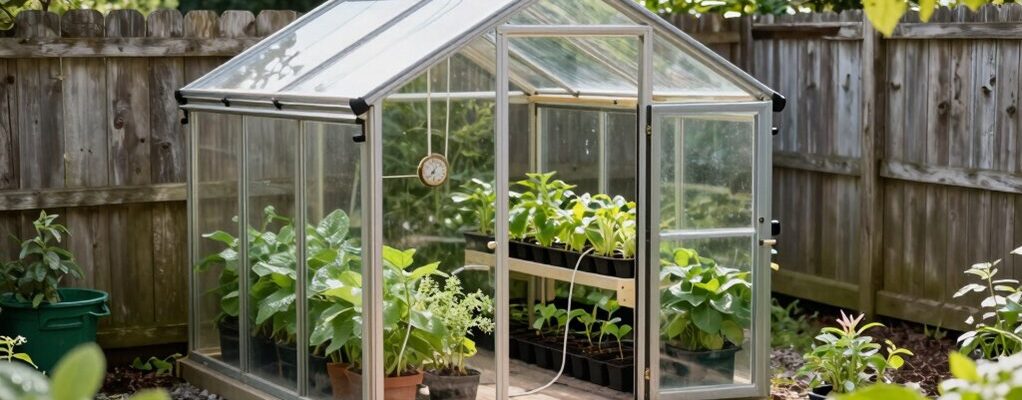
To build a small-space backyard greenhouse, start with site selection: pick a south-facing, level spot with minimal shade and good drainage, and map utilities and access routes. Choose practical frame materials (aluminum for light, galvanized steel for rigidity, or wood with treatment) and sturdy glazing (polycarbonate for impact and light). Size for your lot and budget, layout zones for soil prep, irrigation, and benches, and plan ventilation and insulation. This concise setup primes smarter decisions as you continue.
Site Selection and Planning
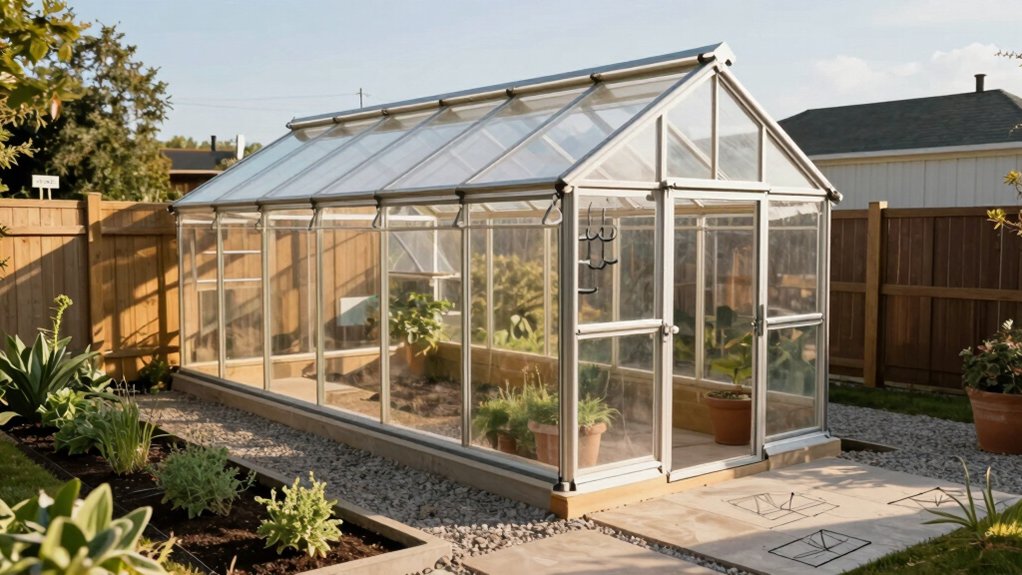
Choosing the right site sets your greenhouse up for year-round success. You’ll assess sun exposure, wind patterns, and drainage before committing to a location. Prioritize a south-facing angle for ideal light capture and longer winter hours, minimizing shading from nearby structures or trees.
Map the site with a simple grid: mark corners, utilities, and access paths. Guarantee stable, level ground and verify soil composition; poor footing leads to uneven glazing and frame stress. Consider prevailing winds and install protective windbreaks if needed.
Plan for access and maintenance: convenient doors, gutters to channel runoff, and clearances for future components. Anticipate utilities and irrigation routes, keeping hoses and cables out of high-traffic zones.
Finally, align the structure with local zoning, permits, and drainage, documenting measurements for precise assembly.
Budgeting and Sizing Your Greenhouse
To begin, quantify both initial costs and ongoing expenses, then translate those figures into a practical size that fits your goals and space. You’ll estimate upfront purchases (structure, coverings, foundation) and recurring costs (seasonal maintenance, utilities, replacements). Use unit prices and a conservative contingency, then compare to your budget ceiling.
Define target footprint by evaluating sunlight exposure, access, and zoning allowances; calculate floor area in square feet and meters, then determine volume for heat retention and air circulation. Size pragmatically: larger greenhouses boost yield but raise costs and management time.
Create a simple model: max affordable price, desired plant density, and peak energy needs. Prioritize scalable growth—start modest, plan for incremental expansion.
Align dimensions with available lot, drainage, and neighbor considerations to avoid code friction.
Frame Materials: Pros and Cons
Frame materials determine strength, weight, insulation, and cost, so assess structural performance and long-term upkeep before you commit. You’ll weigh aluminum, galvanized steel, and wood for frames in compact greenhouses.
Aluminum offers corrosion resistance and lightness but higher initial cost and limited rigidity without bracing.
Galvanized steel delivers robust stiffness and durability, yet heavier sections can complicate installation and elevate corrosion risk at joints if coatings degrade.
Wood supplies ease of cutting, pleasing aesthetics, and natural thermal buffering, but it swells, warps, or decays without proper treatment. Consider alloyed or composite options for improved longevity.
Connection hardware matters: fasteners, brackets, and glazing anchors must suit chosen material to prevent creep, rust, or loosening.
Prioritize fire resistance, UV exposure tolerance, and wind-load design to ensure long-term structural integrity.
Glazing Options for Small Spaces
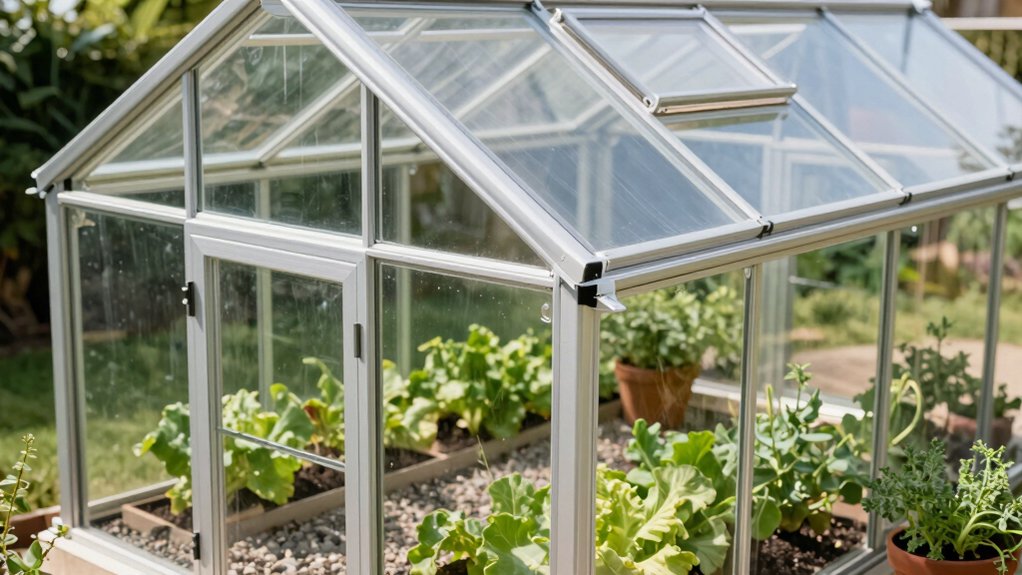
Glazing choice sets heat gain, weight, and sealing behavior in tight spaces, so pick options that balance insulation, cost, and ease of installation. For small greenhouses, consider panels with low U-values and rated durability.
Polycarbonate sheets offer impact resistance, light diffusion, and modular panels; they’re lighter than glass and tolerate DIY mounting.
Polyethylene films provide lowest upfront cost but short lifespans and frequent replacements, suitable for provisional setups.
Glass, in tempered or laminated forms, delivers longevity and clarity, yet adds weight and requires robust framing.
Polycarbonate and composite glazing strike a middle ground, reducing wind load while maintaining daylight.
Fastenings should be corrosion-resistant, with gaskets or seals to minimize air leakage.
Ensure compatible edge profiles and seasonal venting compatibility to preserve seal integrity.
Insulation and Thermal Management
Insulation and thermal management are about minimizing heat loss while keeping interior temperatures stable, so choose materials and strategies that match your climate and greenhouse size. You’ll assess in-bay losses, select insulating glazing fills, and target heat retention with tight seals.
Use rigid foam or polyiso liners for walls where appropriate, and apply radiant barrier sheeting on critical surfaces to reduce radiant heat transfer. For modest climates, double-wall polycarbonate panels or bubble wrap insulation between frames can lower COE while preserving light transmission.
In cold seasons, install removable thermal curtains or exterior shutters to minimize overnight cooling. Solar gain should be managed with shading for peak sun; maintain a stable internal temperature by integrating a small, efficient heater or heat sink strategy.
Monitor like a pro, adjust promptly, document results.
Ventilation, Humidity, and Airflow
Ventilation, humidity, and airflow must be calibrated to your greenhouse size and crop mix to prevent stagnant air and excessive humidity. You’ll opt for a balanced combination of passive and active ventilation, using vents, louvers, or ridge openings that respond to temperature differentials.
Pair this with an exhaust fan sized to exchange air without creating drafts that stress plants. Place intake near shade or ground level for cooler air, and exhaust near the roof for rising heat.
Maintain humidity with sensible spacing of crops and surfaces, plus reflectant, non-porous materials to minimize condensation. Use fans to create gentle air movement across canopies, avoiding hot spots.
Monitor with a hygrometer and thermometer, adjusting speeds and openings as seasons shift.
Irrigation and Water Management
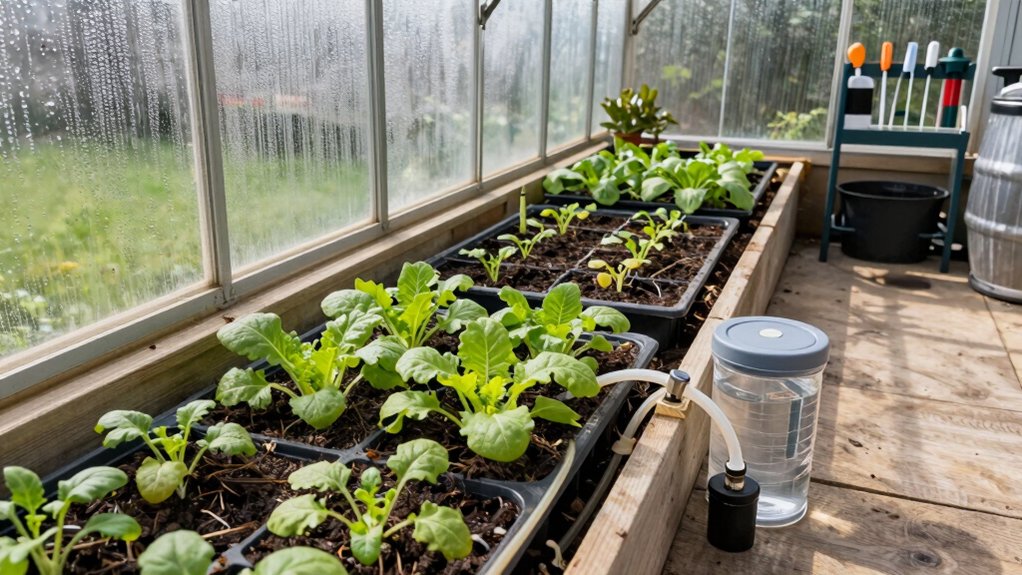
Effective irrigation and water management optimize yield while conserving resources. You’ll implement a drip system with emitters sized for crop type and container volume, minimizing evaporation and runoff.
Use a timer or smart controller to schedule brief, deep soakings rather than frequent, shallow sprays, reducing leaf wetness and disease.
Collect rainwater with a compact barrel and pair it with a first-flush diverter to maintain water quality.
Mulch exposed soil to stabilize roots and reduce evaporation.
Track soil moisture with a probe positioned at root depth; avoid overwatering by targeting field capacity.
Prioritize fertigating when nutrient solution is needed, applying at low conductivities to prevent root burn.
Regularly inspect hoses, fittings, and clogs; replace damaged components promptly to maintain uniform distribution.
Shelving, Benches, and Space Optimization
You’ll maximize space with vertical shelving layouts that place lightweight crops on upper tiers and heavier items at lower levels.
Bench height should align with your workflow, reducing reach and improving ergonomics for planting, potting, and harvesting.
Keep the setup modular and labeled so you can reconfigure quickly as your needs change.
Vertical Shelving Layouts
Vertical shelving and bench layouts optimize every square foot by pairing sturdy racks with aligned baselines and accessible heights. You’ll configure modular uprights to support fixed shelves at precise intervals, ensuring uniform weight distribution and predictable clearance.
Use deep shelves for pots and trays, shallow tiers for seedling flats, and labeled zones to minimize reach strain. Implement continuous runners or backstops to prevent items from slipping during ventilation cycles or watering.
Plan aisles to allow one-person pass-through with tools stored at arm’s length. Position benches at waist level for ergonomic work cycles, and group related crops to reduce cross-traffic.
Optimize lighting alignment by staggering shelves along sunward walls to maintain consistent photoperiod exposure across strata. Regularly inspect joints, fasteners, and shelf seals for structural integrity and long-term durability.
Bench Height Ergonomics
Bench height should maximize ergonomics and workflow by aligning work surfaces with your natural reach and posture. You’ll choose standard bench heights around 36 inches for potting and 34 inches for detailed tasks, then tailor to your body measurements. Use adjustable legs or a modular frame to dial in exact clearance between your elbows and the bench top.
Place shelves at knee to waist level to minimize bending and reaching. Reserve lower shelving for pots, soil, and tools; reserve mid-height surfaces for trays, pruning, and labeling. Guarantee a glare-free, consistent surface by using a smooth, easy-clean top.
Label zones and maintain a straight-through workflow from soil prep to irrigation. Prioritize stability, anti-fatigue mats, and legroom to sustain long sessions.
Maintenance, Safety, and Seasonal Use
Regular cleaning and hygiene keep pests and disease from taking hold, so wipe down surfaces, sterilize tools, and manage mulch or soil residues between uses.
For seasonal safety, secure framing, check seals for drafts, and power down and store equipment properly as temperatures shift.
We’ll outline practical steps for ongoing maintenance and how to adapt practices with changing seasons.
Cleaning and Hygiene
Cleaning and hygiene are foundation stones for a small-space greenhouse. You’ll establish a routine that minimizes disease pressure and maximizes plant health.
Begin with tools: dedicate a cleaning station, label brushes, pruners, and trowels, and sanitize between tasks. Use a mild household peroxide or 70% isopropyl solution to wipe handles and blades, and air-dry before reuse.
Regularly remove fallen debris and spent foliage; dispose promptly to reduce pathogens.
Clean shelves, pots, and trays with warm water and mild detergent, then rinse and dry completely.
Maintain drainage by ensuring pots have saucers and excess moisture isn’t trapped.
Monitor humidity and air circulation; fix leaks promptly.
Implement sanitary quarantine for new arrivals, inspect weekly for pests, and document sanitation steps in a compact log.
Seasonal Safety Tips
Seasonal safety starts with proactive maintenance and clear usage rules: inspect structures, hardware, and drainage as seasons shift, and adjust workloads to prevent heat, cold, or humidity stress. You’ll routinely verify frame joints, fasteners, glazing integrity, and sealants for wind or rain events.
Calibrate ventilation to seasonal pressure changes, ensuring operable vents, fans, and shade cloth deploy smoothly. Monitor internal temps with a reliable gauge and set alarms for extremes.
Manage irrigation by aligning schedules with plant cycles and precipitation, avoiding overwatering in cool seasons and drought stress in heat. Use removable coverings to retard cold snaps and prevent condensation buildup.
Store tools, chemicals, and power cords securely between seasons. Document inspections and repairs for next-year planning.
Frequently Asked Questions
How Do I Protect Plants From Wind in a Tiny Yard?
You protect plants from wind by shielding them with sturdy, permeable barriers, like lattice screens or fencing, plus windbreaks around borders. Use trellises, row covers, or fencing, and position beds and containers to minimize exposure and desiccation.
What’s the Best Pest Control Approach for Small Greenhouses?
Pest control in a small greenhouse starts with sanitation and monitoring; you’ll trap and block entry, then target pests with integrated methods. Inspect weekly, remove infested leaves, and rotate beneficials; use barriers, fungi, and precise counts for effectiveness.
Which Accessories Boost Space Efficiency Beyond Shelves?
Floating racks and stackable bins maximize space; use vertical panels, cantilevered shelves, and door-mounted organizers. Add pegboard grids for tools, adjustable lift-platform trays, and rolling carts with brakes to keep everything accessible yet compact.
How Can I Minimize Heat Loss During Winter Nights?
To minimize heat loss, you seal gaps, insulate panels, use a thermal blanket, and keep vents closed at night. Add a door sweep, radiant heat, and a small heater with a thermostat for precise, efficient warmth throughout winter.
Is a Portable Greenhouse Better Than a Fixed Structure?
A portable greenhouse can be more flexible and cheaper upfront, but a fixed structure offers better insulation, stability, and long-term climate control; choose based on your space, weather, and long-term goals, then optimize with proper venting and shade.
Conclusion
In short, a small-space greenhouse pays off with year-round harvests and resilience against unpredictable weather. Start tight: select a sun-tracking position, size to your space, and choose a frame and glazing that minimize heat loss. A modest 6×8 ft setup can produce enough greens to save 20–30% on weekly produce costs for a dedicated hobbyist. Prioritize ventilation, simple irrigation, and sturdy shelving over bells and whistles, and tailor insulation to your local climate for steady yields.